How Do Changes in Temperature Affect a Tuning?

It is a widely accepted fact in the piano world that changes in temperature can drastically affect the pitch of strings in a piano.  However, I've never seen a real demonstration of how quickly pitch can change due to a small temperature shift.  

I recently came across this short video by Christopher LaBarre that does an excellent job demonstrating the effect of temperature on string pitch.  With only a few quick passes of felt along a piano string, Christopher builds up enough heat in the string to drop the pitch by around 5 Hertz (heating the string causes it to expand, resulting in lower tension relative to the unheated string).

For those of you who are interested in seeing the calculations behind the relationship between temperature and string tension/pitch, take a look at this thread on PhysicsForums.com.

Big thanks to C.J.'s Pianos and Christopher LaBarre for putting together this great video.

Recent Blog Posts


See more of my blog posts here

Hello There! Don't Leave Just Yet!

I provide piano repair information on my blog and through email correspondence free of charge because I like to help people learn about pianos. However, it does take up a significant amount of my time. So, if you are so inclined, you can click the button below to help supply my caffeine habit and show your appreciation for my work. Thank you!

Buy me a matcha latteBuy me a matcha latte

Or Send Bitcoin! bc1q4tz3qzp6a6zeduqema3v6s0vnrhst4zwy4wtp9

Book Review - Giraffes, Black Dragons, and Other Pianos

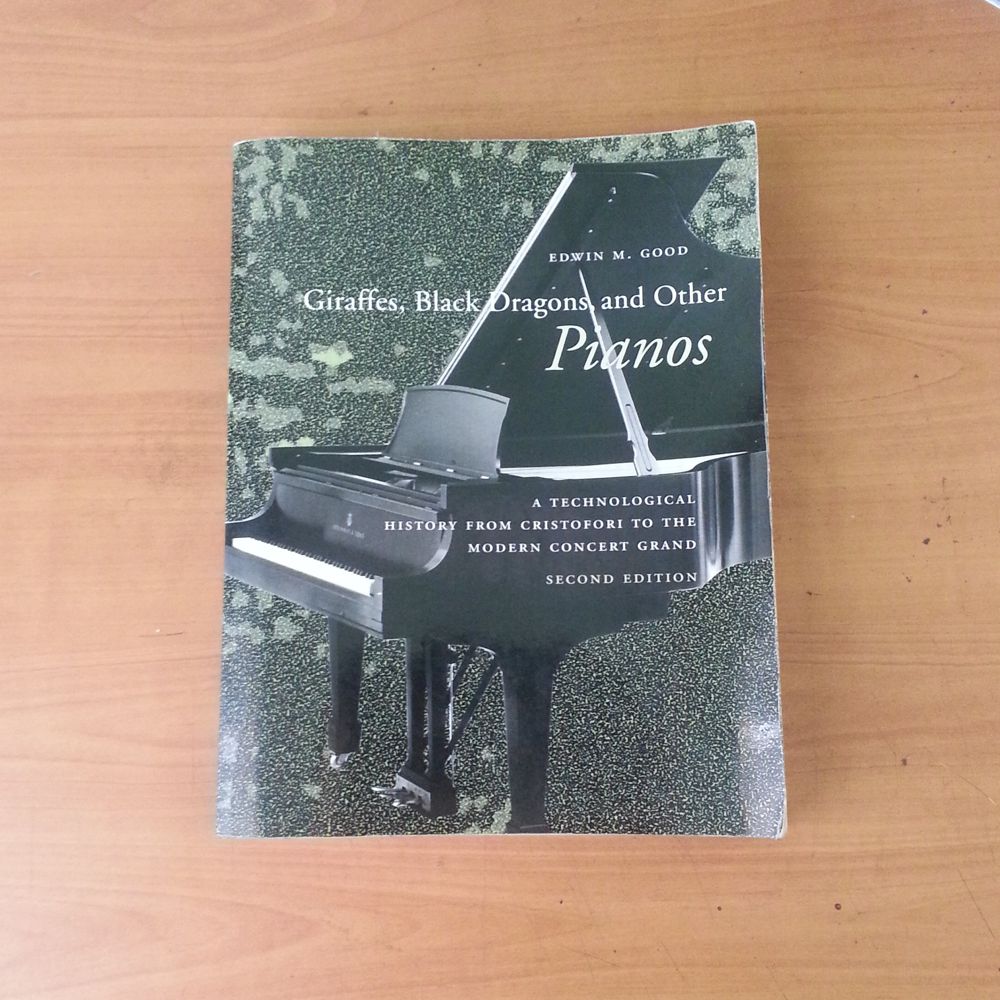
My most recent piano-related read was the second edition of Edwin M. Good's “Giraffes, Black Dragons, and Other Pianos : A Technological History from Cristofori to the Modern Concert Grand.” The book is fairly dense and I spent a few months slowly making my way through it, but I can say that I thoroughly enjoyed it.

I would say that this book has a very wide intended audience. Those with an interest in pianos who are at all curious about how these musical behemoths came to be will find this book to be clear and informative. Professional pianists and piano restorers will also surely be inundated with new information about piano makers that they have been familiar with for years. Music history buffs will be left wondering what the piano might have sounded like before 1826 when felt-covered hammers were first introduced.

Good takes the reader through the full evolution of the grand piano action from the Zumpe square, early types of escapement, the evolution of the jack, the Viennese action, and the modern double-escapement action. As the name of the book implies, Good also shows us many of the oddities that piano makers have invented over the years – giraffes, Stodart uprights, “birdcage” actions, and Janko keyboards. The author covers all of the most famous English, French, American, Austrian, German, and Italian piano makers, as well as the more recent Japanese, Chinese, and Korean makers.

Good does a great job at keeping his writing interesting and entertaining. He will occasionally toss in an anecdote about “some wag” who misinterprets the origin of the word “fortbien” or about the first time the piano was made with white naturals and black sharps.

The book is incredibly well researched, includes fantastic illustrations, and covers every aspect of the development of the modern piano over the past 300 years, as well as touching of the future potential of the piano and electronic keyboard. The book is in its second edition, and it is quite obvious while reading it that a lot of extra work went into it between editions. Mr. Good it seems is quite dedicated to improving his work and continuing to provide compelling and historically accurate information. I'd like to commend him for his wonderful book and would encourage you all to acquire a copy for yourself.

Recent Blog Posts


See more of my blog posts here

Hello There! Don't Leave Just Yet!

I provide piano repair information on my blog and through email correspondence free of charge because I like to help people learn about pianos. However, it does take up a significant amount of my time. So, if you are so inclined, you can click the button below to help supply my caffeine habit and show your appreciation for my work. Thank you!

Buy me a matcha latteBuy me a matcha latte

Or Send Bitcoin! bc1q4tz3qzp6a6zeduqema3v6s0vnrhst4zwy4wtp9

Replacing Player Piano Gaskets

Some worn out and leaky leather gaskets.

Some worn out and leaky leather gaskets.

This post is part of the Milton Player Piano Series.


When dealing with an underperforming player piano, one of the likely culprits is worn out leather gaskets. There can be dozens of these types of gaskets inside of a player piano action and a small leak in each of them can accumulate to the point where the person pumping the pedals has to pump unreasonably hard or fast in order to compensate. When taking apart the player action and bellows, look for leather gaskets with large cracks, missing pieces, and black edges. These are the gaskets that need to be replaced. Also, you might as well replace any other old gaskets that you come across while you have the system disassembled.

Note the cracks in the leather and the black, burnt-looking edges.

Note the cracks in the leather and the black, burnt-looking edges.

There are a few different materials that can be used to make these gaskets. The best material to use is a fine quality suede calf skin leather, however most hobbyists wont have access to leather that has a consistent enough thickness and compressibility for this job. It is much easier to find and use sheets of neoprene to make new gaskets. Cork is also available, which is more durable than neoprene and easier to shape, but offers less compressibility. For this job, I will be using neoprene from http://www.player-care.com/gaskets.html

A roll of neoprene gasket material.

A roll of neoprene gasket material.

Once you have separated the two gasketed pieces, mark the outside edges of the old gasket with an awl, and proceed to scrape the leather gasket off of the board. I use a razor blade to remove the majority of the leather without damaging the wood. Next, sand any remaining leather or glue residue with a sanding block until you are left with bare wood. Gently vacuum any wood or leather dust out of the chambers of the bellows or player action.

After scraping with a razor blade.

After scraping with a razor blade.

Smooth the board out with a sanding block.

Smooth the board out with a sanding block.

Cut four strips of neoprene so that they make a neat rectangle where the old gasket used to be. They must fit tightly together and not allow any air to leak through the seams. The compression of the neoprene will help with this a bit, but try not to rely on it. Make your gasket as tight fitting as you possibly can. Make small pencil marks on the board wherever there is a screw hole, so that you will know where to punch holes in your gasket later.

Make sure that the smoother edge is the one that will be in contact with the rest of the gasket.

Make sure that the smoother edge is the one that will be in contact with the rest of the gasket.

Applying PVC-E glue to the gasket.

Applying PVC-E glue to the gasket.

Once your pieces of neoprene are cut, apply PVC-E glue to the bottoms of them and press them into place on the board. After the glue has dried, do any trimming you need to do with a razor blade, and punch out the screw holes with whatever small metal tube you have around. I used the back end of a small brush.


Note the pencil marks on the wood that indicate the location of the screw holes.

Note the pencil marks on the wood that indicate the location of the screw holes.

The ends of the top and bottom pieces of the gasket have been trimmed flush.

The ends of the top and bottom pieces of the gasket have been trimmed flush.

20160307_112431.jpg
Cutting out the screw holes with the back end of a brush.

Cutting out the screw holes with the back end of a brush.

Push the screws through the board to clean out any glue residue, screw the two boards together, and test out the gasket by listening for any air leaks while the bellows are being worked (or by attaching to a vacuum pump).

Ready to reassemble.

Ready to reassemble.

Testing the gasket by taping over the other holes in the board.

Testing the gasket by taping over the other holes in the board.

Recent Blog Posts


See more of my blog posts here

Hello There! Don't Leave Just Yet!

I provide piano repair information on my blog and through email correspondence free of charge because I like to help people learn about pianos. However, it does take up a significant amount of my time. So, if you are so inclined, you can click the button below to help supply my caffeine habit and show your appreciation for my work. Thank you!

Buy me a matcha latteBuy me a matcha latte

Or Send Bitcoin! bc1q4tz3qzp6a6zeduqema3v6s0vnrhst4zwy4wtp9

Repairing Player Piano Rolls

20160412_132905.jpg

This post is a continuation of the Milton Player Piano Series.

While not technically part of a player piano, the music roll is still a vital component of the operation of the player mechanism, and if there are problems with the music roll, there will be problems with the performance of the piano. These rolls are very delicate and can be heavily damaged in the blink of an eye by a player piano that is no longer functioning optimally. Fortunately, they can be repaired quite easily.

The music roll attaches on the left side. The bolt at the top is tightened slightly to hold the roll in place.

The music roll attaches on the left side. The bolt at the top is tightened slightly to hold the roll in place.

For this job, you want to use the highest quality tape that you can. Archival or book repair tape is good. Otherwise, Scotch Magic tape will work in a pinch. The most important tool for this job is the roll-repair jig. This is basically a flat board about 3 feet long with two pins or bolts on one end to hold a music roll, and a wooden rod on the other end to act as a take-up spool. Both ends should be suspended an inch or two above the board to allow the rolls to spin.

The music roll in place.

The music roll in place.

The take-up spool.

The take-up spool.

Once the jig is built, load up a damaged music roll, pull the tab across and hook it onto the take-up spool. The roll can now be slowly pulled across the board, repairs made where necessary, and the roll rewound by hand. I place a couple of rulers on top to hold the paper against the board in the middle.

The music roll attached to the take-up spool.

The music roll attached to the take-up spool.

20160412_133849.jpg

When repairing a tear in the roll, first unfold any bits of paper that have become folded under or creased. Usually all of the paper is still there and attached. Sometimes there will be tiny tears and folds that are hard to straighten out with your fingers. Keep a small screwdriver or awl handy to straighten these out. Once the paper is straightened and in place, carefully tape over the tears. I always place my tape along the length of the paper, never across the paper. I do it this way because during play, the paper is placed under tension along its length and placing the tape this way serves to strengthen the paper moreso than taping across the paper. If there are pieces of paper missing that you have taped over, place tape on the underside as well. This will prevent the exposed sticky side of the tape from contacting the paper underneath when it is rolled up.

For tape that is placed along the edge of the roll, make sure that the tape is flush with the edge of the paper.  If the tape hangs over the edge a bit, trim it flush with a ruler and a razor blade.

The tape has covered up some of the note-playing holes.

The tape has covered up some of the note-playing holes.

If any of the note-playing holes have been covered by tape, carefully cut them out with a razor blade or pen knife.

Note-holes cut out.

Note-holes cut out.

Before loading the roll up and testing it, make sure your player piano is properly adjusted and wont just tear it again.

20160412_134309.jpg

Recent Blog Posts


See more of my blog posts here

Hello There! Don't Leave Just Yet!

I provide piano repair information on my blog and through email correspondence free of charge because I like to help people learn about pianos. However, it does take up a significant amount of my time. So, if you are so inclined, you can click the button below to help supply my caffeine habit and show your appreciation for my work. Thank you!

Buy me a matcha latteBuy me a matcha latte

Or Send Bitcoin! bc1q4tz3qzp6a6zeduqema3v6s0vnrhst4zwy4wtp9

Replacing Hammer Rail Felt

Old upright pianos tend to develop all sorts of strange clunks, clicks, and buzzes. One cause of these noises is worn hammer rail felt. Over time, this felt becomes compacted and no longer provides adequate cushion for the hammer shanks. The compacted felt gives a dull thud when the shanks return to rest. Fortunately, this felt is very easy and quick to replace.

The small "wells" that the hammer shanks have made in the felt are a sign that it should be replaced.

The small "wells" that the hammer shanks have made in the felt are a sign that it should be replaced.

Begin by removing the hammer rail from the piano action. It will have 3 or 4 metal prongs that are inserted into bushed holes in the action brackets. One prong will face the opposite direction of the others. Bend this prong back enough to clear the action bracket, and lift the hammer rail away from the action.

The prong and the bushed hole that it lives in.

The prong and the bushed hole that it lives in.

On some pianos, it is easier to just remove the action bracket that the odd-ball prong fits into, rather than bending the prong.

The leftmost prong.

The leftmost prong.

Once the hammer rail is removed, peel away the old rail cloth and measure its width. Buy a roll of new hammer rail felt of the same width.

Old felt peeled away and new felt at the ready.

Old felt peeled away and new felt at the ready.

Purchase a bottle of wallpaper remover and mix a small amount with water according to the instructions. Use an old toothbrush to wet the old glue with the remover. After a few minutes, the old glue should easily scrape off.

Apply PVC-E or hide glue to the lower half of the hammer rail and lay the new felt across it.


It is important to not glue the top edge of the felt. Leaving this edge loose allows a bit more cushion for the falling hammers

PVC-E glue applied. Note that the edge furthest from the prongs does not have glue applied to it.

PVC-E glue applied. Note that the edge furthest from the prongs does not have glue applied to it.

After the glue dries, trim the ends of the felt flush with the ends of the hammer rail.

Reinstall the rail onto the piano action and either bend the prong back into place or reinstall the action bracket that was removed.

The new hammer rail felt.

The new hammer rail felt.

Recent Blog Posts


See more of my blog posts here

Hello There! Don't Leave Just Yet!

I provide piano repair information on my blog and through email correspondence free of charge because I like to help people learn about pianos. However, it does take up a significant amount of my time. So, if you are so inclined, you can click the button below to help supply my caffeine habit and show your appreciation for my work. Thank you!

Buy me a matcha latteBuy me a matcha latte

Or Send Bitcoin! bc1q4tz3qzp6a6zeduqema3v6s0vnrhst4zwy4wtp9