

Over time, the felt underneath the keys as well as the felt in the action becomes compressed. Between this settling of the felt and dry rotting of paper and cardboard spacers (not to mention rodent infestations) the keys of many pianos tend to undulate up and down all the way across the length of the keyboard. This can also be caused by damage to the keytops. In this case, you will need to recover the keys.
The keys can be re-leveled by carefully adding or subtracting paper spacers underneath the felt punchings. The tool of choice here is a 4 foot level (or any 4 foot straight-edge). Make sure that it is true. One way to do this is by laying on large piece of paper, cardboard, or wood and tracing the bottom edge of the level. Flip the level over the line so the line is along the top edge of the level. The line you drew should still match the edge perfectly. If not, the level is not true and you should find something else to use.

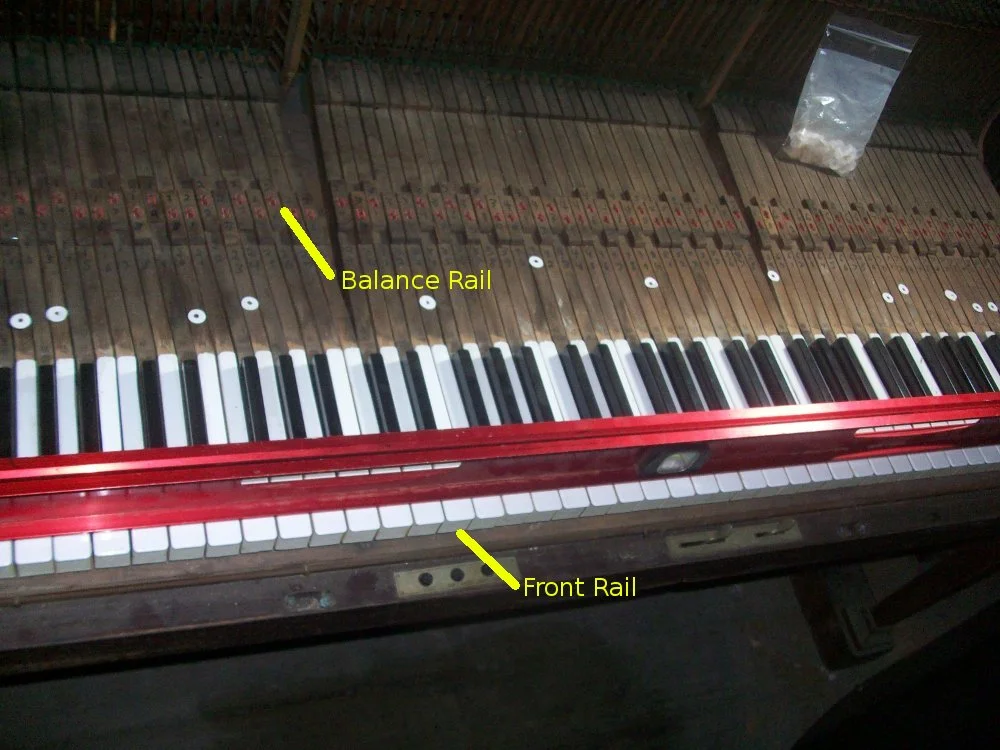
Lay the level across the keys. It should reach perfectly from the first key to the last. Crouch down so that the tops of the keys are at eye level. Generally, the first and last keys receive such little use, that they will already be at the ideal height. Make sure the level is touching these two keys and not causing them to drop.
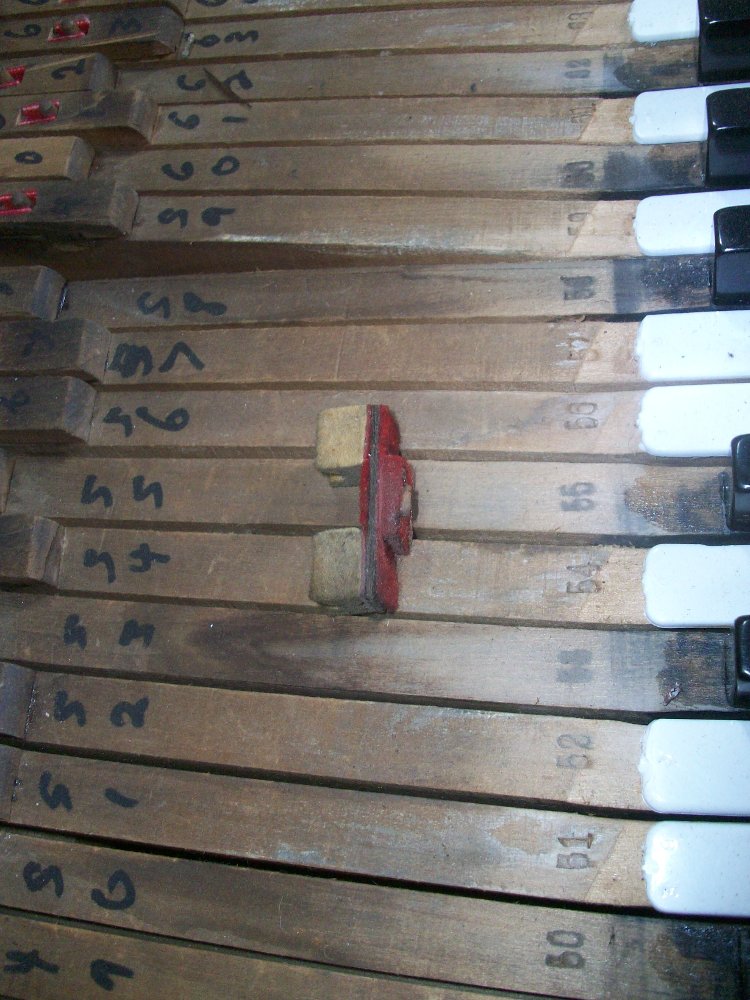
By repeatedly lifting and dropping one end of the level, you can find high spots in the keyboard. Any key that drops from the weight of the level will need to either have paper spacers removed or have a thinner cloth punching installed. These changes must be made underneath the keys at the balance rail, not at the front rail.

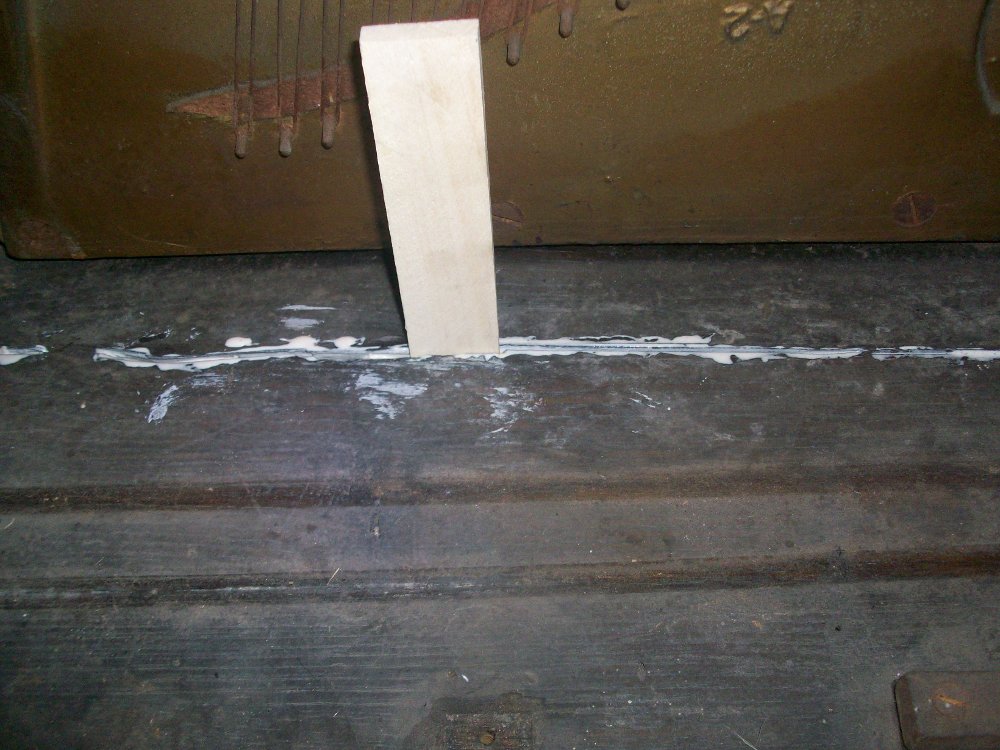
The level resting on the keys
The level slightly lifted at one end.
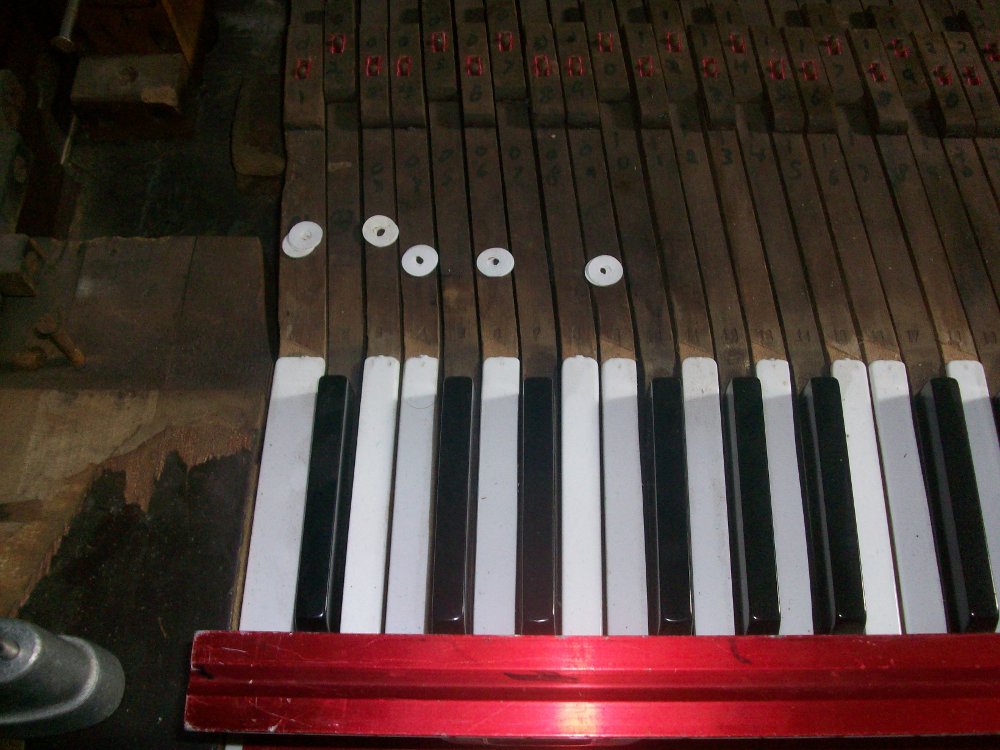
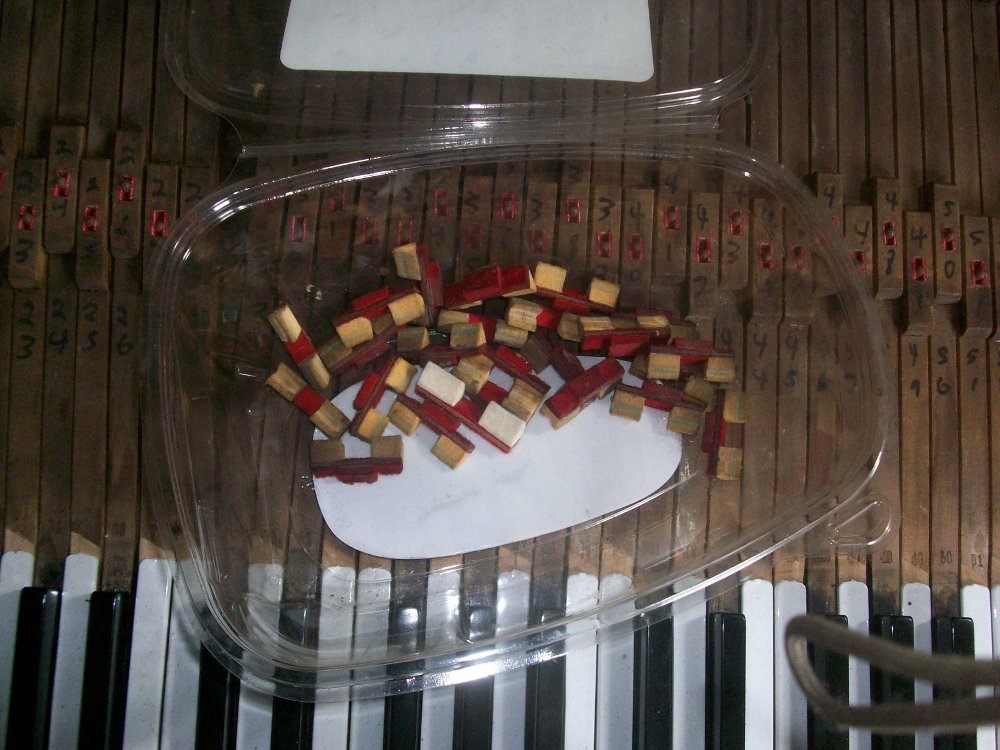
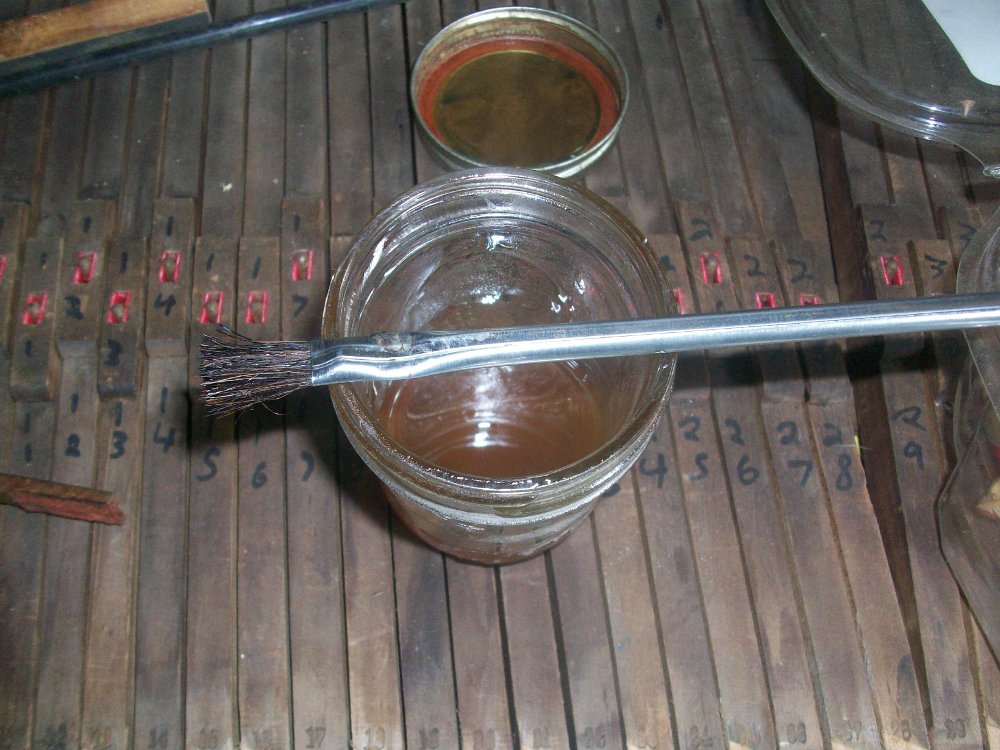
To find which keys are low, look for spaces between the tops of the keys and the bottom of the level. Paper spacers must be added to the balance rail below these keys to bring them up to the level. I get these spacers from either Schaff Piano Supply or Pianotek. A general rule of thumb is that the spacers added should be about half the thickness of the gap between the key and level. Move along the keyboard a leave an appropriately sized stack of spacers on top of each key that needs to be raised.
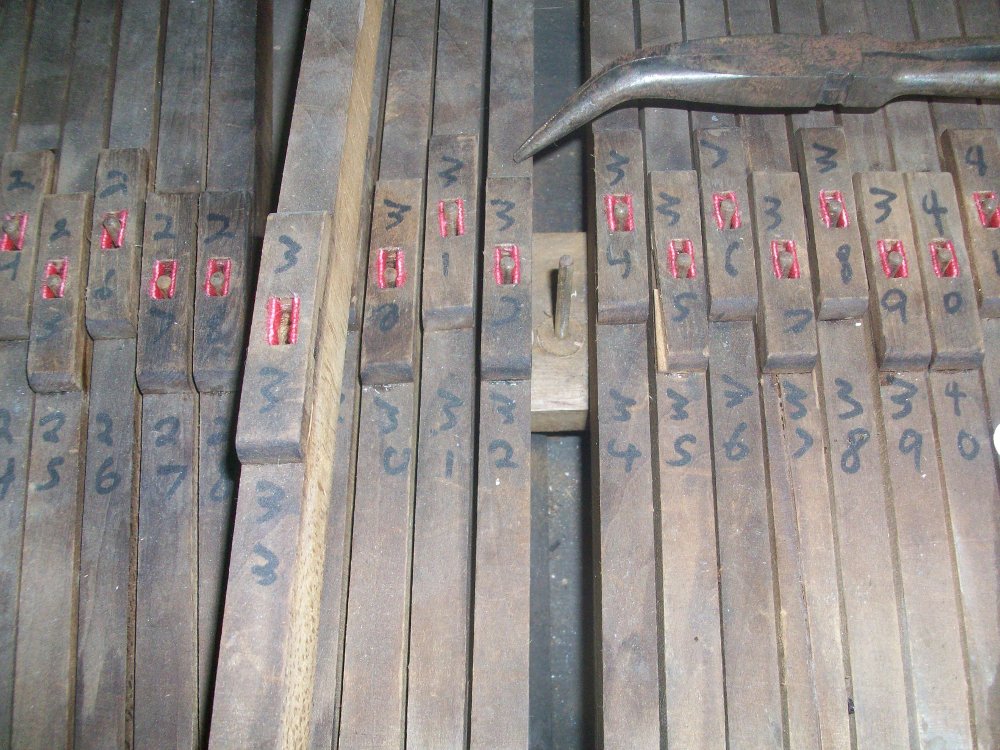
After you've made it through the whole keyboard, pull the level away. Go through the keyboard one key at a time, pulling a key up, removing the cloth punching, placing the paper spacers on the pin, and replacing the cloth punching. Reinstall the key and move onto the next one. After you've gone through the keyboard place the level again and make a second pass.
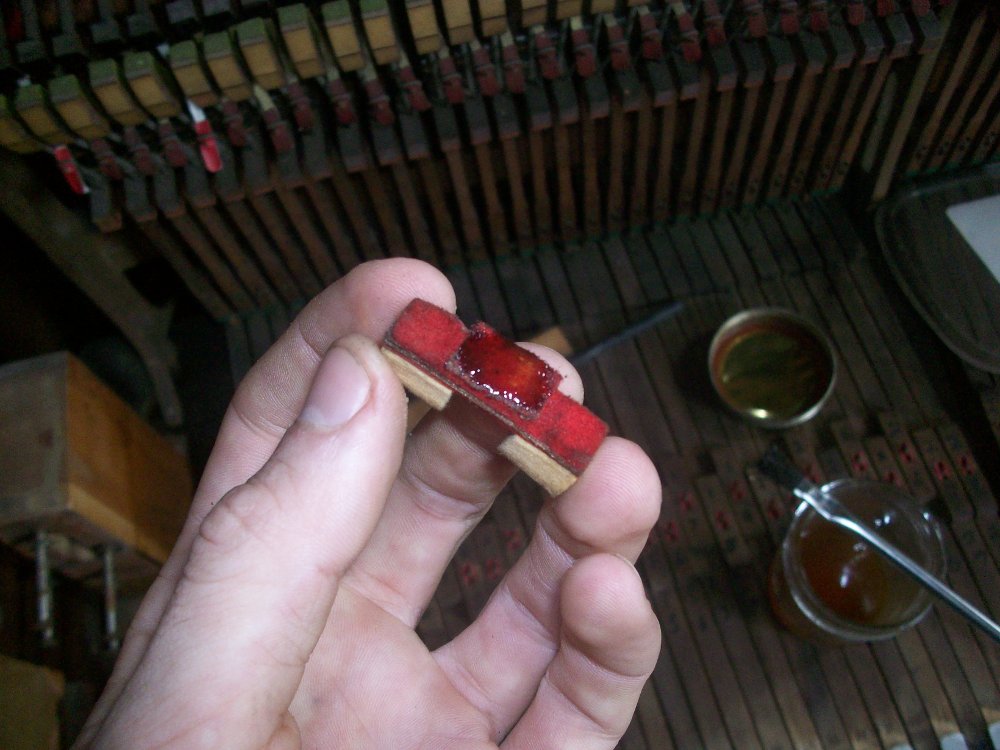
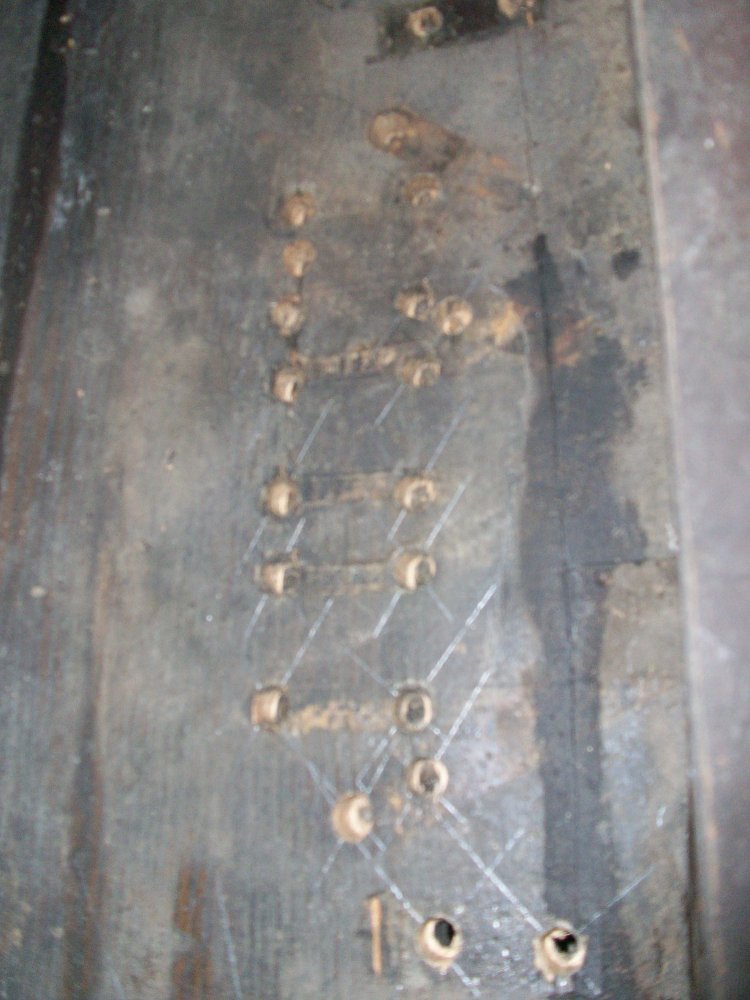
After the key is removed
Cloth punching removed

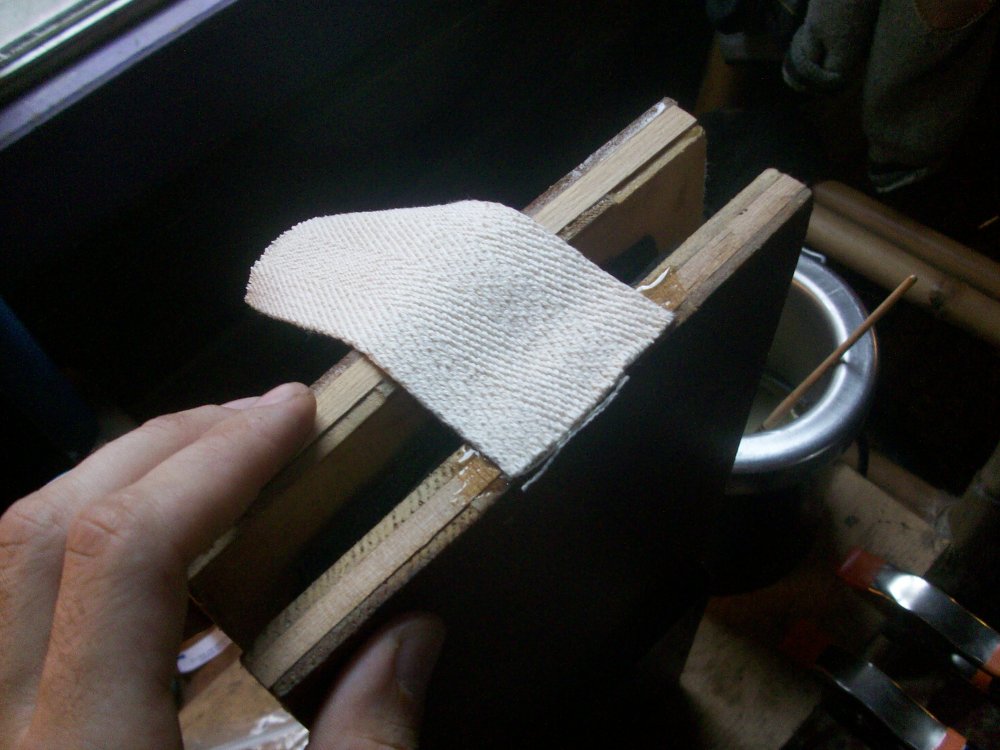
Paper spacers added and cloth punching about to be replaced.
Recent Blog Posts


I have been servicing and tuning pianos in NOLA since 2012 after first becoming interested in piano technology in 2009. With a background in teaching bicycle mechanics, I bring a methodical mindset and a love of sharing knowledge and skills to the rich musical culture of New Orleans.