

This post is a continuation of the Milton Player Piano Series.
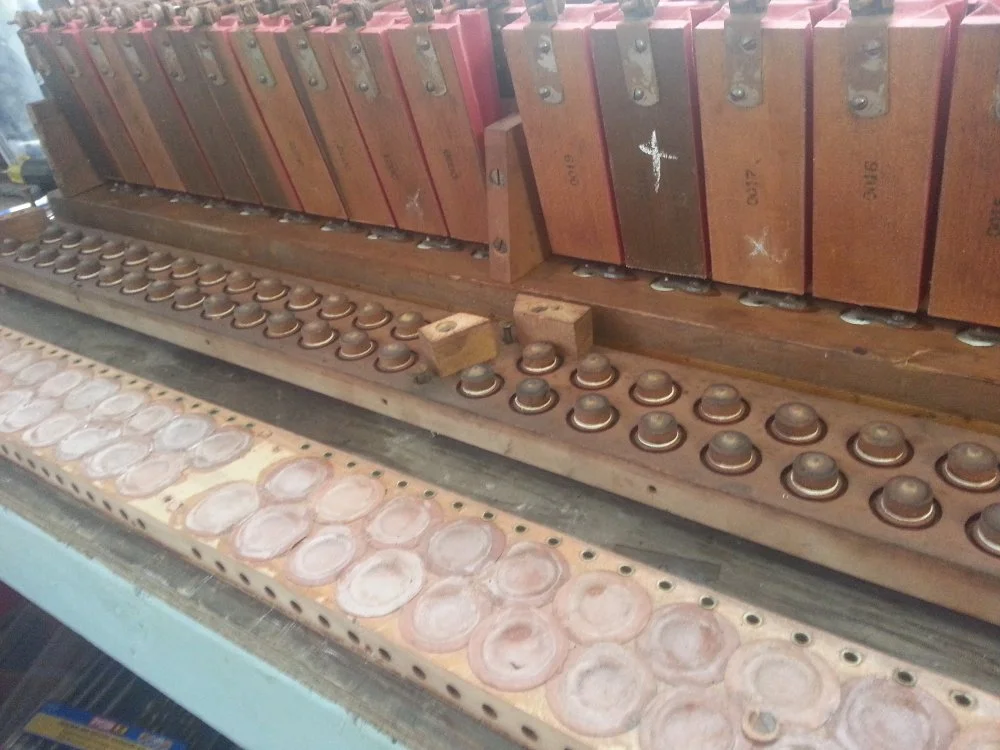
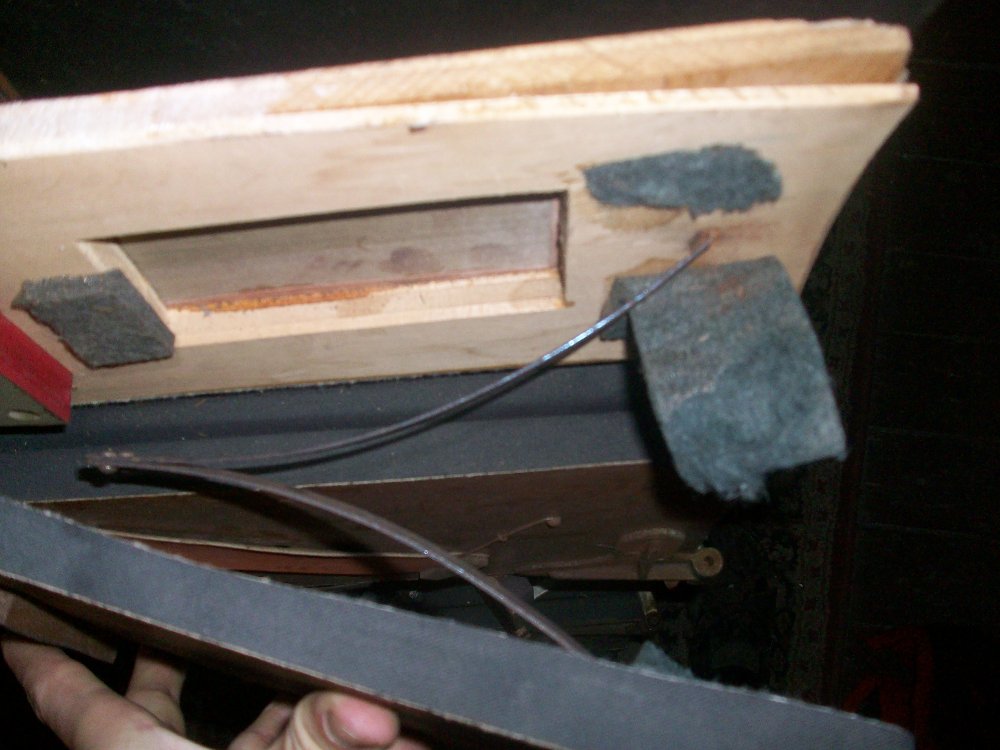
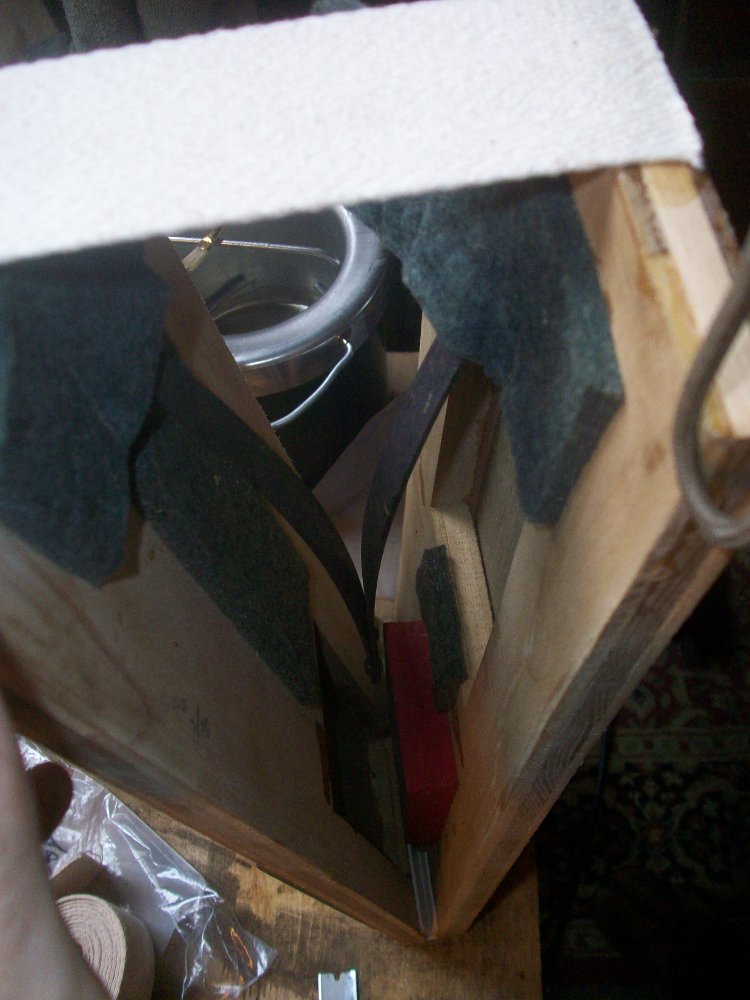
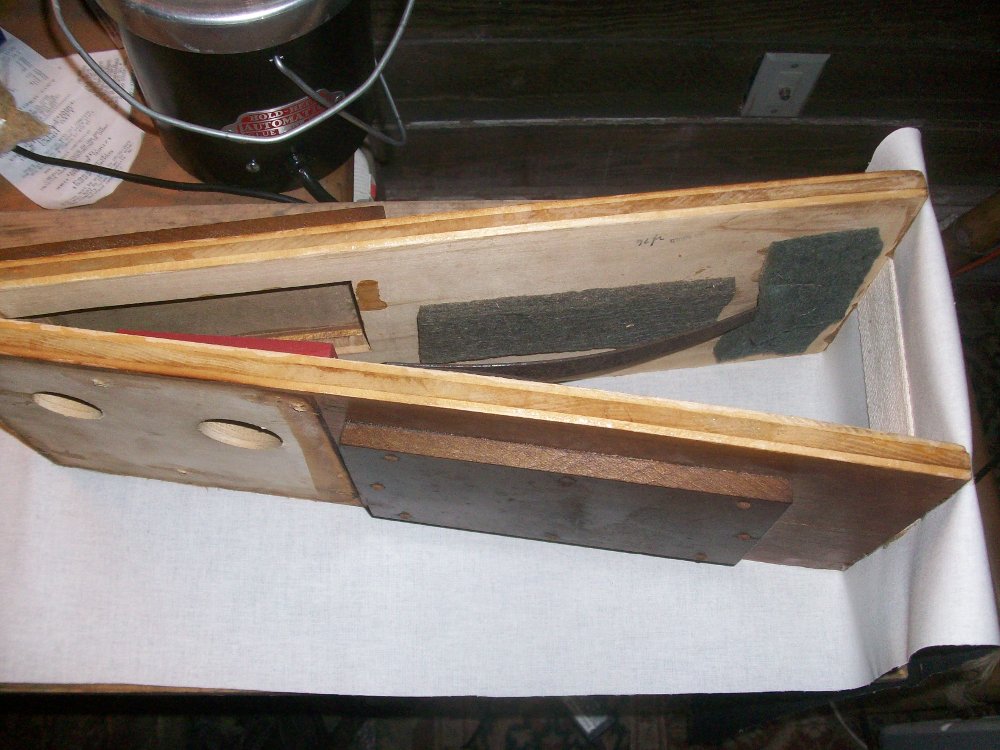
A dissembled player piano action showing from the top to the bottom: pneumatics, primary valves, and the leather pouches that activate them. Note the hole in the pouch at the bottom center of the photo.

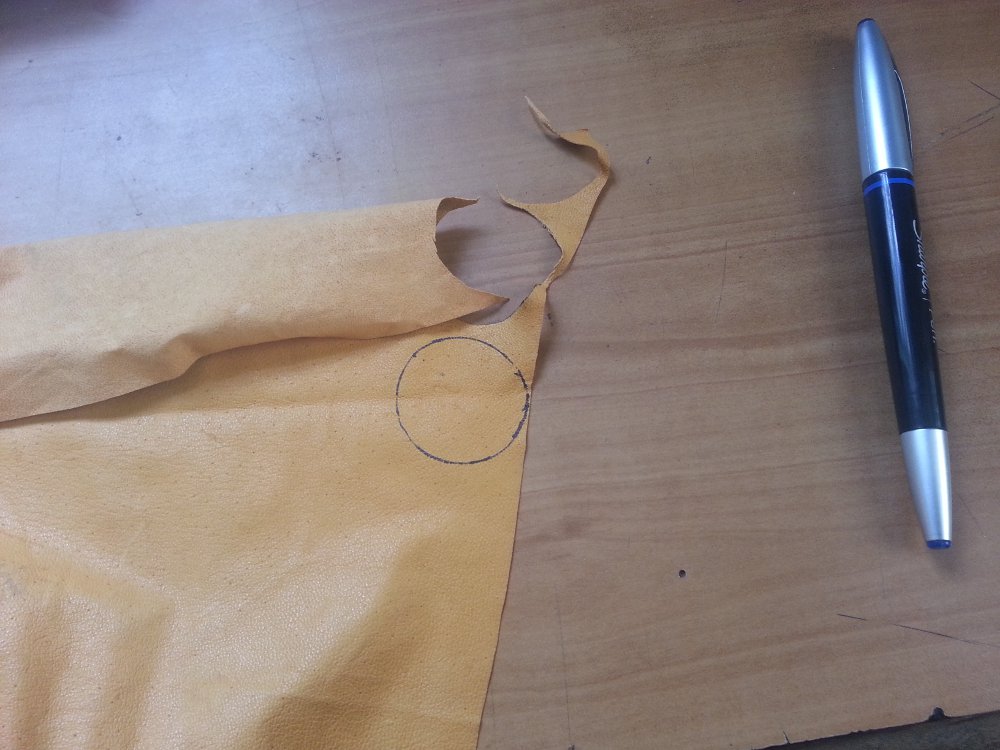
A damaged leather pouch.
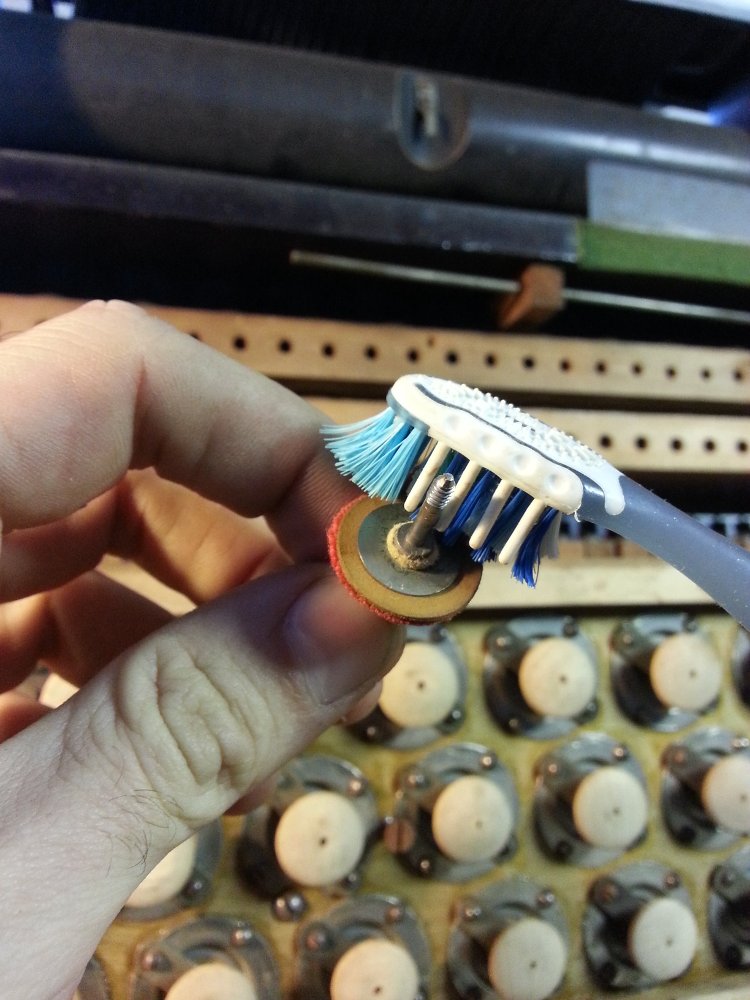
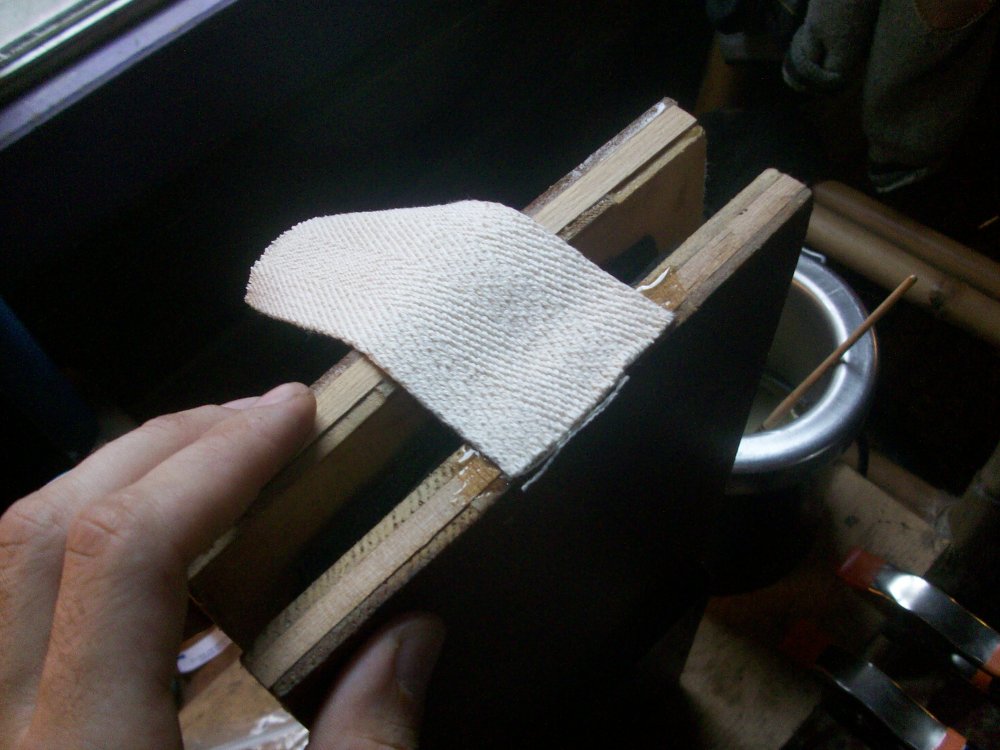
In my last player piano post, I described the procedure of cleaning the valves that direct the flow of air and vacuum inside the player action. This time, I am replacing several of the small leather pouches that control the valves. The leather on these pouches is pretty well protected inside the valve chest, but it is very thin and vulnerable to any debris that gets sucked into the action.
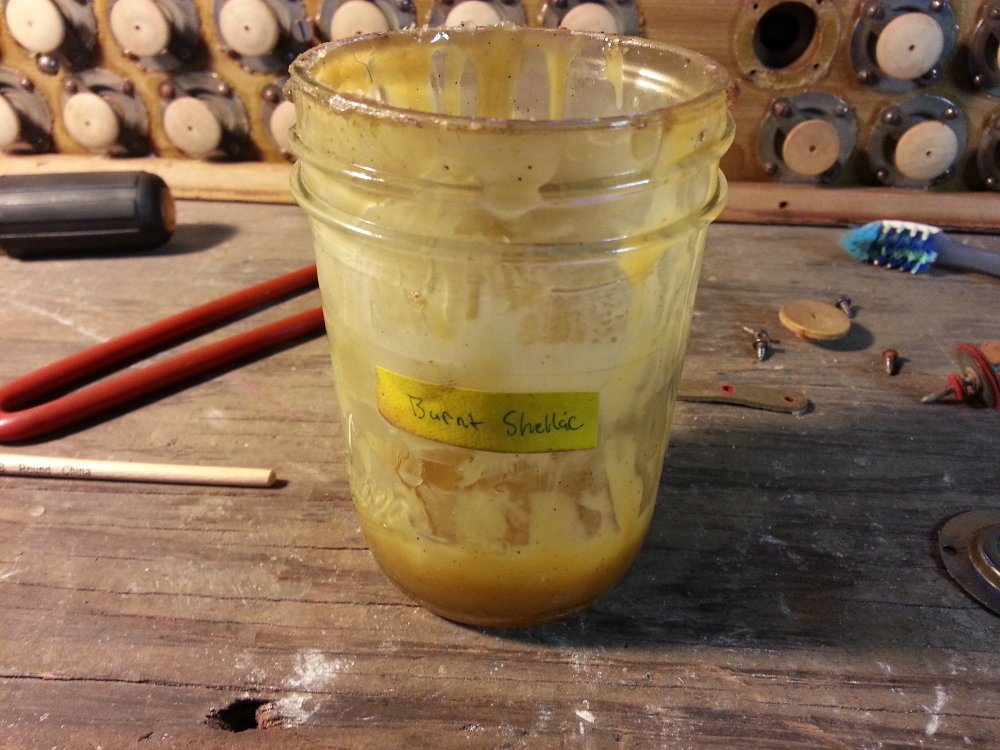
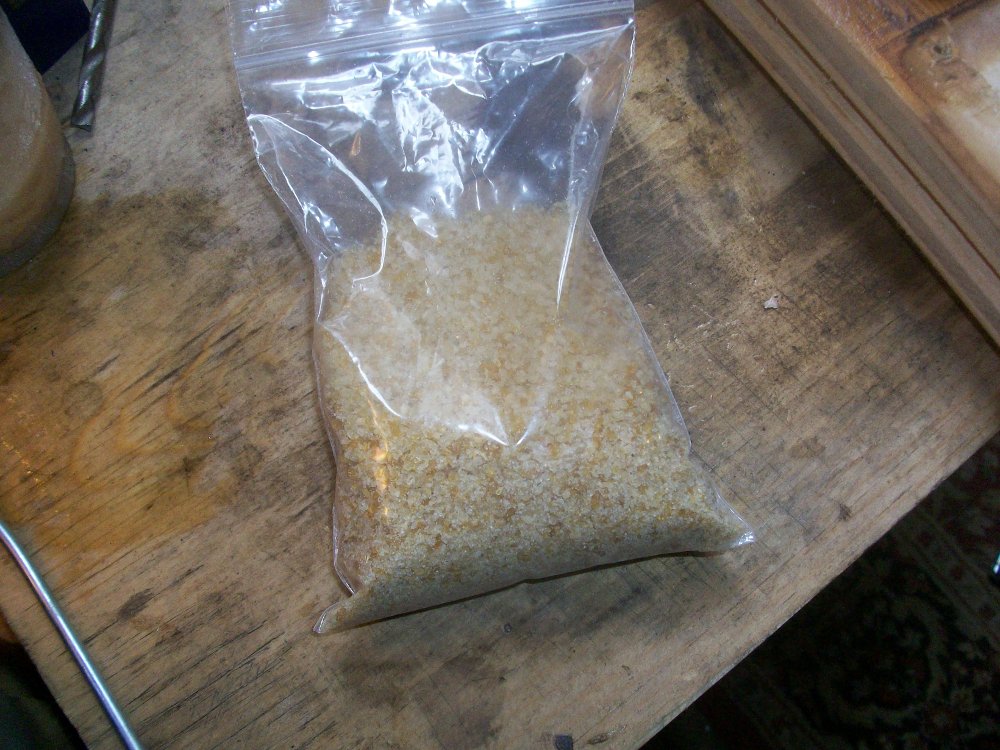
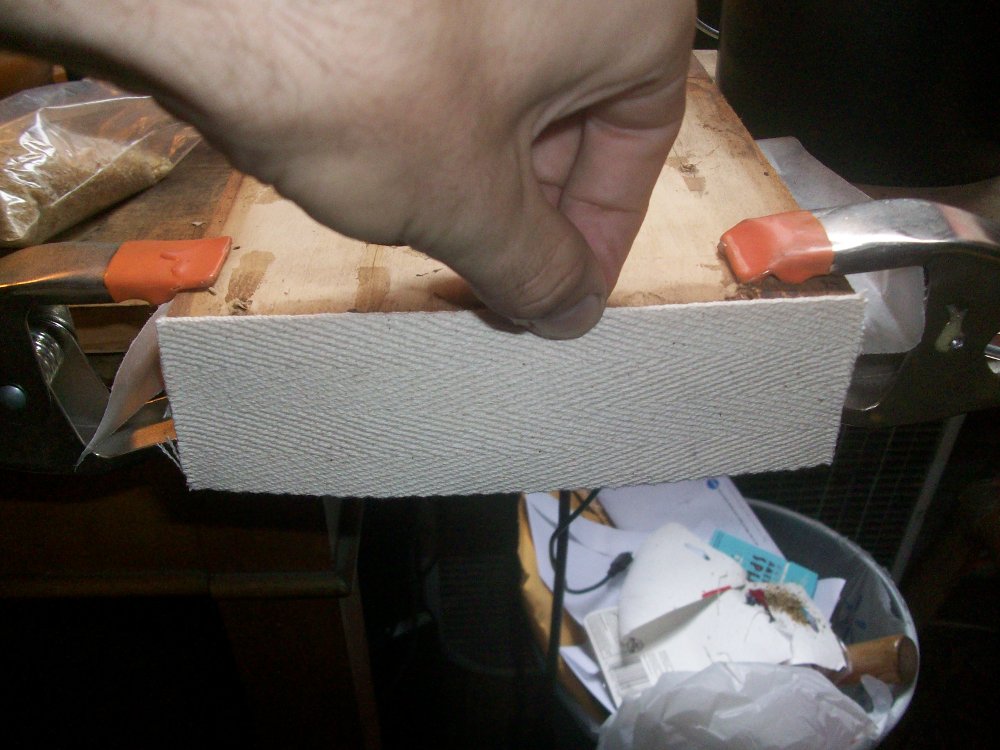
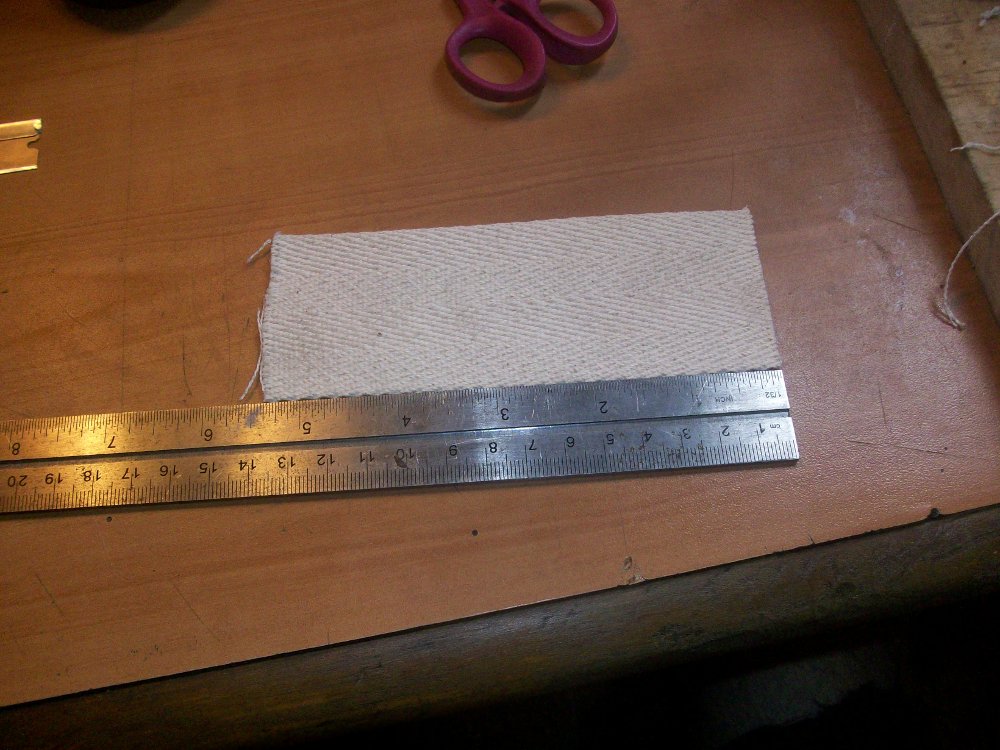
My player piano had one missing pouch and two damaged ones. I purchase my replacement pouch leather from Schaff Piano Supply. I believe that the smallest amount that you can purchase is 7 sq. feet which is enough to replace all of the pouches in the action.
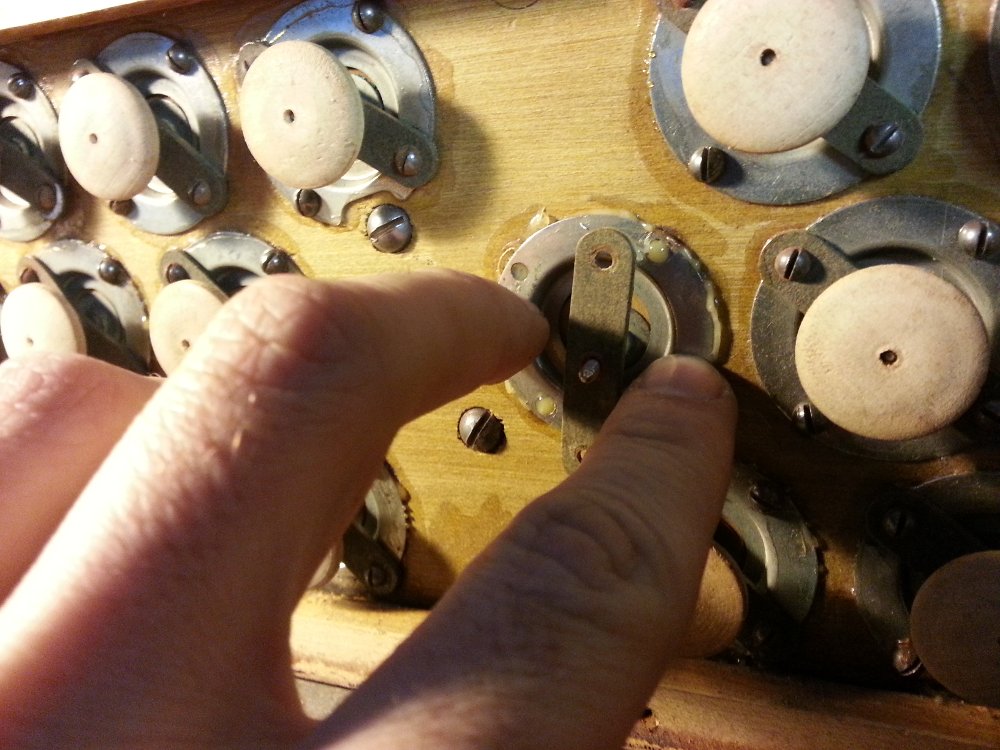
In their resting state, the pouches are “deflated.” When a music roll is played, air is allowed underneath the pouch which causes is to “inflate” and push on the wooden buttons that I mentioned in my post “Cleaning Player Piano Valves”. For the pouches to inflate properly, they must be airtight and have the correct amount of “dish” or concavity.
The first thing to do is to carefully remove the old pouch with a razor blade. If you are only replacing a few pouches, be careful not to damage any their neighbors. If more than a couple are damaged or are no longer airtight, it is a good idea to remove and replace all of the pouches.

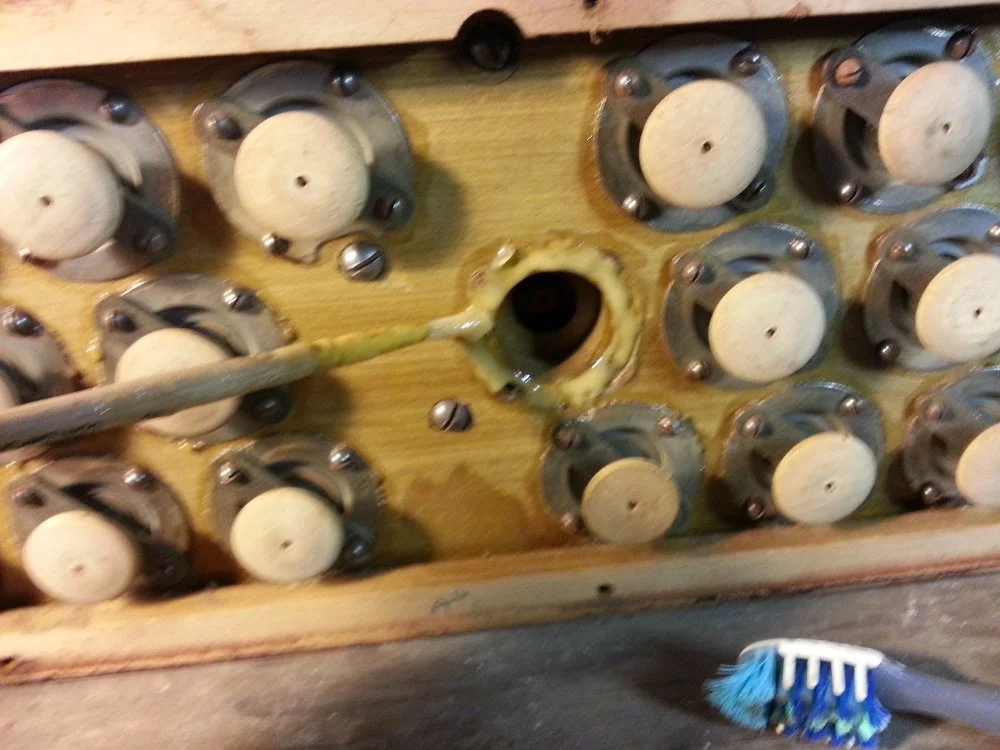
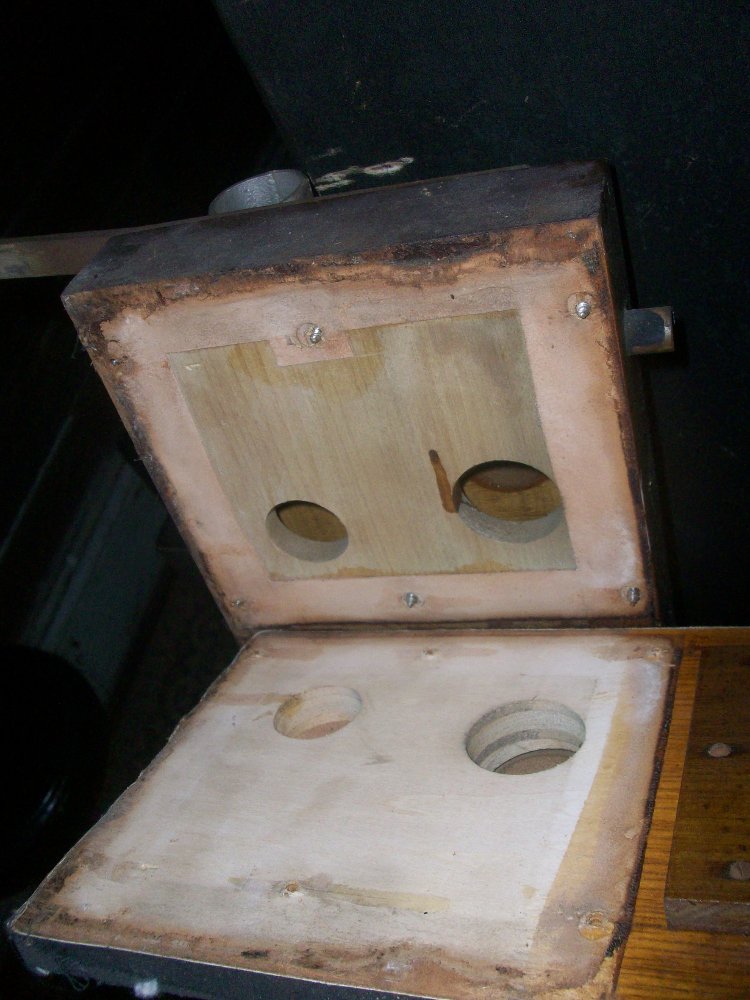
The "pouch well" can be seen after removing the leather.


Find a round object that is the same size as the old pouches. This will be your template to trace out the new pouches. I used the inside diameter of a roll of electrical tape. Trace the template onto your pouch leather and cut it out with a scissors.
Using a brush, apply a small amount of liquid hide glue to the edge of the pouch well. Wrap the glossy side of the leather around a coin and drop it into the well. It important that the matte side of the leather is against the wood, as the glossy side will not adhere as well. Use your finger to smooth the pouch leather outward and against the wood. If you are replacing all of the pouches, it can be a good idea to purchase a vacuum-operated pouch tool. This tool ensures that each pouch is given the perfect and exact same amount of dish.

A small amount of hide glue applied to the outside of the pouch well.

The new pouch leather dropped into the well.
Allow the hide glue to dry for 24 hours before testing the player action.

The pouch after smoothing the edges.
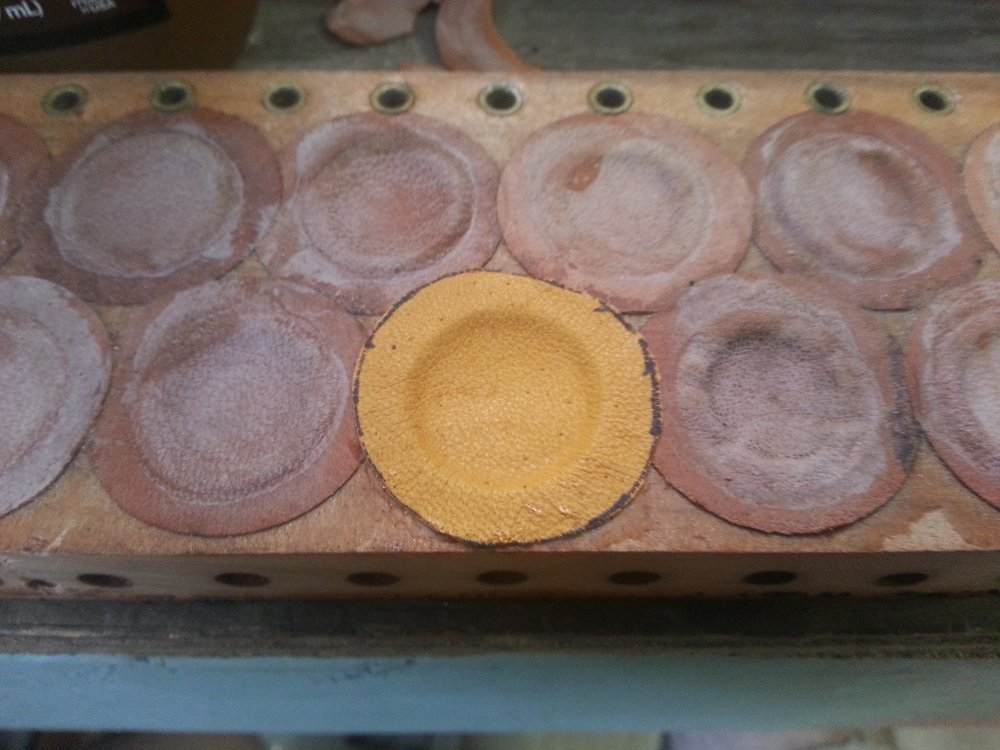
The replaced pouch.
Recent Blog Posts


I have been servicing and tuning pianos in NOLA since 2012 after first becoming interested in piano technology in 2009. With a background in teaching bicycle mechanics, I bring a methodical mindset and a love of sharing knowledge and skills to the rich musical culture of New Orleans.