keys

Trimming Key Leads

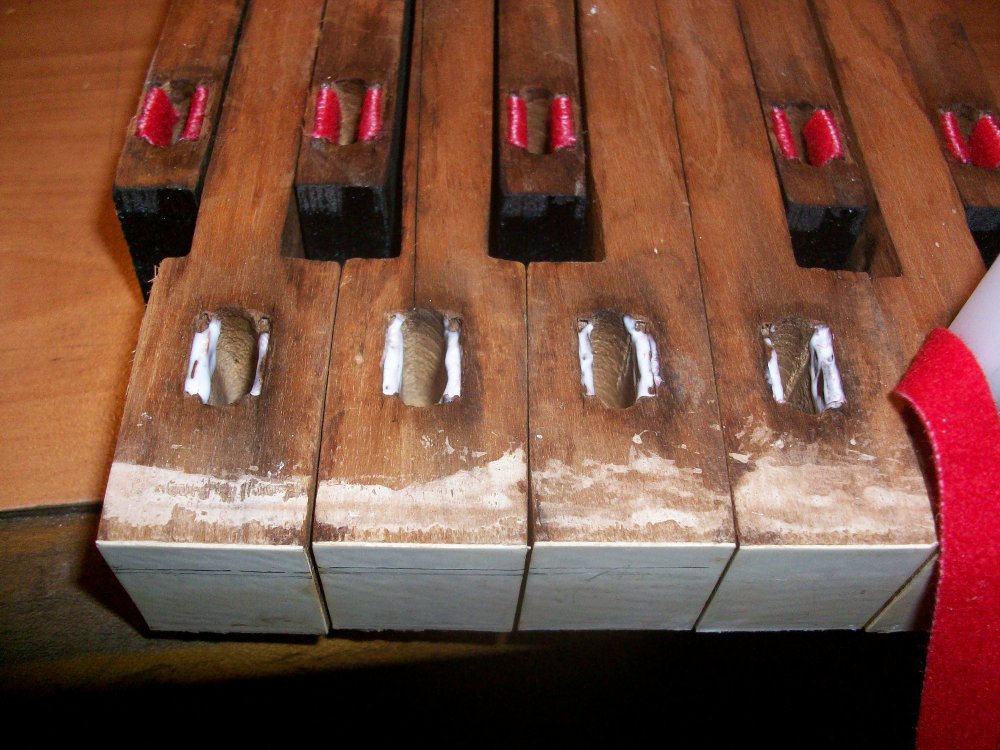
A problem that I occasionally find in older pianos is that of expanded key-leads.

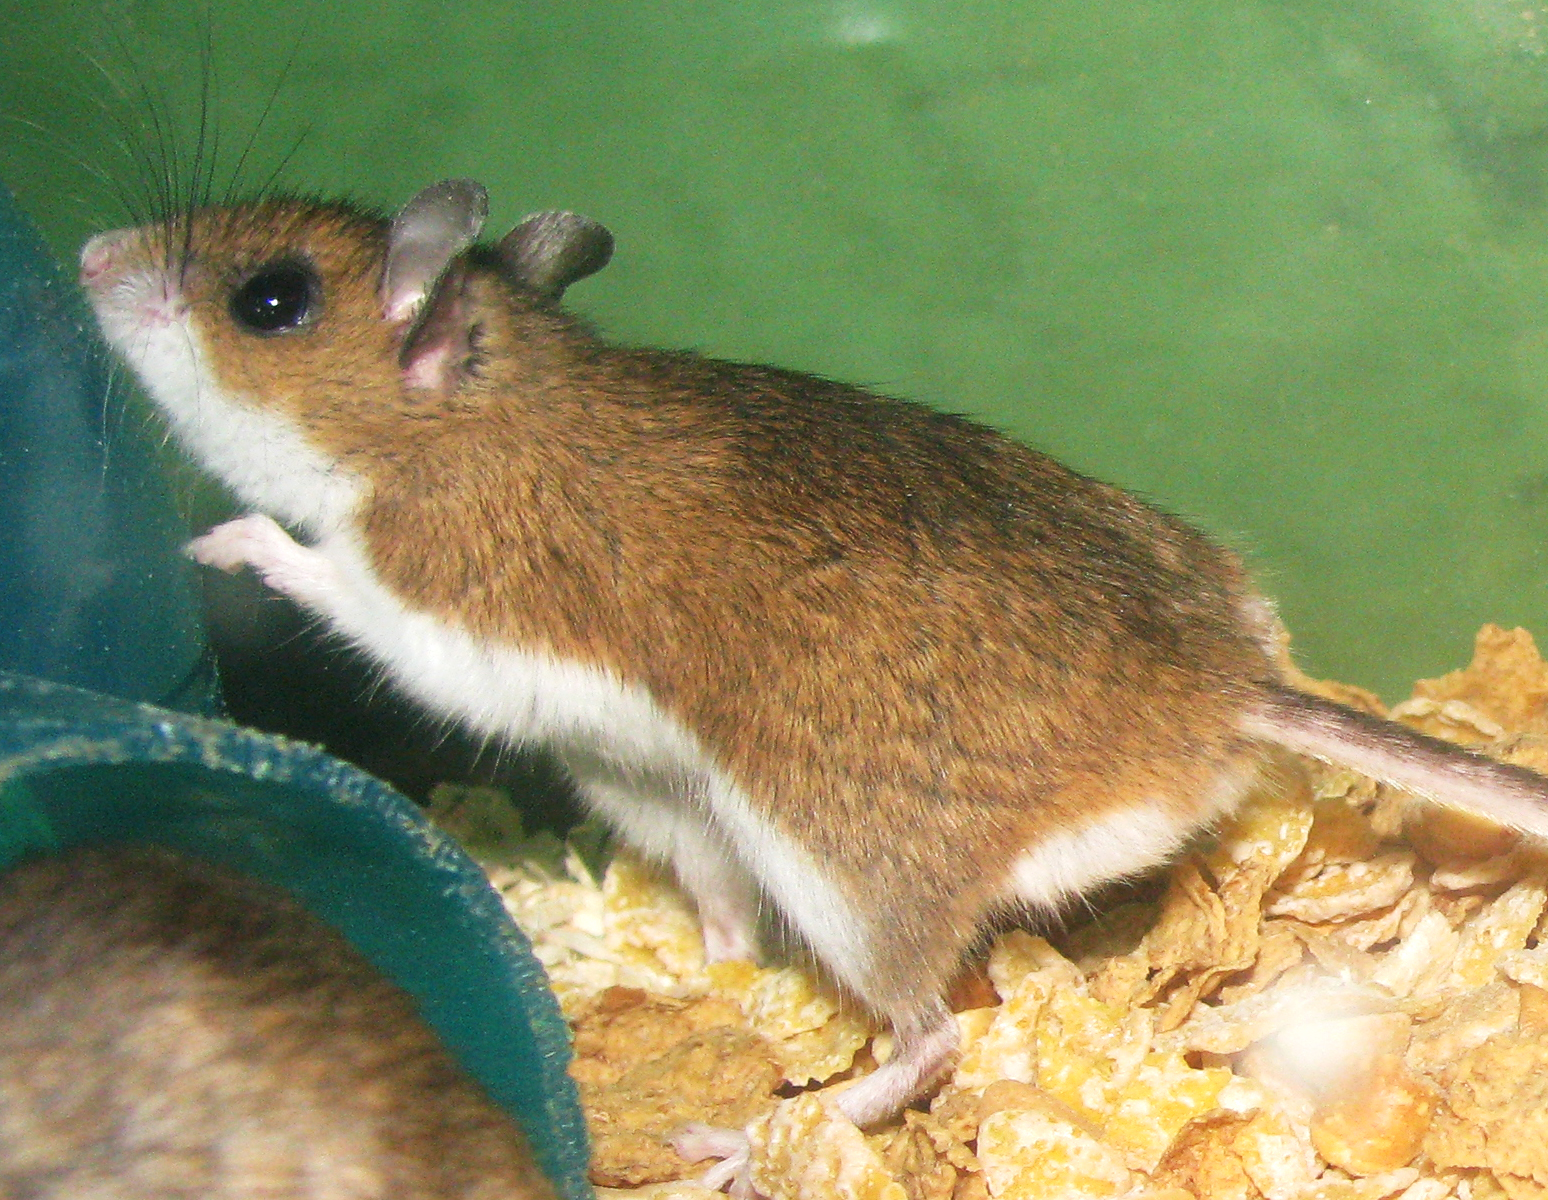
These expanded key leads are causing the keys to bind against each other. This issue was caused by rodents living in the piano, as is evident by the teeth marks on the keys.

These expanded key leads are causing the keys to bind against each other. This issue was caused by rodents living in the piano, as is evident by the teeth marks on the keys.

If you look at a piano action, you will notice that the hammers at the bass end are much larger (and therefore heavier) than the hammers at the treble end. The heavier bass hammers take more force to push toward the strings than the lighter treble hammers.

In order to create a consistent amount of pressure needed to play the keys across the keyboard, lead weights are pressed into the sides of the keys. Keys that push heavier hammers have more weight pressed into them than keys that push lighter hammers. The lightest hammers at the far right end of the keyboard have no weight added at all.

If moisture or an acidic environment is introduced into the keyboard, it will cause the lead to oxidize and expand. Some technicians claim that keys that are made from basswood naturally create a slightly acidic environment. This means that the best way to avoid this with a basswood keyboard is to aerate the keys by leaving the fallboard open at all times. Other ways that key leads can oxidize is if water is spilled into the keyboard, if the piano lives in a very humid environment, or if rodents live in the piano and are urinating on the keys. Usually, you can get an idea about what the cause is by looking to see where the oxidized leads are located. If the whole keyboard has expanded leads throughout, it is likely the cause of high humidity or unventilated basswood keys. If the oxidation is concentrated in small areas, there was likely a liquid spilled on the keyboard or mice living in the piano.

A little bit of oxidation of the key leads wont hurt anything, but eventually the leads can expand so much that they will rub on neighboring keys. This will cause friction and result in sluggish or binding keys. When this happens, they key leads need to be trimmed so that they are once again flush with the side of the key. Be careful when undertaking this process, as lead dust is toxic if inhaled. Wear a respirator and gloves, and have a vacuum with a HEPA filter handy to clean up the dust during the process.

The first step is to remove all of the offending keys from the keybed.

An expanded key-lead.

An expanded key-lead.

Set them down on a rag and vacuum up any lead dust that is left on the keybed. Using a sharp chisel, slice through the expanded key-lead so that it is flush with the side of the key.

Make sure your chisel is sharp before cutting into the key-lead.

Make sure your chisel is sharp before cutting into the key-lead.

Pushing the chisel through the key-lead.

Pushing the chisel through the key-lead.

The goal is to create as little dust as possible, so avoid using a file or sandpaper. Go down the line of keys, slicing through the expanded leads on each side, and vacuuming up the dust and lead scraps.

The trimmed key-lead.

The trimmed key-lead.

After trimming the leads, I like to brush some lacquer or shellac over the exposed sides of the leads to prevent further oxidation.

Both sides of the key-lead have been trimmed flush with the key.

Both sides of the key-lead have been trimmed flush with the key.

Replace the keys and test them to make sure they all move smoothly. Finally, vacuum up any lead dust that fell onto the rag.
Recent Blog Posts


See more of my blog posts here

Hello There! Don't Leave Just Yet!

I provide piano repair information on my blog and through email correspondence free of charge because I like to help people learn about pianos. However, it does take up a significant amount of my time. So, if you are so inclined, you can click the button below to help supply my caffeine habit and show your appreciation for my work. Thank you!

Buy me a matcha latteBuy me a matcha latte

Or Send Bitcoin! bc1q4tz3qzp6a6zeduqema3v6s0vnrhst4zwy4wtp9

Key Bushing Replacement

The key bushings of my Milton Player Piano had pretty much all fallen out, resulting in noisy keys that wobbled from side to side.  In order to recreate a smooth motion of the keys without sideways play, the balance rail bushings as well as the front rail bushings need to be replaced.  Each key interacts with two pins: the balance rail pin and the front rail pin.  The balance rail pin is in the center of the key, and allows the key to pivot forward and back.  The front rail pin is under the front of the key and guides the key to move in a vertical motion.  Both of these pins glide along felt bushings that are glued to the key.

To remove any bushings that haven't already fallen out, place a damp rag over the bushings and steam them with a hot clothes iron (see my post on keytop replacement for pictures of this).  Immediately after steaming, the key mortises need to be sized by allowing them to dry with an appropriate key mortise caul inserted.  I buy these cauls from Spurlock Specialty Tools.  There are several different sizes of caul that each corresponds to a specific size of pin that the keys pivot on.  Be sure to measure the front and balance rail pins with a micrometer in order to know which cauls to buy.

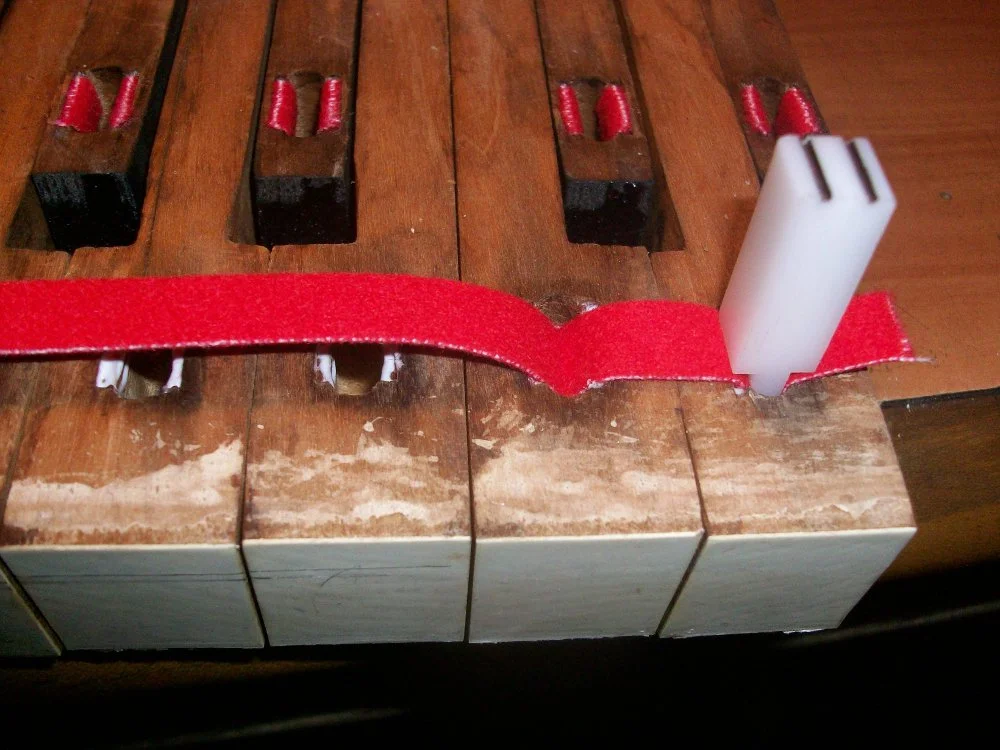
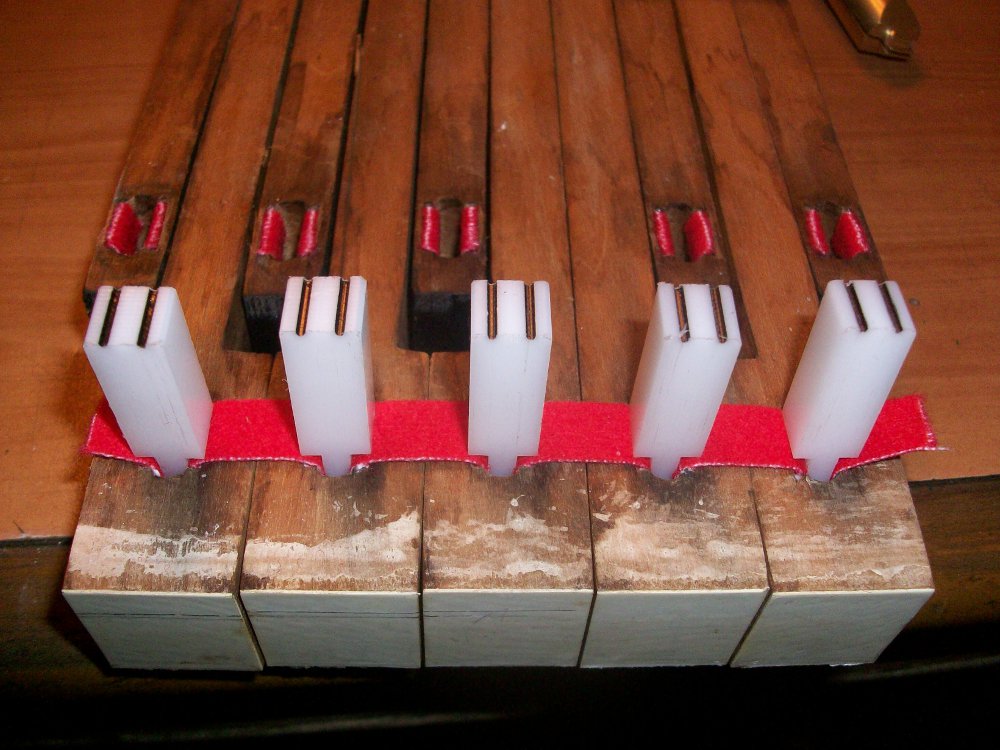
Front rail mortises with mortise sizing cauls in place

Front rail mortises with mortise sizing cauls in place

After the keys have fully dried, pull out the mortise sizing cauls.  All of the mortises should now be a uniform size and ready for bushings.  Before installing new bushings, I also ordered the .146" bushing cauls from Spurlock Tools (which match my .146" front and balance rail pins), as well as a few different thicknesses of Key Bushing Cloth from Schaff Piano Supply Company.

.146" Key Bushing Caul

.146" Key Bushing Caul

Before gluing anything in, push a bit of each thickness of bushing cloth into a mortise to see which one is the right fit.  The caul and cloth should push snugly into the mortise, but should not take any significant amount of force.  This step is crucial because too thick of a cloth will cause the keys to bind on their pins and too thin of a cloth will cause the keys to wobble side to side.

After I've picked the correct thickness of bushing cloth, I apply a bit of glue to both sides of the key mortise with a small brush.  I use PVC-E glue, but a PVA glue like Titebond will work, or if you want to get really serious, use hot hide glue.

PVC-E glue applied to the sides of the mortises

PVC-E glue applied to the sides of the mortises

If using PVC-E or PVA glue, work in sections of 5-10 keys at a time.  If using hot hide glue, only work on 1 or 2 keys at a time.  This is due to the fast set time of hot hide glue vs the others.

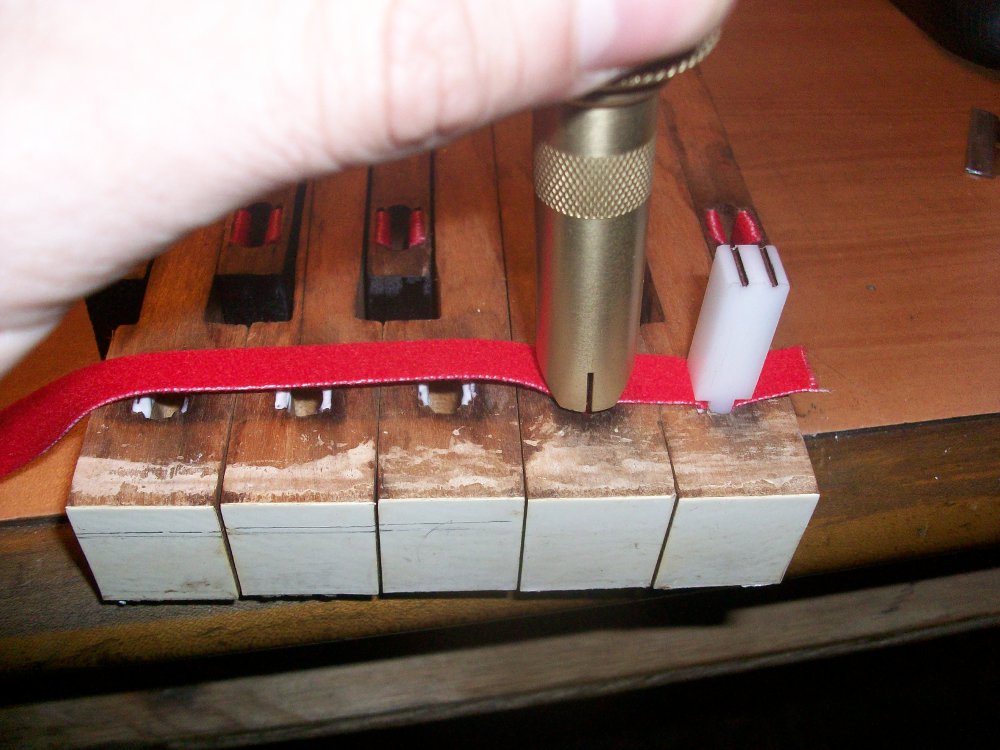
Once I have applied the glue to a section of keys, I lay the bushing cloth across the mortises, push the cloth into the mortise, and cut it in the center using my Bushmaster tool from Pianotek Supply Co.  This tool does a wonderful job setting the depth of the bushing cloth in the mortise as well as making a clean cut of the cloth.

The Bush master from Pianotek Supply. The blade on the end is normally recessed into the handle. Pushing on the black plunger causes the blade to emerge.

The Bush master from Pianotek Supply. The blade on the end is normally recessed into the handle. Pushing on the black plunger causes the blade to emerge.

The tool is first pushed into the mortise with the blade recessed to set the depth of the bushing cloth.  The plunger can then be pressed to cut the cloth.

bushmaster2
bushing caul2

After the tool has been removed, push in a bushing caul to clamp the cloth against the sides of the mortise while the glue dries.  After you've finished this section of keys, set it aside while the glue dries, and begin on the next section.

All bushing cauls in place

All bushing cauls in place

Once the glue has dried, the final step is to trim the bushing cloth flush with the key by using a razor blade. Once all of the bushings have been trimmed, the keys are ready to be reinstalled in the piano.  If any of the keys bind on their pins, a gentle easing of the bushings my be necessary.  This is accomplished by gently squeezing the bushings with a pair of wide mouth pliers.  Here is a great video on easing key bushings https://www.youtube.com/watch?v=tKCy8s4H9GI

key bushing razor blade

Recent Blog Posts


See more of my blog posts here

Hello There! Don't Leave Just Yet!

I provide piano repair information on my blog and through email correspondence free of charge because I like to help people learn about pianos. However, it does take up a significant amount of my time. So, if you are so inclined, you can click the button below to help supply my caffeine habit and show your appreciation for my work. Thank you!

Buy me a matcha latteBuy me a matcha latte

Or Send Bitcoin! bc1q4tz3qzp6a6zeduqema3v6s0vnrhst4zwy4wtp9

Rebuilding a Milton Player Piano

So, this will just be an introductory post that will lead to several in-depth posts in the future.  My roommate came across this Milton player piano for free on Craigslist, so we went to Algiers Point a week or two ago and picked it up.   The bellows and player mechanism are not airtight, but are in remarkably good shape compared to the rest of the piano.  In the first few pictures you can see the piano with the player mechanism (as well as most of the keys) removed.  Half of the white key ivories are missing, most of the black ebony keytops are as well.  The steel pins that hold the keys in place are very rusty.  All of the key buttons have come unglued.  My next post about this piano will likely cover replacing the keytops, re-gluing the key buttons, and replacing the key bushings of all 88 keys.

milton player piano 1

I always number the keys before removing them from the piano.  This is extremely important because every key has a unique shape that is not interchangeable with any other key.  They usually have numbers stamped into them by the manufacturer, but these are often difficult to decipher.  Better to just renumber them in pencil or marker.  Because the key buttons are unglued, I also numbered those to match the keys, in case any of them fell while I was moving things around.

milton player piano keys

When removing the keys, I keep them taped together in groups of 10-20.  In this case I taped over the key buttons to keep them in place as well.  Normally I would tape them between the buttons and the keytops.

Rusty balance rail pins. These will need to be sanded and polished before reinstalling the keys.

Rusty balance rail pins. These will need to be sanded and polished before reinstalling the keys.

All of these pictures were taken after I spent probably 45 minutes cleaning several rats' nests out of this piano.  Take extra care when working with a piano that has had rodents in it, as their feces can carry diseases that are transmissible to humans.  Wear a surgical mask and gloves.

Front rail pins also need sanding and polishing. The red pieces of felt are key bushings that fell out when I removed the keys.

Front rail pins also need sanding and polishing. The red pieces of felt are key bushings that fell out when I removed the keys.

milton player piano action

The piano action itself is not in too bad of shape.  The hammers are worn and some have been chewed by rodents and/or come unglued.

Rodents love chewing on piano hammers.

Rodents love chewing on piano hammers.

This picture of the treble end of the action shows some previous work done. Notice the lighter replacement hammer butts as well as their green bridle straps, while the originals are red.

This picture of the treble end of the action shows some previous work done. Notice the lighter replacement hammer butts as well as their green bridle straps, while the originals are red.

milton player piano reservoir

Player pianos rely on suction created by the pumping of two pedals to operate the pneumatics that control the piano.  The previous picture shows a hole in the reservoir component of the bellows.  If the whole system isn't airtight, the player mechanism will not work correctly, if at all.

The bellows removed from the piano. Notice the two foot pedals that used to power the player mechanism. They swing out away from the bellows when they need to be used.

The bellows removed from the piano. Notice the two foot pedals that used to power the player mechanism. They swing out away from the bellows when they need to be used.

The next couple pictures show what is known as the "top stack".  This includes the tracker bar which "reads" the music rolls as well as a series of valves and pneumatics that translate suction into a push on the hammer of a specific note.  Also included is the wind motor which controls the movement of the music roll across the tracker bar.

88 sets of tubes,valves, and pneumatics. One for each key.

88 sets of tubes,valves, and pneumatics. One for each key.

The wind motor.

The wind motor.

Recent Blog Posts


See more of my blog posts here

Hello There! Don't Leave Just Yet!

I provide piano repair information on my blog and through email correspondence free of charge because I like to help people learn about pianos. However, it does take up a significant amount of my time. So, if you are so inclined, you can click the button below to help supply my caffeine habit and show your appreciation for my work. Thank you!

Buy me a matcha latteBuy me a matcha latte

Or Send Bitcoin! bc1q4tz3qzp6a6zeduqema3v6s0vnrhst4zwy4wtp9