

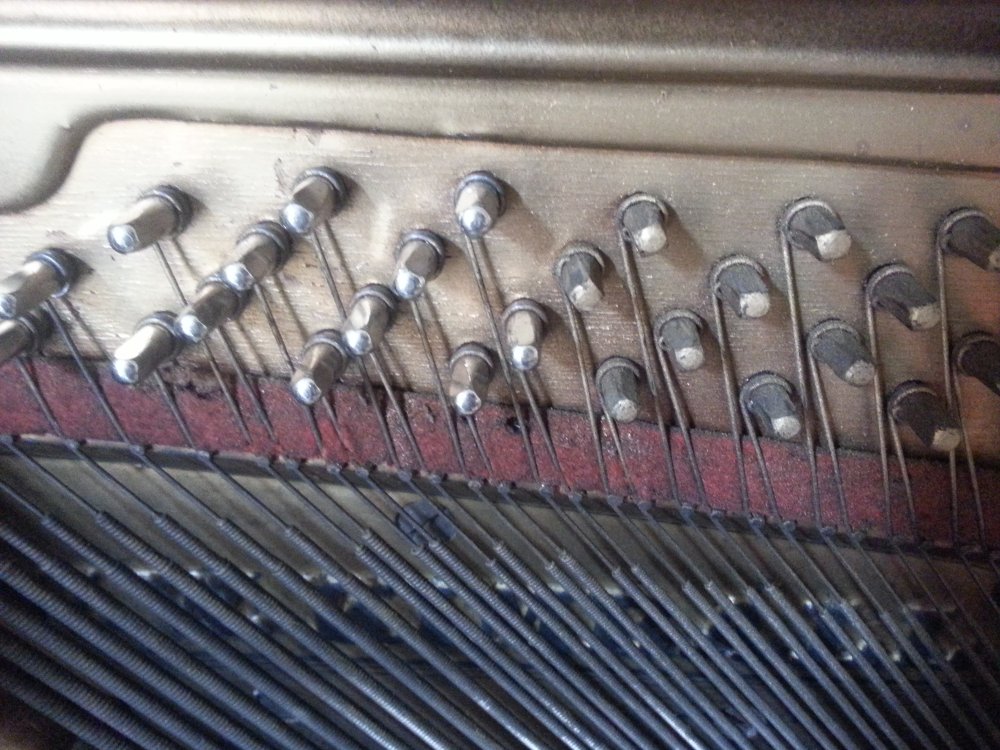
Over time, the tension on the strings causes the holes in the bridge to become enlarged. Note the pin in the center of the photo with the hole on its left side.
Does your piano have a section of keys that just sound terrible? Do the strings make clunking or rattling noises? Do single strings have a warbling sound to them? These are common symptoms of issues with the piano's bridges. There are two bridges in a piano: the short (bass) bridge and the long (treble) bridge.
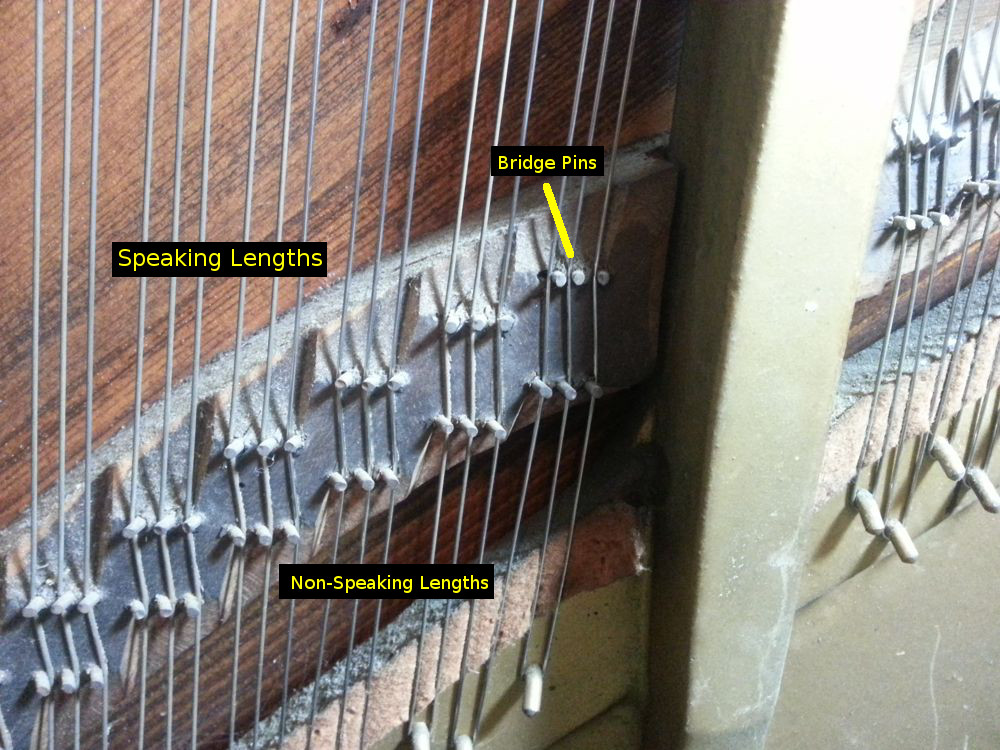
Bridges in a piano have two jobs to do. The first is to provide a termination point for the speaking length of each string (this refers to the section of each string that is struck by the hammer, vibrates, and produces the desired sound. There are several non-speaking sections of each string that are usually muted with strips of felt). The termination point is achieved by the use of iron “bridge pins.” These pins are sturdily embedded in the wood of the bridge and provide the lower end point of vibration for the strings. The second purpose of the bridges is to transmit the vibrations of the strings to the soundboard where they can be amplified to produce the volume that we expect from a piano.
The most common issue with the bridge is that of loose bridge pins. Over time, the sideways force exerted by the string causes wood surrounding the bridge pin to be crushed. This causes a loose fit of the pin in the bridge and can cause the noisy issues described above. There are other ways that a bridge can fail that will also cause these issues, but I won't get into those here.
The way to fix this problem is to remove the offending strings from the bridge, pull out the loose bridge pins, fill the enlarged holes with epoxy, drill new bridge pin holes, insert the bridge pins, and reinstall the strings.
The strings that pass the offending bridge pins must be loosened slightly.
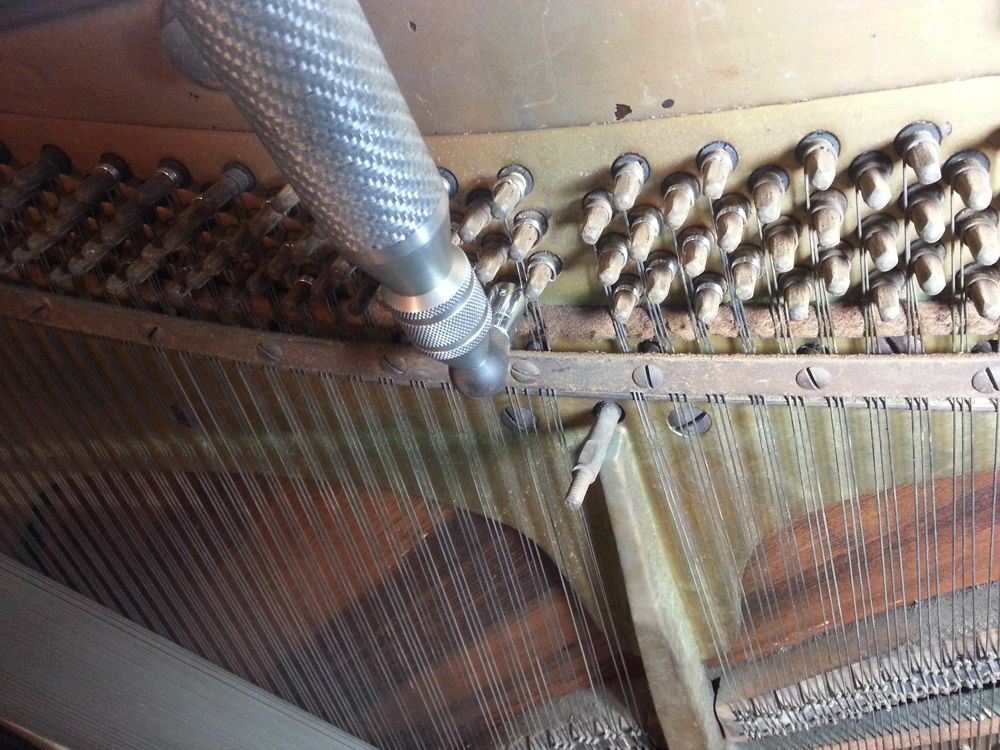
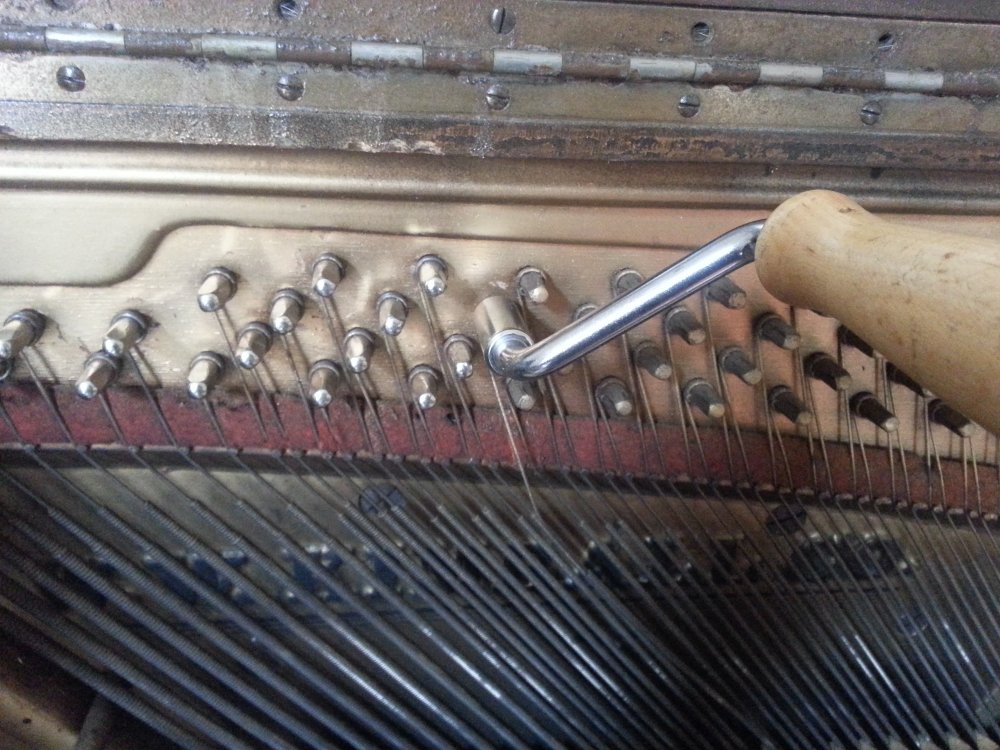
After identifying the bridge pins you want to work on, follow the strings up to the tuning pins. Before working on the bridge, you need to loosen each of the tuning pins that correspond to the strings over the target bridge area. If you are working in the tenor section, take a closer look at the three strings. One of them will loop around a hitch pin at the bottom and double as a string for an adjacent note. The tuning pin for this string must be loosened as well. Turn the tuning pins in small amounts while lightly pulling the strings towards you. This will keep the coils tight around the tuning pins while they unwind. Keep loosening the tuning pins until the strings have enough slack to pull them away from the hitch pins and the bridge.
If there are enlarged holes in the long bridge in the area underneath the bass strings, you will have to remove several of the bass strings to gain access to that part of the bridge.
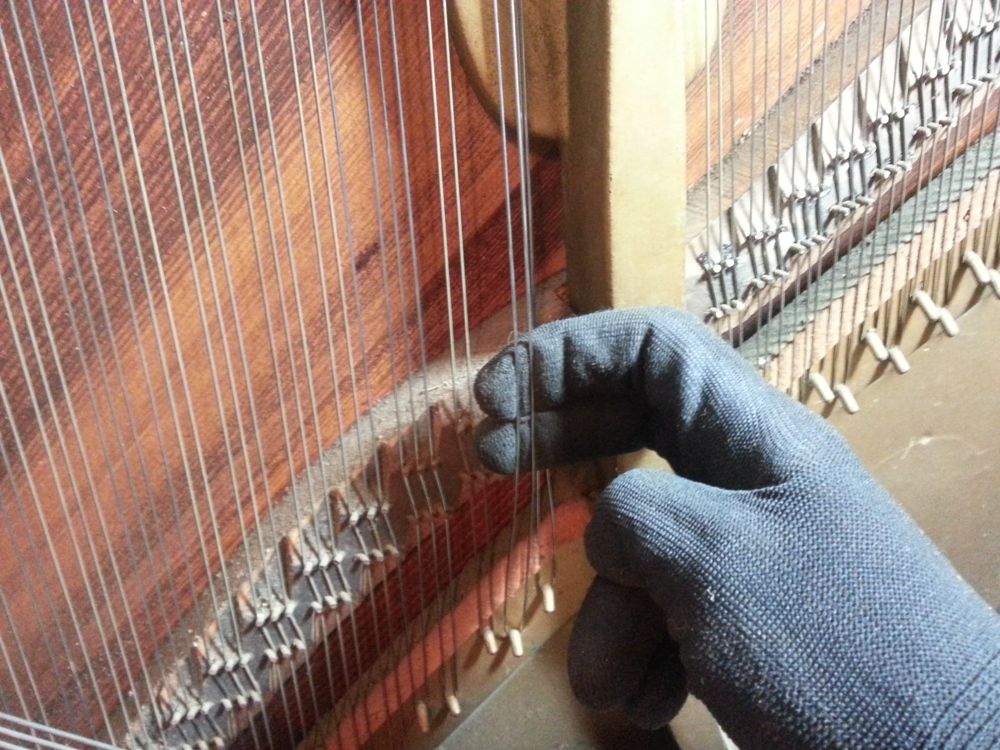
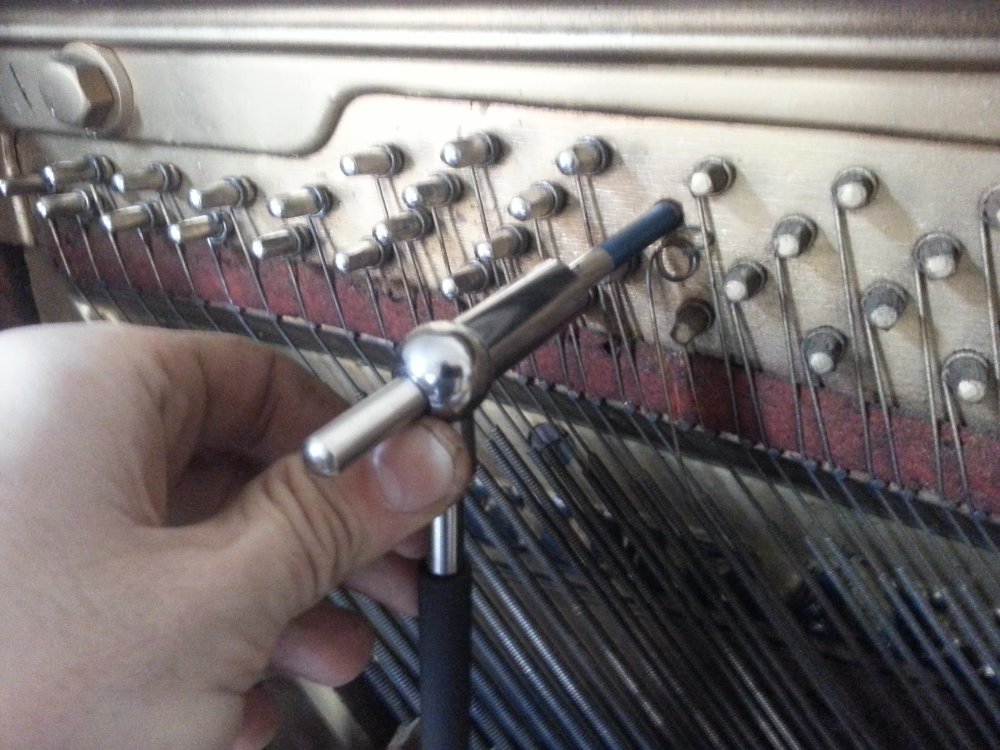
Holding tension on the strings while turning the tuning pins. I wear gloves to prevent any moisture on my hands from causing the strings to rust.

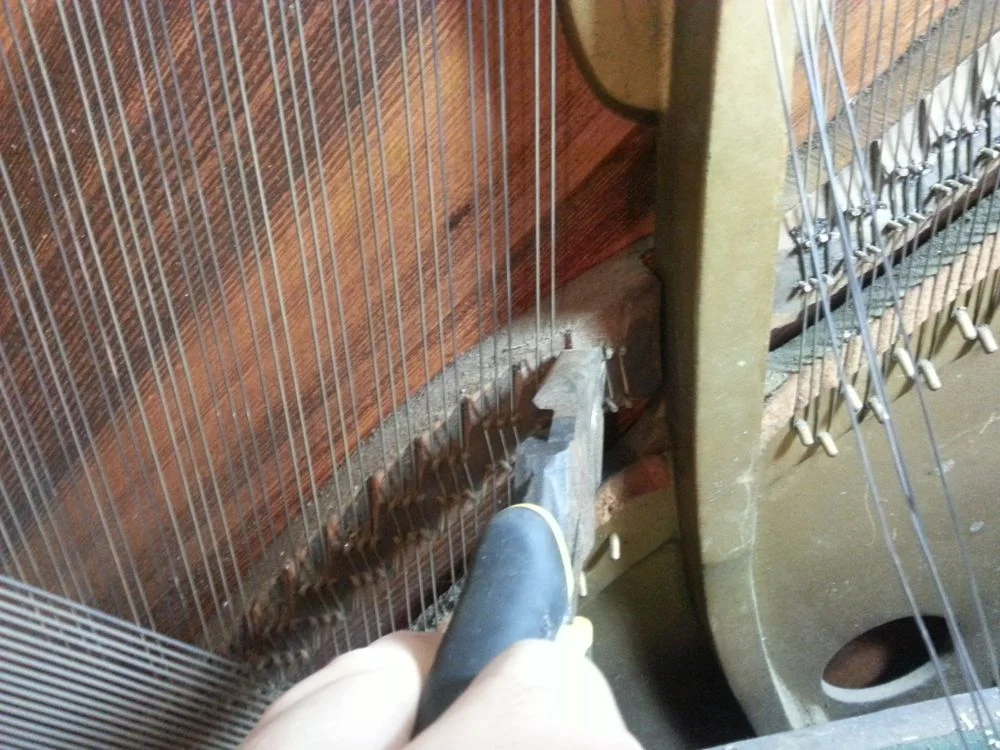
The loosened strings after being pulled away from the bridge.
Using a lineman's pliers, note the angle of the pins, and pull them straight out along that angle.
Pulling out the bridge pins.

A removed bridge pin.
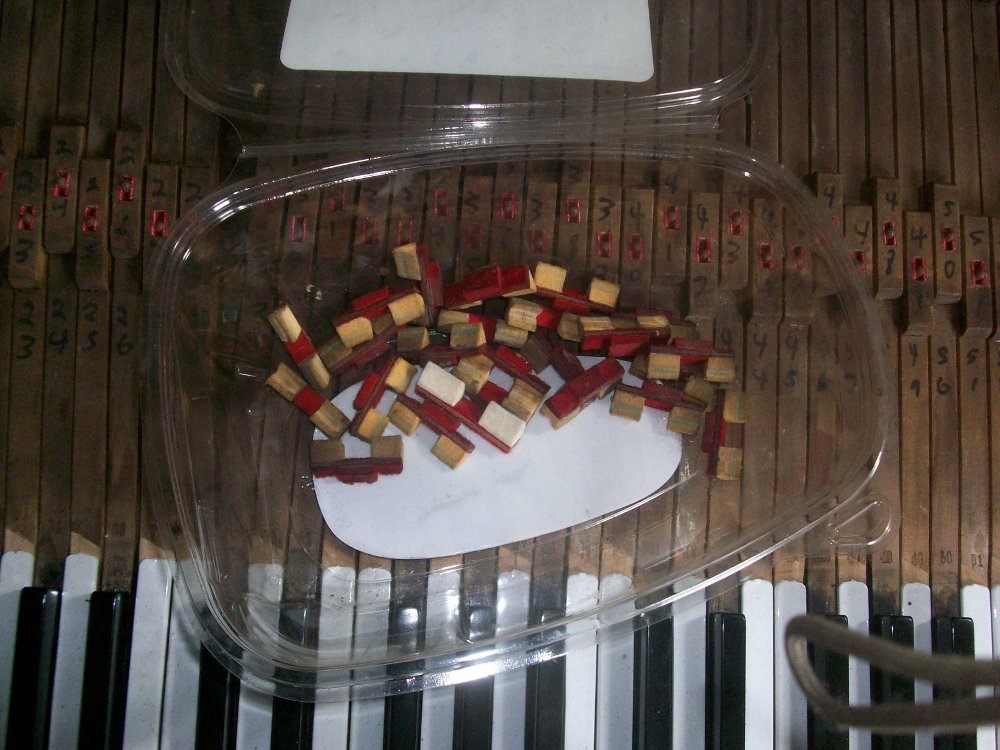
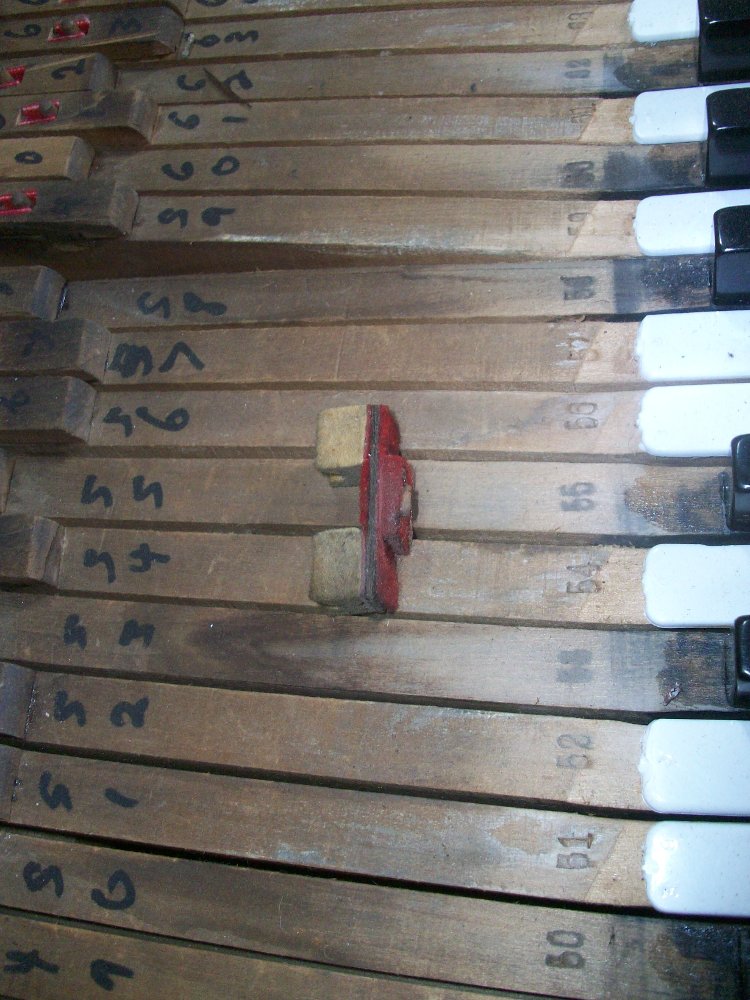
Use a piece of cardboard or styrofoam to keep the bridge pins in the correct order.
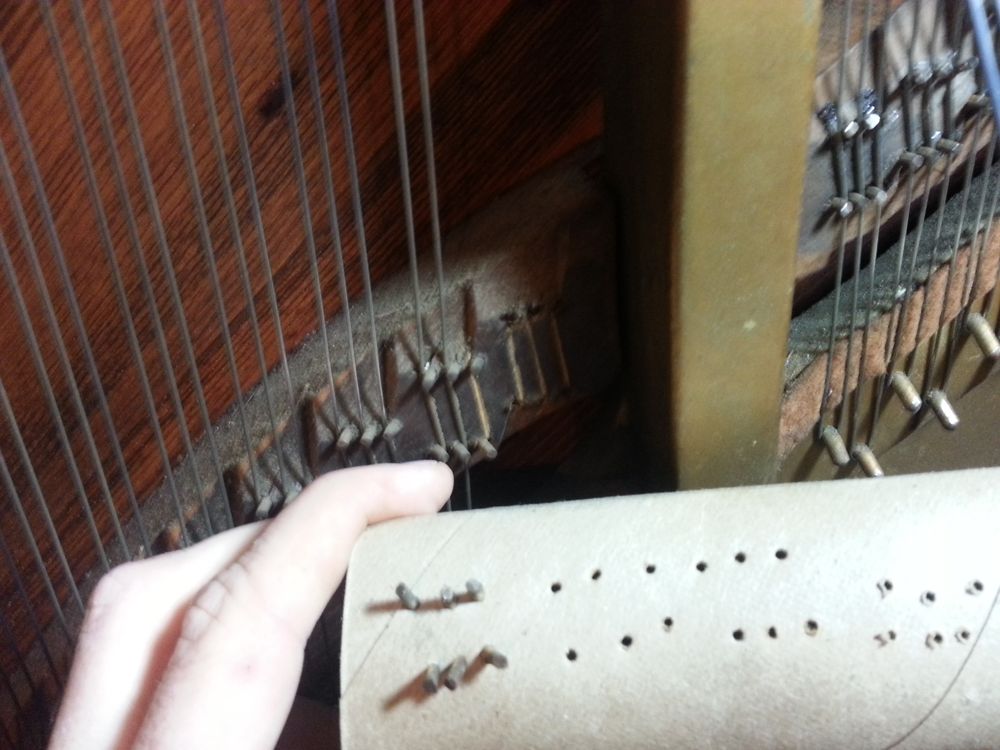
Keeping the bridge pins in order. Note how the right-most string of the note next to the one being worked on has also been removed.
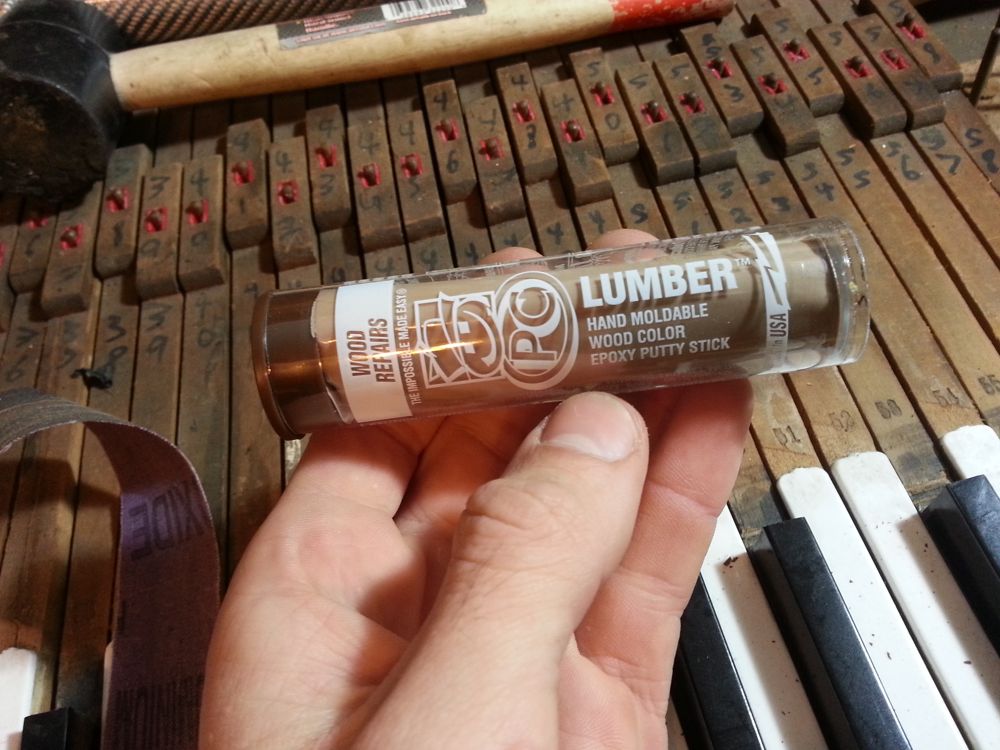
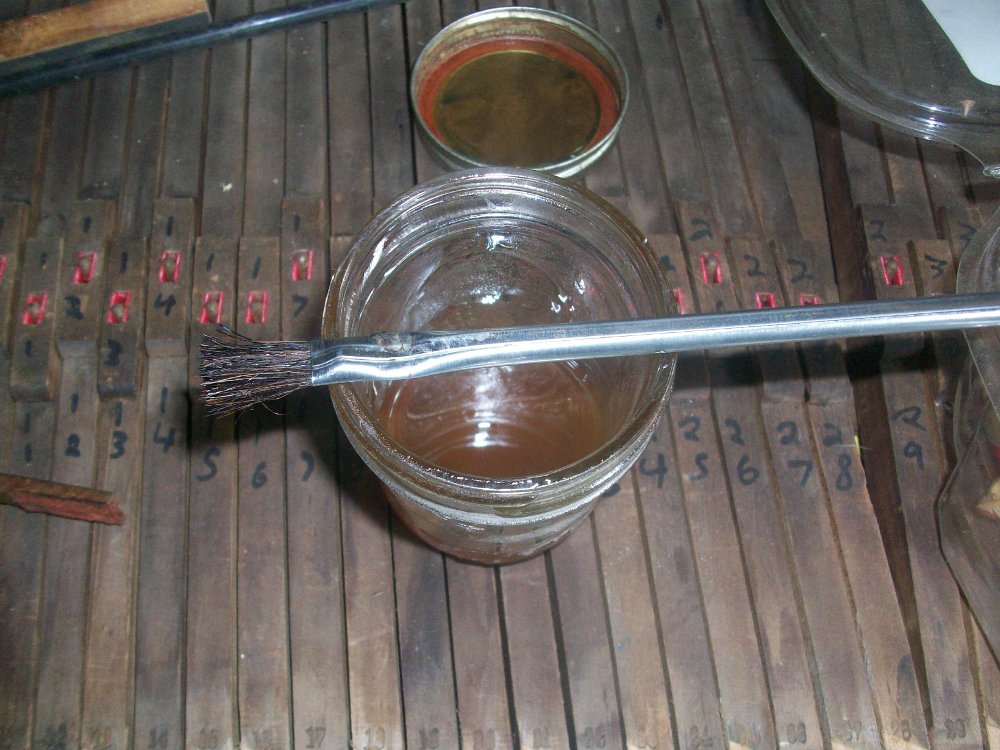
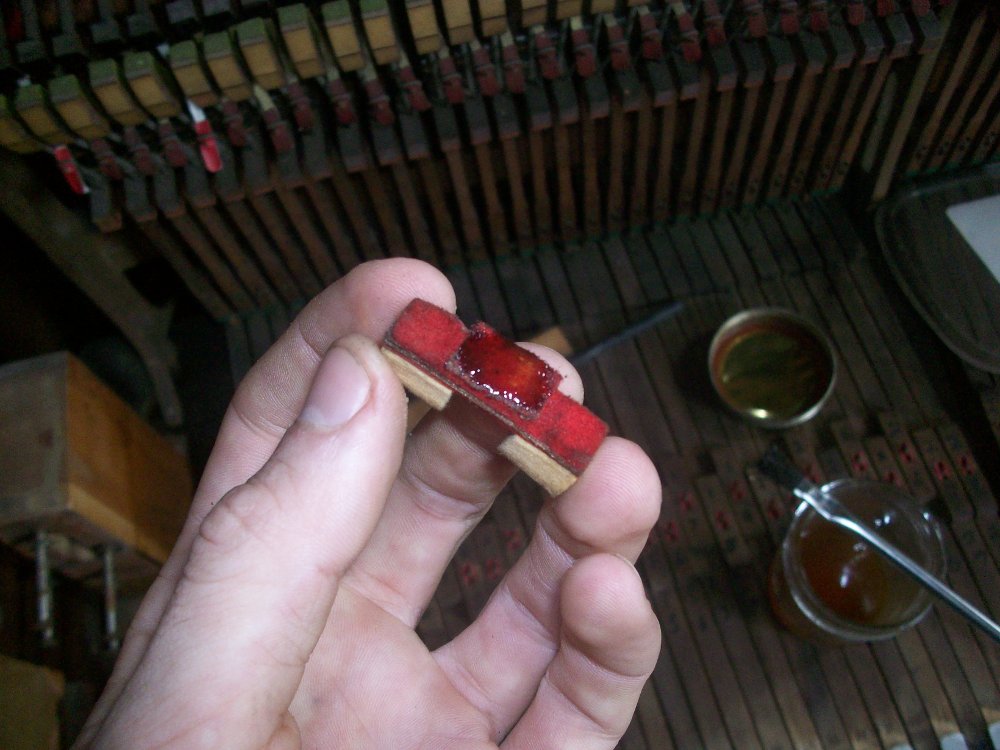
Once all of the offending bridge pins have been removed, cut and mix a small amount of PC wood epoxy putty and fill the enlarged bridge pin holes. After the epoxy has hardened, sand it flush with the bridge.
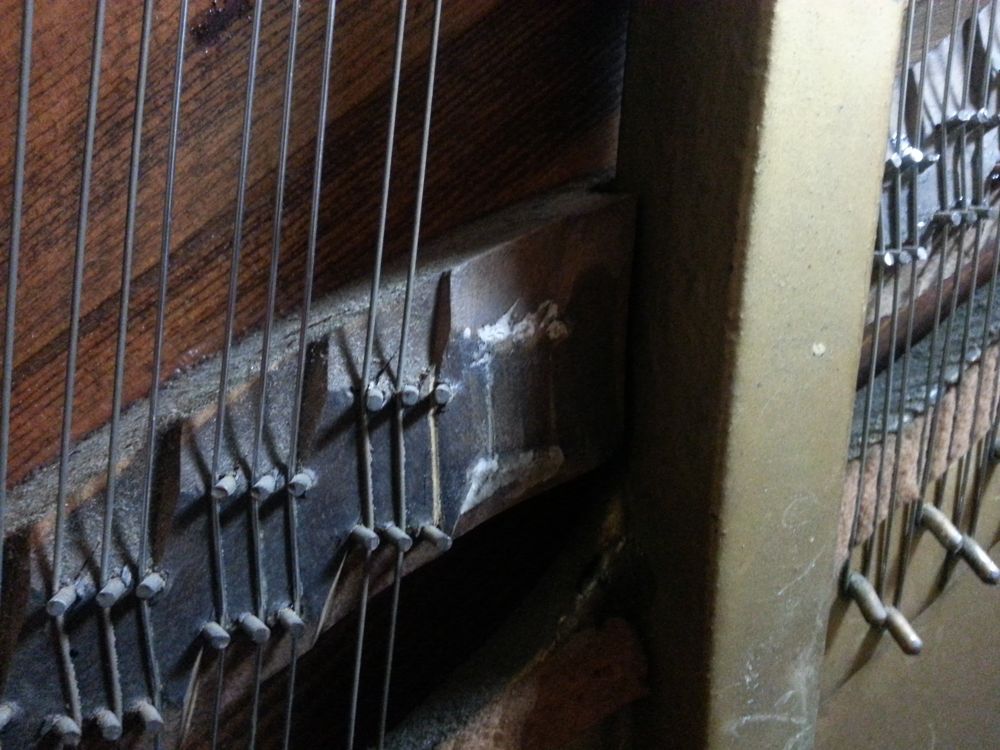
The bridge after filling with epoxy and sanding.
Measure the diameter of your bridge pins with a micrometer and acquire a drill bit of the exact same diameter or of the closest wire gauge size on the smaller side (an overly tight bridge pin is better than a loose one). Drill new bridge pin holes while trying to duplicate the angle of the surrounding bridge pins as closely as possible. Push and twist the bridge pins back into place, reinstall the strings, and pull them back up to pitch. Any buzzing, warbling, or clunking will hopefully be eliminated. If not, you may have more serious bridge problems.
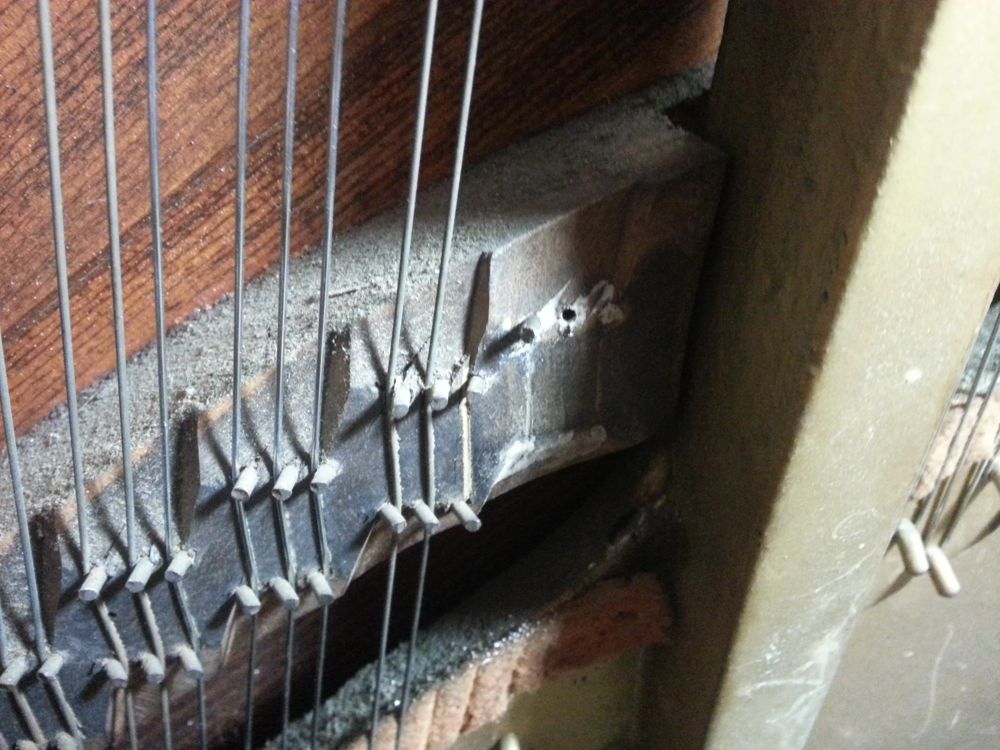
The bridge with one pin re-installed and a second hole drilled.
Recent Blog Posts


I have been servicing and tuning pianos in NOLA since 2012 after first becoming interested in piano technology in 2009. With a background in teaching bicycle mechanics, I bring a methodical mindset and a love of sharing knowledge and skills to the rich musical culture of New Orleans.