

This post is a continuation of the Milton Player Piano Series.
I've been working my way through all of the valves by removing, cleaning, and resealing them. These are the valves that translate the small openings in player piano sheet music into the striking of the appropriate strings. Behind each valve is a small pneumatic that, when the valve is closed, the pneumatic has air in it and does not actuate any other parts. When the valve is open, the pneumatic is exposed to suction which causes it to close and launch the hammer toward strings.

The valves are meant to be airtight, but since the valves are exposed to small particles in the air that are pulled through the player action, it is possible for the sealing surfaces to catch some dust that will cause them to no longer be airtight. The valves only move about 1/32 of an inch between the open position and the closed position, so even the smallest interference can cause the valve to malfunction. I have no idea when the last time this player piano was serviced, but there was plenty of air leakage in the action, so I decided to go through and clean the valves.

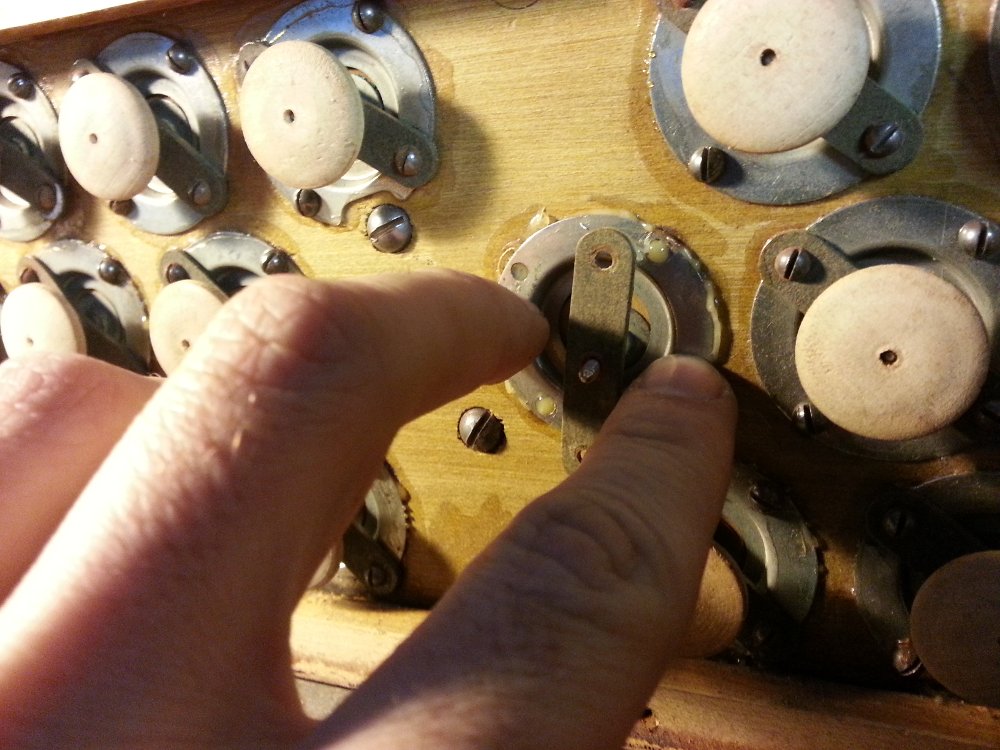
This piano actually contains a double-valve action. Each note uses two different valves. The second set of valves can be seen in the photo below.

In this post, I am focusing on the lower set of valves.


The first step is to remove the wooden button that is threaded onto the end of the valve stem. I use a set of Kelly Forceps to grasp the valve stem while I unthread the button by hand.

Remove the four screws holding the faceplate and set them aside in a way that you will remember which screw belongs in which hole.

The next step is to loosen the glue that is holding the valve to the board. I do this by heating up the faceplate with a soldering iron. Hold the iron against each side of the faceplate for 20 seconds to heat it up enough to soften the adhesive.


In order to remove the valve withough damaging the wood behind it, I use a Park Tools Pin Spanner. The pins fit nicely into the screwholes in the faceplate and allow me to rotate the faceplate in order to break it free from the hold of the glue.


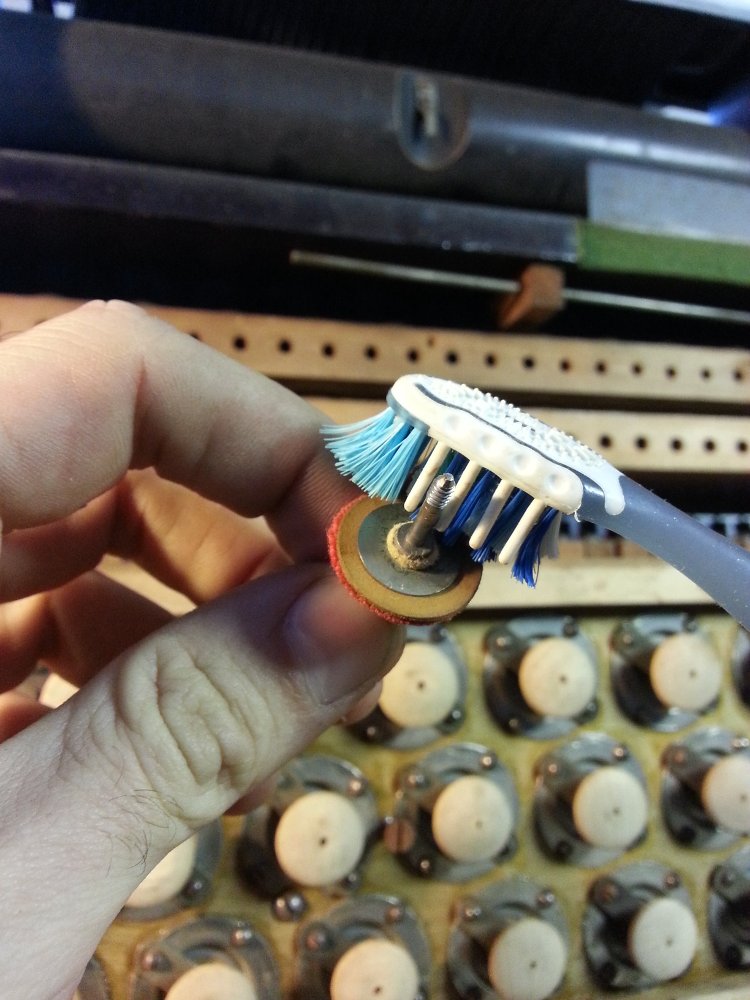
After the glue looses its hold, carefully pull out the valve and separate the faceplate, stem, and leather disc.


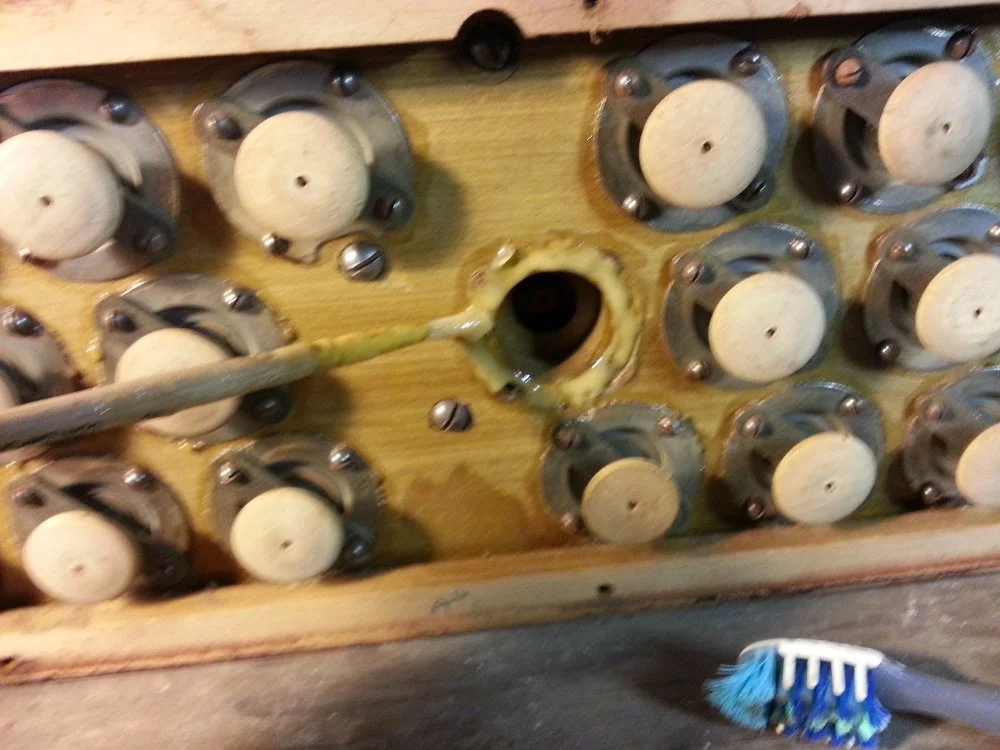
Note the guide in the center of the recess. The back end of the valve stem fits into this guide to ensure it moves smoothly.

Using an old toothbrush, gently scrub the leather disc on the valve stem, as well as the loose leather disc. Try to remove any traces of dust or dirt.

Additionally, clean any old glue off the back of the faceplate. A clean surface here is important for a good seal against the wood. I use a single edge razor blade to scrape it clean.

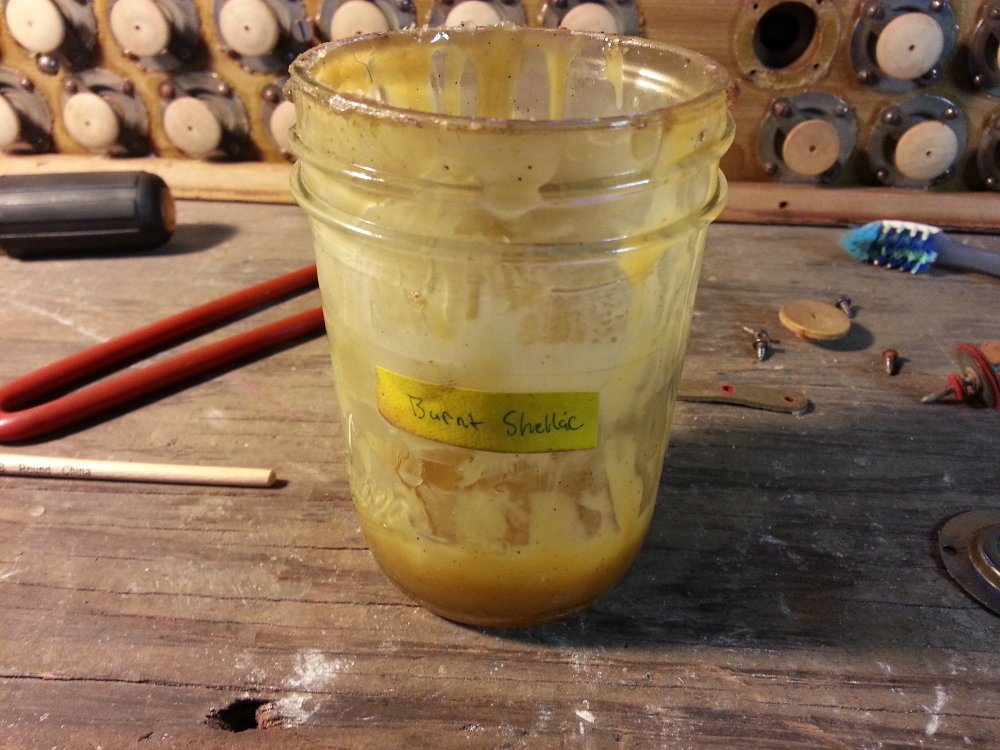
To reseal the valve to the board, use burnt shellac. This is simply a thickened form of shellac that you can produce by buying clear shellac from the hardware store and burning off some of the alcohol in it. Burnt shellac is an amazing adhesive. It sticks to almost anything and it does a great job when something needs to be airtight. The only downside is that it can take a week or longer to fully cure, so don't use it for any last minute repairs.
Brush a layer of burnt shellac around the edge of the valve socket.
Reinsert the valve. Make sure the valve goes in straight, and the end of the valve stem fits into the guide inside the socket.
Reinstall the screws. Be careful not to overtighten these screws and strip out the threads in the wood.

Finally, reinstall the wooden button.

Now repeat 87 more times!
Recent Blog Posts


I have been servicing and tuning pianos in NOLA since 2012 after first becoming interested in piano technology in 2009. With a background in teaching bicycle mechanics, I bring a methodical mindset and a love of sharing knowledge and skills to the rich musical culture of New Orleans.