Recovering Player Piano Reservoirs

This post is a continuation of the Milton Player Piano Series.

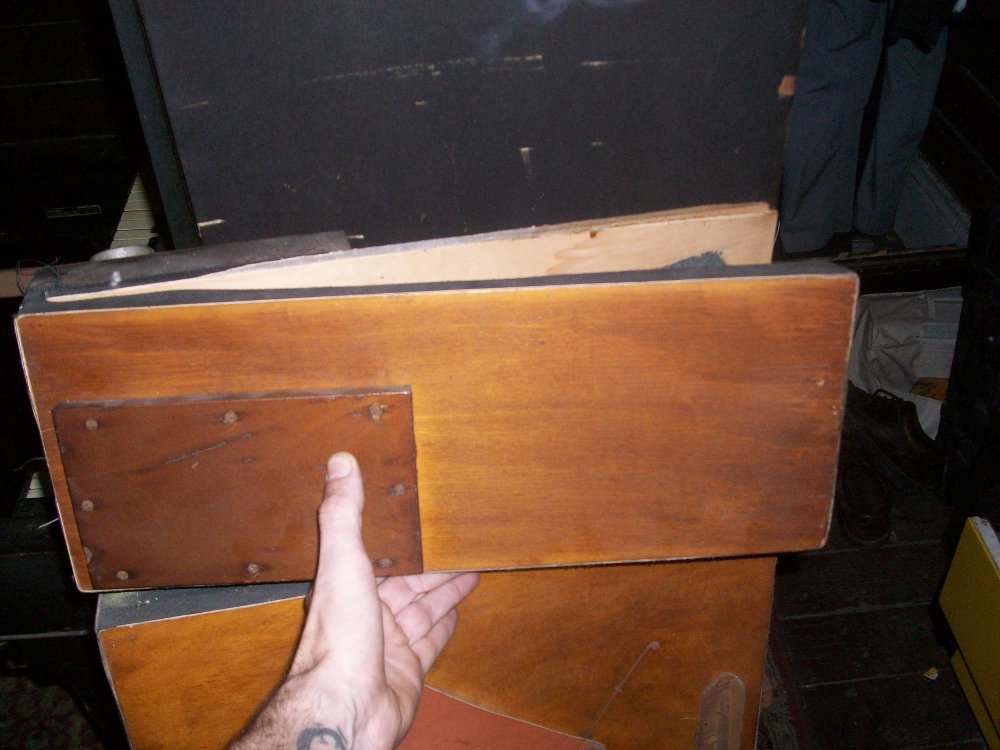
Inside the bottom of a player piano is a system of pedals, pumps, and reservoirs that creates the suction to operate the player mechanism.  The boards that make up one of the reservoirs in my player piano had started to delaminate and the rubberized fabric had pulled away from the board resulting in a serious air leak.  The best way to repair this is to cut and scrape the old fabric off, reglue the wood that delaminated, and recover the reservoir with new fabric.

Before cutting off the old fabric, measure the existing span of the reservoir and write this number down.  When recovering the reservoir later, I want it to end up with the same span as it originally had.

Measuring the original span of the reservoir

Measuring the original span of the reservoir

After writing down the span, cut away as much of the fabric as possible without cutting into the wood.  Be wary while doing this because the reservoirs contain very strong internal springs that can cause damage or injury if not handled carefully.

Excess fabric cut away

Excess fabric cut away

Internal reservoir spring

Internal reservoir spring

Remove the spring by squeezing it together and pulling it out toward the open end of the reservoir.  Once the spring is removed, the cloth hinge can also be cut and the two boards can be seperated.

Closeup of the delamination

Closeup of the delamination

Spread the lamination slightly by using a wedge, shim, screwdriver, etc. in order to make getting glue into the joint a bit easier.  Titebond 2 works just fine for this purpose.  Get enough glue in there to just barely squeeze out when clamped.  Wipe off the excess and allow the glue to dry.

Spreading glue

Spreading glue

Glue drying while clamped

Glue drying while clamped

In order to remove the board that is still mounted to the trunk board, remove the six large screws from the front of the trunk

Six large screws to remove

Six large screws to remove

The second board removed from the trunk

The second board removed from the trunk

After both boards are free, use a sharpened paint scraper to remove the bulk of the rubberized fabric.  Then, clean the edges of the board by lightly planing them with a small block plane.  The goal is to only remove traces of cloth and glue.  Remove as little wood as possible.  Finally, go over all of the board edges with a sanding block with 80 grit paper.

Once the boards are cleaned they are ready to recovered with new rubberized cloth.  I acquire my cloth from Schaff Piano Supply.

This cloth should only be glued with hide glue (preferably hot hide glue) as it allows for an airtight bond while also being reversible for future repairs.  I've made up a small batch of hot hide glue in my glue pot for this repair.

Hot glue pot

Hot glue pot

Hide glue crystals

Hide glue crystals

The first thing to do is to attach a new cloth hinge.  I use pedal webbing (also from Schaff) as the reservoir hinge.

Hinge Material

Hinge Material

The reservoir needs both an internal and an external hinge.  Attach the internal hinge first by applying hot glue to the boards and laying the cloth hinge.  Keep the folded edge of the hinge flush with or slightly inside the edge of the boards.  Use a piece of wax paper to keep from gluing the boards together.  Clamp until the glue is dry.

Clamping the inside hinge

Clamping the inside hinge

Move the clamps to the side edges of the boards and cut another piece of pedal webbing to size for the outside hinge.  Cover the edges of the boards in hot glue.  Do not use too much glue.  If any glue gets on the inside hinge, it will become stiff and won't function as well.

Push the hinge down onto the glue and tip the reservoir up on end, using it's own weight to clamp the new hinge.  After the glue has set, trim it with a new single-edge razor. 

Once both hinges have dried, cut another piece of pedal webbing to the length of the span distance that you measured before.  This piece will be glued across the open end of the reservoir and will work against the internal spring to hold the reservoir at the right span while it is recovered.

Internal spring reinstalled

Internal spring reinstalled

The reservoir can now be recovered.  The most important part of this process is getting a glue seal that spans the full thickness of the board.  You will need to apply glue to the edge of the board, press the board against the cloth, and then pull the cloth back to see if you will have a good seal.  If not, add some more glue, press the board against the cloth, pull the cloth up, and check it again.

When gluing the cloth, it is important to get none of the glue inside of the reservoir.  To accomplish this, apply the glue to the edge of the boards, set them on top of the cloth and use a rocking motion on each board to squeeze the glue to the outside edge.

Glue one side first, then the open end, then the other side, and finally the hinge end.  Make sure you leave enough overlap on the hinge end for a good seal.

I like to trim the open end and the edges before gluing the hinge end.  Using a new single-edge razor blade, run it snugly along the edge of the board while pulling tightly on the loose end of the cut fabric.  You want this cut to be as clean as possible.

Glue applied to the hinge end

Glue applied to the hinge end

Let the glue dry for a day or so and then reinstall using the six large screws that were removed earlier.

Recent Blog Posts


See more of my blog posts here

Hello There! Don't Leave Just Yet!

I provide piano repair information on my blog and through email correspondence free of charge because I like to help people learn about pianos. However, it does take up a significant amount of my time. So, if you are so inclined, you can click the button below to help supply my caffeine habit and show your appreciation for my work. Thank you!

Buy me a matcha latteBuy me a matcha latte

Or Send Bitcoin! bc1q4tz3qzp6a6zeduqema3v6s0vnrhst4zwy4wtp9

Review of Arthur Reblitz's "Player Piano - Servicing and Rebuliding"

Player Piano : Servicing and Rebuilding

Arthur Reblitz

1985 Vestal Press, Inc.

ISBN978-0-911572-40-7

This is the first book on Player Piano repair that I have purchased. I had previously purchased the second edition of Reblitz's “Piano Tuning, Servicing, and Rebuilding,” which I found to be very well written, well edited, and comprehensive enough for a book its size with its intended audience. Because of my positive experience with his other book, I had pretty high hopes for this one.

As this is my first book review, let me just start off by saying that the content of this book is fantastic. There is so much raw information acquired from decades of experience contained within this text. However, the organization of the content is an absolute disaster.

CONS

Unlike “Piano Tuning, Servicing, and Rebuilding,” the editing in “Player Piano” is horrible. Maybe the original edition of “Piano Tuning” was this bad too and was only fixed in the second edition, but if that is the case, Vestal Press should have re-edited them both at the same time 20 years ago. Before even getting into the main text, I flip to the Table of Contents which is nothing but vague chapter titles with page numbers and large useless blocks of text beneath them. Finding information on a specific aspect of the repair process is a real pain when the only reference you have is the start of a new chapter every 30-40 pages. The index is similarly scant. Only about 50% of the time does it lead me to the information I want.

The mostly useless table of contents

The mostly useless table of contents

Once into the actual text, the photos are usually quite helpful, although occasionally there will be a photo that is unrelated to the text around it or a photo in which the parts indicated are indistinguishable from each other due to poor contrast. The book is also full of technical diagrams that appear to have been pulled from a different text, as they are covered in reference numbers, but the list of part names that the numbers reference is curiously absent.

Unable to distinguish parts in photos with poor contrast.

Unable to distinguish parts in photos with poor contrast.

Diagrams that would be wonderfully specific if I knew what the numbers referred to.

Diagrams that would be wonderfully specific if I knew what the numbers referred to.

The other thing about the layout of this book that makes no sense to me is the separation of Chapters 4 and 5. Chapter 4 gives a series of broad tasks to be completed for each repair in sequence. However, the specifics of how to perform each task is withheld until chapter 5. This leads to constant flipping back and forth between the chapters to figure out what to do from chapter 4 and how to do it somewhere in chapter 5. It seems as though the book was written for the rare person who can read straight through the whole thing, retain every bit of information, and then proceed to perform every repair they need to without ever having to look at the book again.

My final criticism is a simple one: the text is monotonous and too much information is crammed into a single page. In “Piano Tuning, Servicing, and Rebuilding,” the text is given plenty of space between lines and the monotony is broke up with bulleted lists, bolding, and clearly marked section titles. “Player Piano” has none of these things. It is just block of plain text after block of plain text with the occasional (barely noticeable) italicized technical term included.

A typical page from "Player Piano"

A typical page from "Player Piano"

A typical page from "Piano Servicing, Tuning, and Rebuilding." Much easier to read and find what I'm looking for.

A typical page from "Piano Servicing, Tuning, and Rebuilding." Much easier to read and find what I'm looking for.

PROS

On the bright side of things, the content, as I said before, is wonderful. There are many pages of descriptions of the differences between many types of pneumatic covering material, glues and their strengths and weaknesses, types of cleaners and solvents, and even which species of wood is best for each application. The steps that walk you through each repair are very thorough and often give multiple methods for accomplishing the same goal, as well as many little tips and tricks that only come with years of experience and can make any player piano restoration easier.

One of the better images in "Player Piano." This image still has poor contrast, but the important parts of the image are easily distinguishable.

One of the better images in "Player Piano." This image still has poor contrast, but the important parts of the image are easily distinguishable.

A good 90 pages of the book are dedicated to providing specific information about variations between different brands of player mechanisms. Although I don't expect to ever use most of this information, it is reassuring to know that if I ever run into some odd proprietary system, it is probably covered in this book. About 30 pages worth of those 90 pages is dedicated to different brands of reproducing piano and orchestrion actions for those who want to dive into repairing instruments even more complex than the standard player piano.

Included at the end of the text is a “Troubleshooting” section. I like the idea of having a consolidated troubleshooting section, but for some reason it misses many troubleshooting steps that are discussed earlier in the book while including some great ideas that are not mentioned in the previous corresponding chapters.

Again, the content of the book is incredibly expansive. Almost any question I have come up with is answered somewhere in this book. However, it often takes me longer to find the relevant information in the book than it takes to perform the repair.

Recent Blog Posts


See more of my blog posts here

Hello There! Don't Leave Just Yet!

I provide piano repair information on my blog and through email correspondence free of charge because I like to help people learn about pianos. However, it does take up a significant amount of my time. So, if you are so inclined, you can click the button below to help supply my caffeine habit and show your appreciation for my work. Thank you!

Buy me a matcha latteBuy me a matcha latte

Or Send Bitcoin! bc1q4tz3qzp6a6zeduqema3v6s0vnrhst4zwy4wtp9

Rebuilding a Milton Player Piano

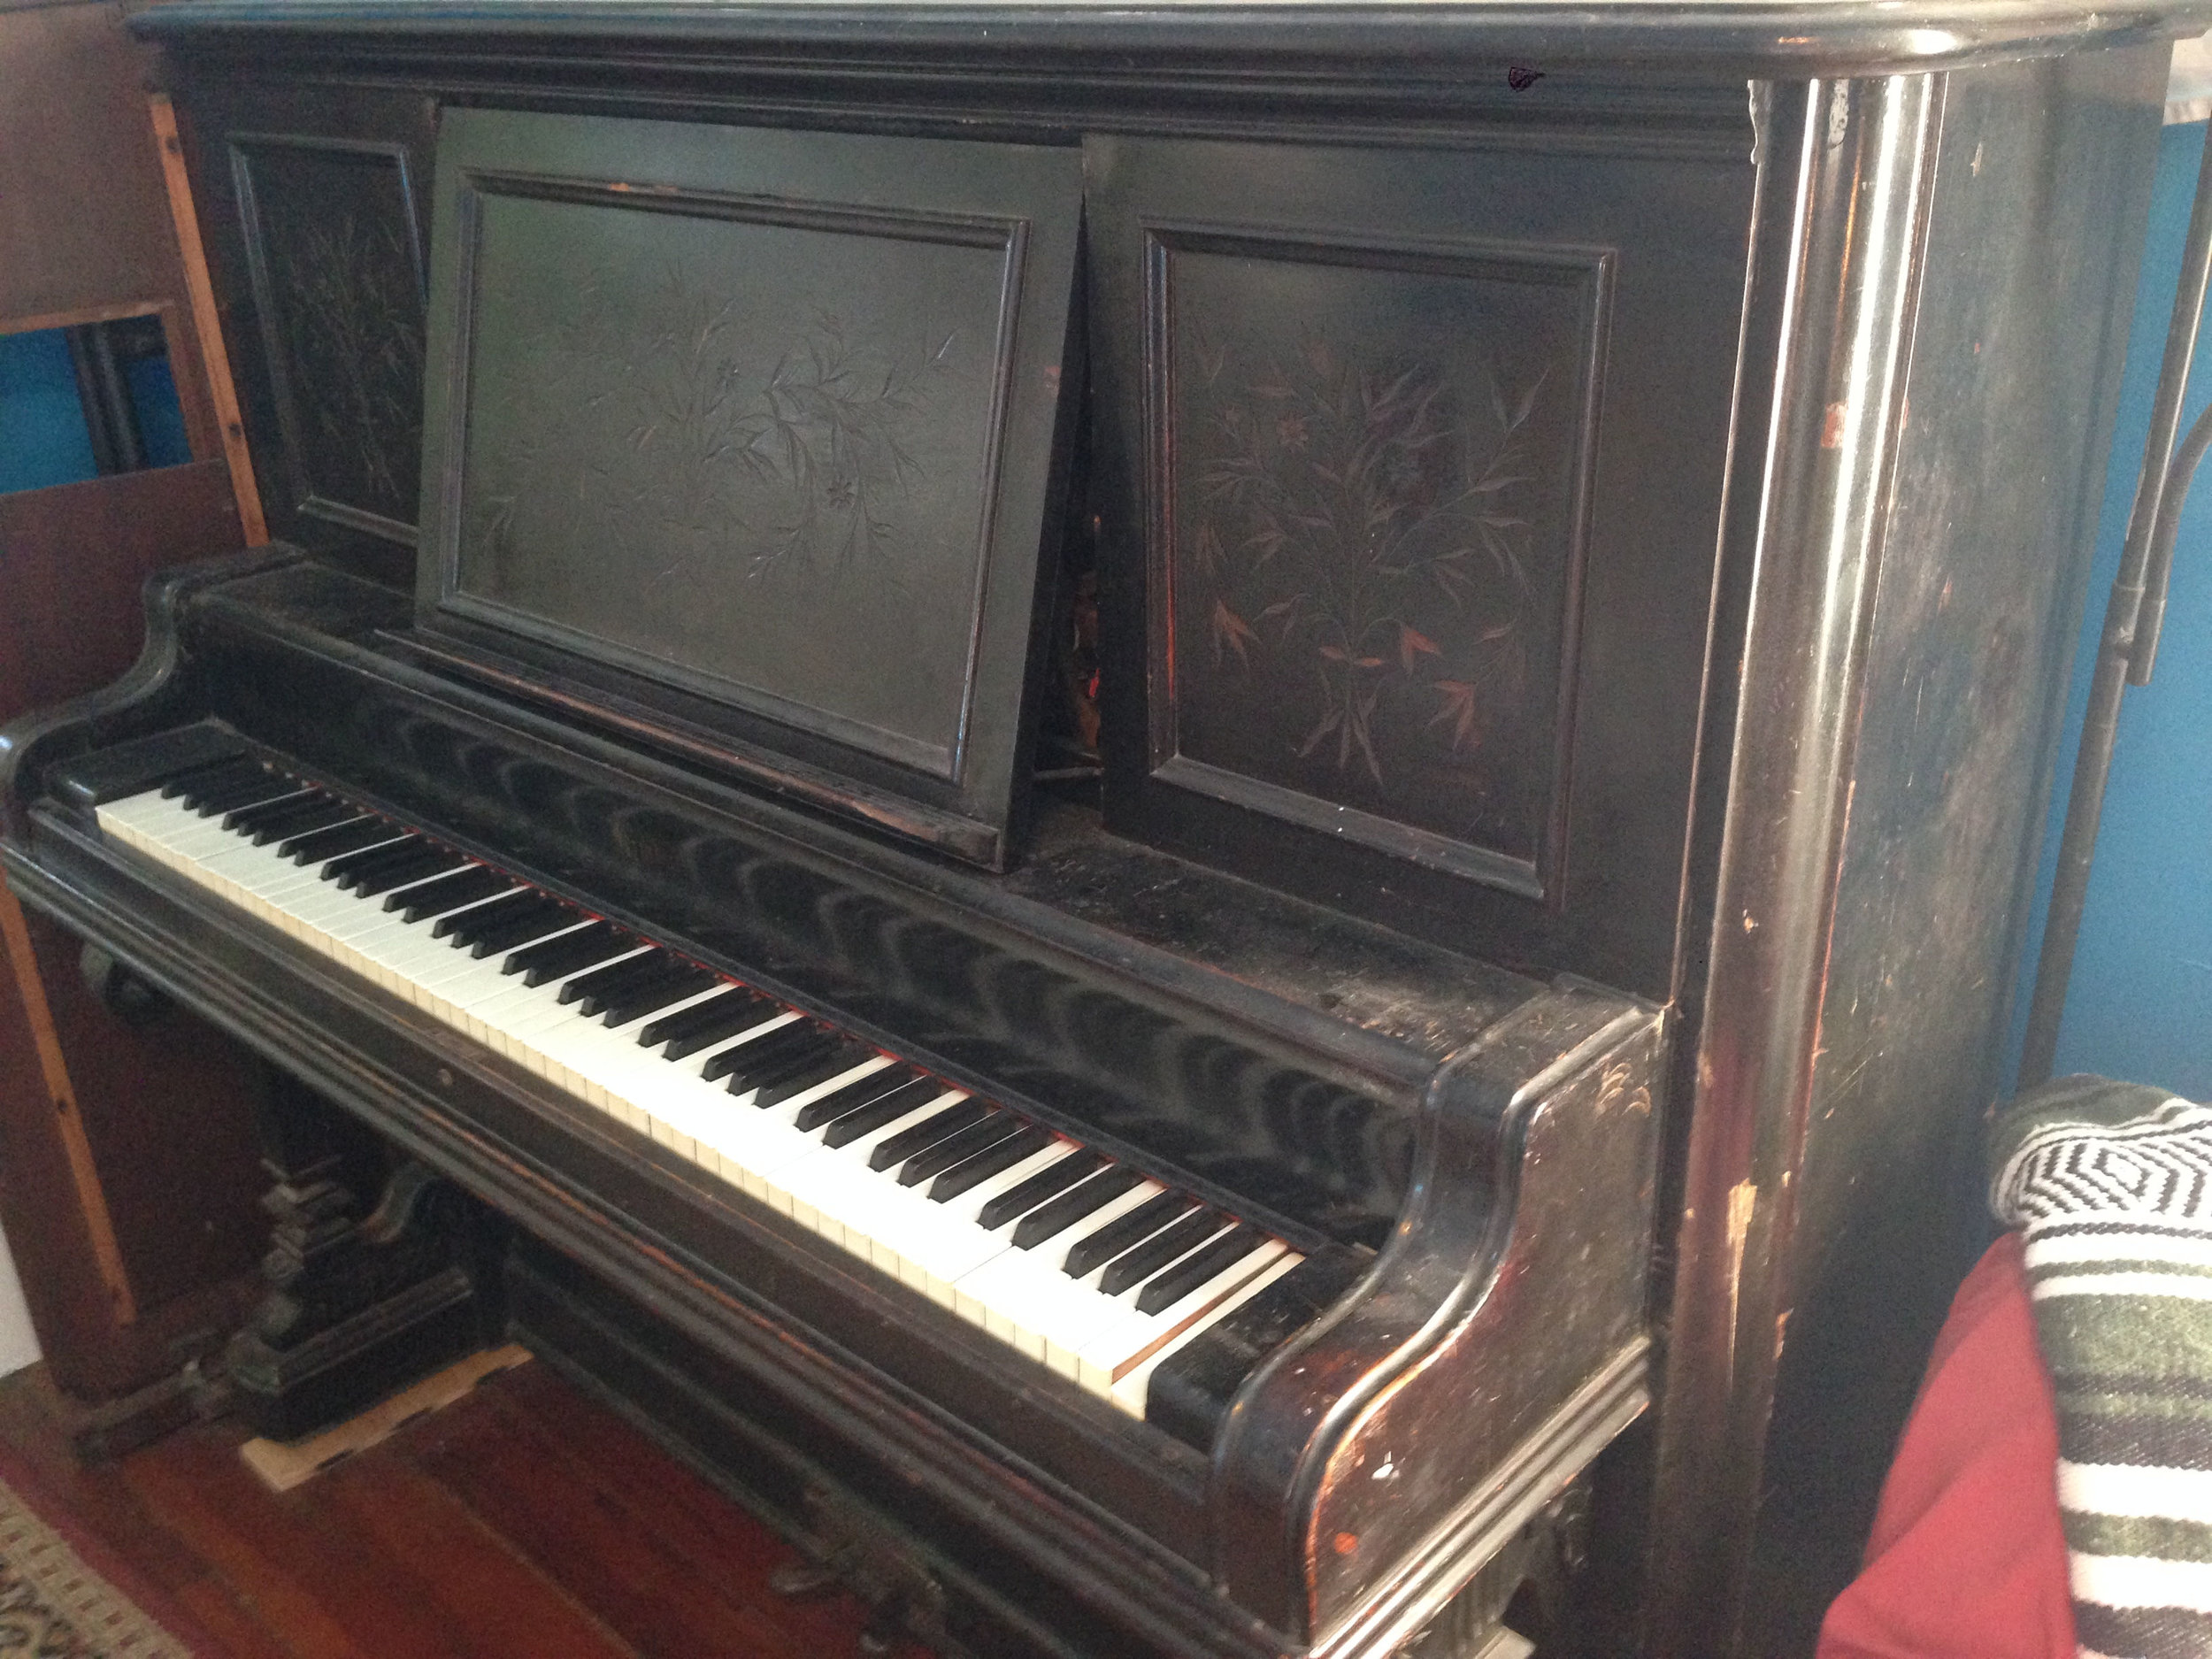
So, this will just be an introductory post that will lead to several in-depth posts in the future.  My roommate came across this Milton player piano for free on Craigslist, so we went to Algiers Point a week or two ago and picked it up.   The bellows and player mechanism are not airtight, but are in remarkably good shape compared to the rest of the piano.  In the first few pictures you can see the piano with the player mechanism (as well as most of the keys) removed.  Half of the white key ivories are missing, most of the black ebony keytops are as well.  The steel pins that hold the keys in place are very rusty.  All of the key buttons have come unglued.  My next post about this piano will likely cover replacing the keytops, re-gluing the key buttons, and replacing the key bushings of all 88 keys.

milton player piano 1

I always number the keys before removing them from the piano.  This is extremely important because every key has a unique shape that is not interchangeable with any other key.  They usually have numbers stamped into them by the manufacturer, but these are often difficult to decipher.  Better to just renumber them in pencil or marker.  Because the key buttons are unglued, I also numbered those to match the keys, in case any of them fell while I was moving things around.
milton player piano keys

When removing the keys, I keep them taped together in groups of 10-20.  In this case I taped over the key buttons to keep them in place as well.  Normally I would tape them between the buttons and the keytops.

Rusty balance rail pins. These will need to be sanded and polished before reinstalling the keys.

Rusty balance rail pins. These will need to be sanded and polished before reinstalling the keys.

All of these pictures were taken after I spent probably 45 minutes cleaning several rats' nests out of this piano.  Take extra care when working with a piano that has had rodents in it, as their feces can carry diseases that are transmissible to humans.  Wear a surgical mask and gloves.

Front rail pins also need sanding and polishing. The red pieces of felt are key bushings that fell out when I removed the keys.

Front rail pins also need sanding and polishing. The red pieces of felt are key bushings that fell out when I removed the keys.

milton player piano action

The piano action itself is not in too bad of shape.  The hammers are worn and some have been chewed by rodents and/or come unglued.

Rodents love chewing on piano hammers.

Rodents love chewing on piano hammers.

This picture of the treble end of the action shows some previous work done. Notice the lighter replacement hammer butts as well as their green bridle straps, while the originals are red.

This picture of the treble end of the action shows some previous work done. Notice the lighter replacement hammer butts as well as their green bridle straps, while the originals are red.

milton player piano reservoir

Player pianos rely on suction created by the pumping of two pedals to operate the pneumatics that control the piano.  The previous picture shows a hole in the reservoir component of the bellows.  If the whole system isn't airtight, the player mechanism will not work correctly, if at all.

The bellows removed from the piano. Notice the two foot pedals that used to power the player mechanism. They swing out away from the bellows when they need to be used.

The bellows removed from the piano. Notice the two foot pedals that used to power the player mechanism. They swing out away from the bellows when they need to be used.

The next couple pictures show what is known as the "top stack".  This includes the tracker bar which "reads" the music rolls as well as a series of valves and pneumatics that translate suction into a push on the hammer of a specific note.  Also included is the wind motor which controls the movement of the music roll across the tracker bar.

88 sets of tubes,valves, and pneumatics. One for each key.

88 sets of tubes,valves, and pneumatics. One for each key.

The wind motor.

The wind motor.

Recent Blog Posts


See more of my blog posts here

Hello There! Don't Leave Just Yet!

I provide piano repair information on my blog and through email correspondence free of charge because I like to help people learn about pianos. However, it does take up a significant amount of my time. So, if you are so inclined, you can click the button below to help supply my caffeine habit and show your appreciation for my work. Thank you!

Buy me a matcha latteBuy me a matcha latte

Or Send Bitcoin! bc1q4tz3qzp6a6zeduqema3v6s0vnrhst4zwy4wtp9