

This post is a continuation of the Milton Player Piano Series.
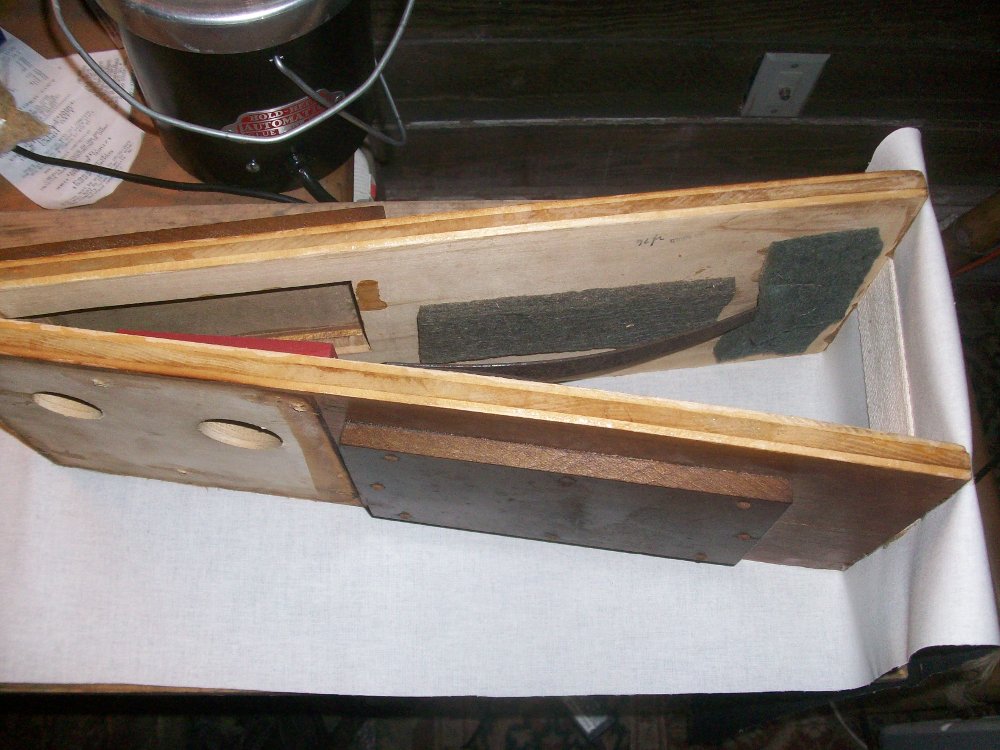
Inside the bottom of a player piano is a system of pedals, pumps, and reservoirs that creates the suction to operate the player mechanism. The boards that make up one of the reservoirs in my player piano had started to delaminate and the rubberized fabric had pulled away from the board resulting in a serious air leak. The best way to repair this is to cut and scrape the old fabric off, reglue the wood that delaminated, and recover the reservoir with new fabric.
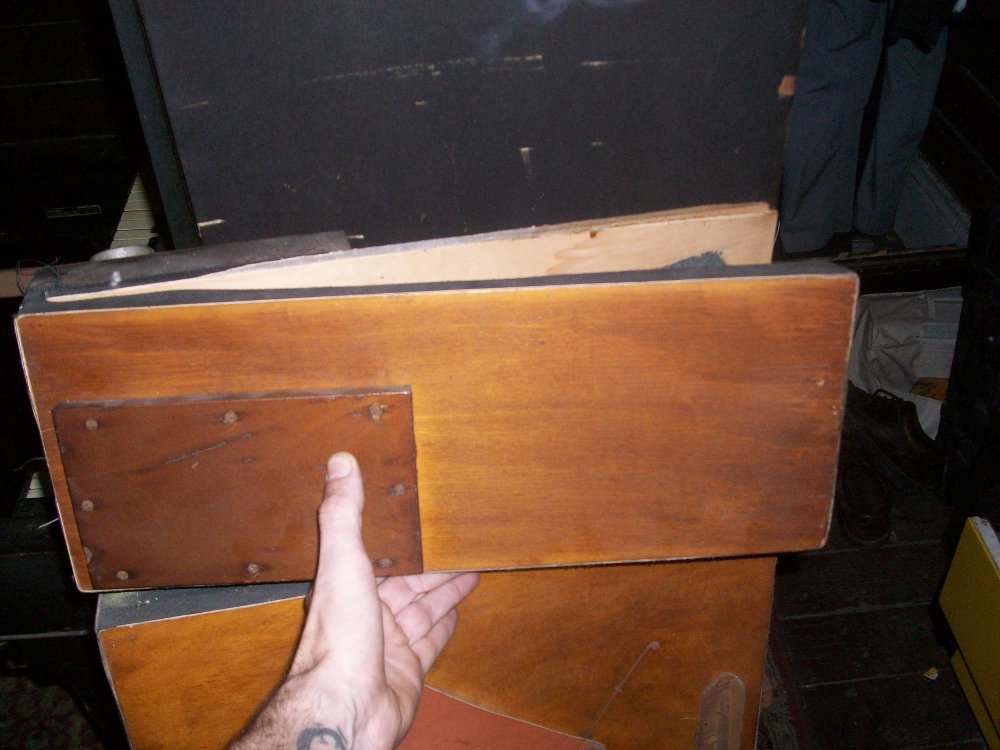
Before cutting off the old fabric, measure the existing span of the reservoir and write this number down. When recovering the reservoir later, I want it to end up with the same span as it originally had.

Measuring the original span of the reservoir
After writing down the span, cut away as much of the fabric as possible without cutting into the wood. Be wary while doing this because the reservoirs contain very strong internal springs that can cause damage or injury if not handled carefully.
Excess fabric cut away
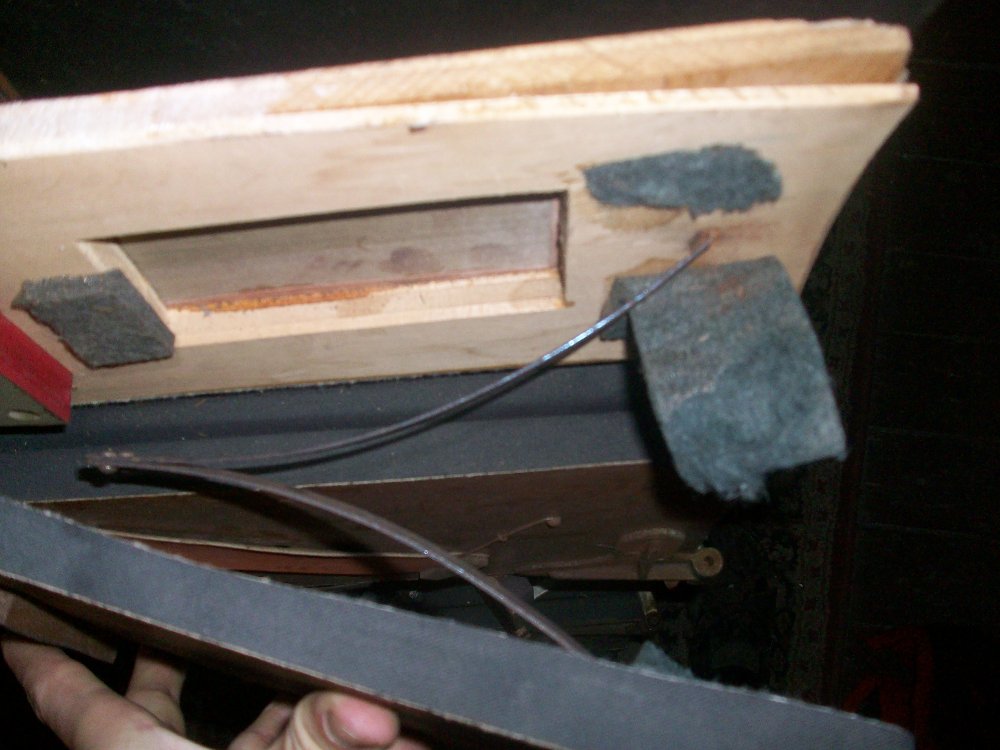
Internal reservoir spring
Remove the spring by squeezing it together and pulling it out toward the open end of the reservoir. Once the spring is removed, the cloth hinge can also be cut and the two boards can be seperated.

Closeup of the delamination

Spread the lamination slightly by using a wedge, shim, screwdriver, etc. in order to make getting glue into the joint a bit easier. Titebond 2 works just fine for this purpose. Get enough glue in there to just barely squeeze out when clamped. Wipe off the excess and allow the glue to dry.

Spreading glue

Glue drying while clamped
In order to remove the board that is still mounted to the trunk board, remove the six large screws from the front of the trunk

Six large screws to remove
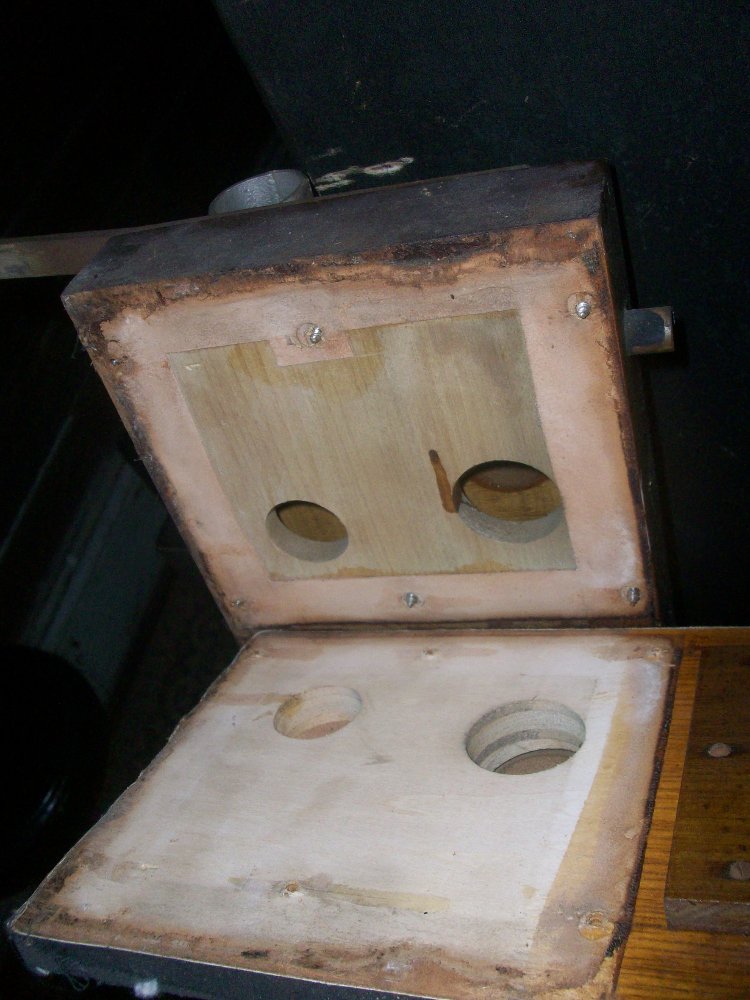
The second board removed from the trunk
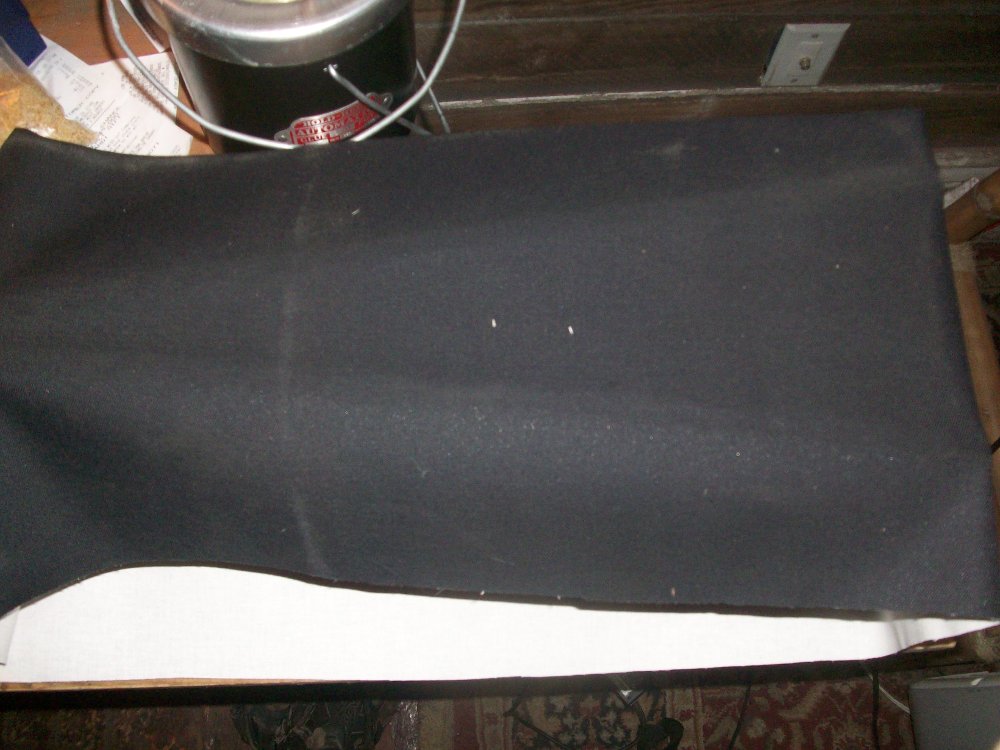
After both boards are free, use a sharpened paint scraper to remove the bulk of the rubberized fabric. Then, clean the edges of the board by lightly planing them with a small block plane. The goal is to only remove traces of cloth and glue. Remove as little wood as possible. Finally, go over all of the board edges with a sanding block with 80 grit paper.


Once the boards are cleaned they are ready to recovered with new rubberized cloth. I acquire my cloth from Schaff Piano Supply.
This cloth should only be glued with hide glue (preferably hot hide glue) as it allows for an airtight bond while also being reversible for future repairs. I've made up a small batch of hot hide glue in my glue pot for this repair.

Hot glue pot
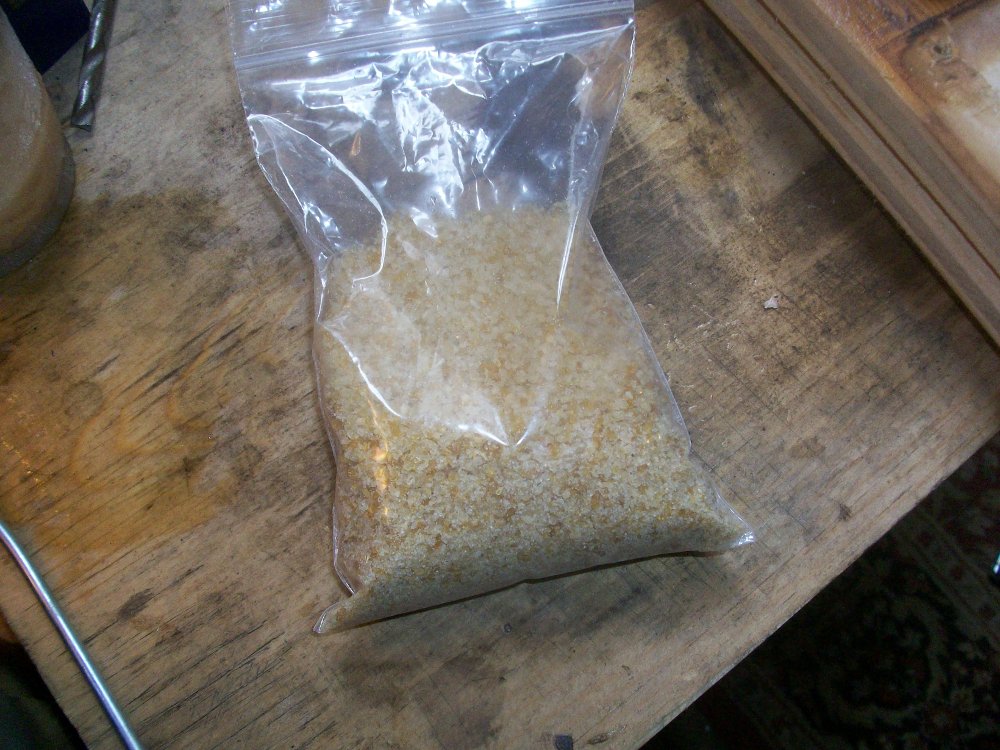
Hide glue crystals
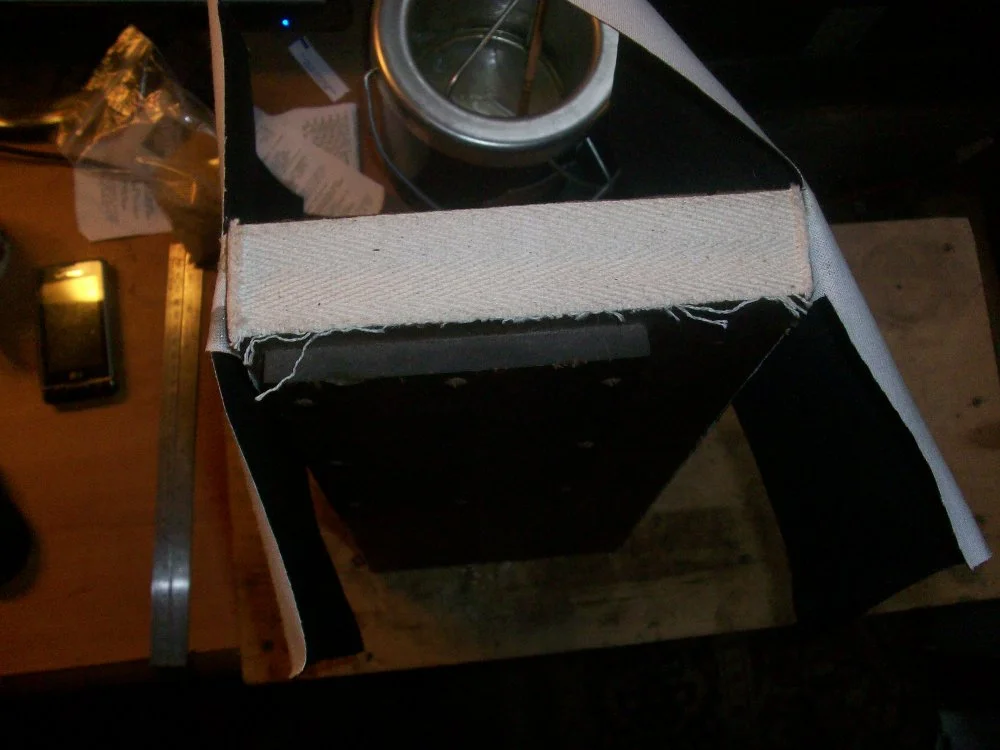
The first thing to do is to attach a new cloth hinge. I use pedal webbing (also from Schaff) as the reservoir hinge.

Hinge Material
The reservoir needs both an internal and an external hinge. Attach the internal hinge first by applying hot glue to the boards and laying the cloth hinge. Keep the folded edge of the hinge flush with or slightly inside the edge of the boards. Use a piece of wax paper to keep from gluing the boards together. Clamp until the glue is dry.

Clamping the inside hinge
Move the clamps to the side edges of the boards and cut another piece of pedal webbing to size for the outside hinge. Cover the edges of the boards in hot glue. Do not use too much glue. If any glue gets on the inside hinge, it will become stiff and won't function as well.

Push the hinge down onto the glue and tip the reservoir up on end, using it's own weight to clamp the new hinge. After the glue has set, trim it with a new single-edge razor.

Once both hinges have dried, cut another piece of pedal webbing to the length of the span distance that you measured before. This piece will be glued across the open end of the reservoir and will work against the internal spring to hold the reservoir at the right span while it is recovered.

Internal spring reinstalled
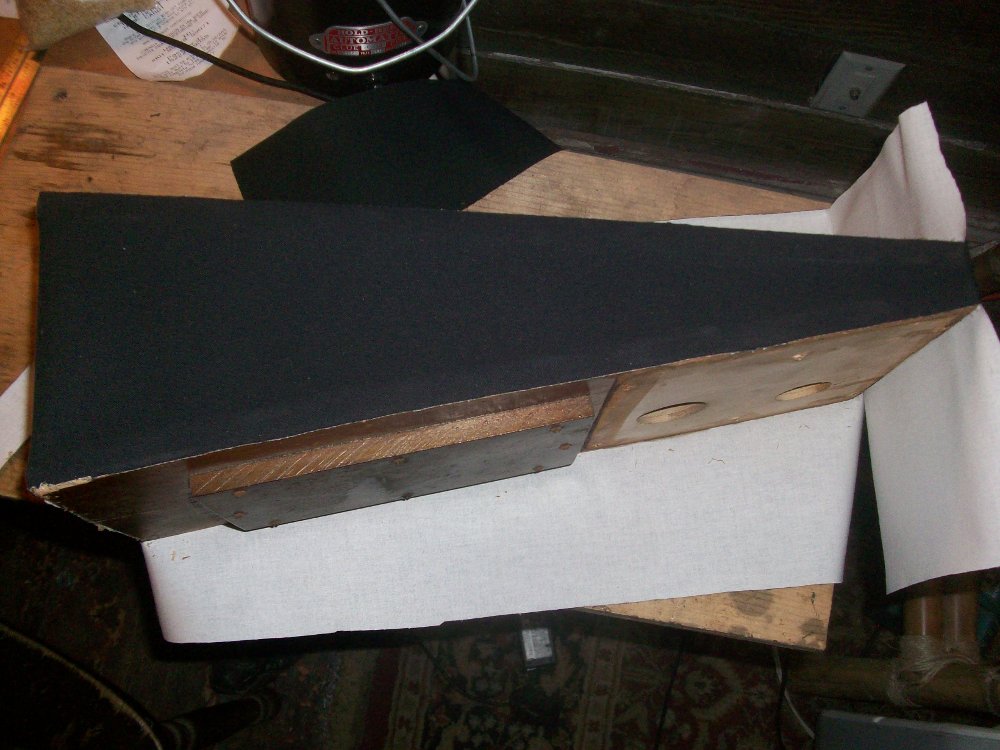
The reservoir can now be recovered. The most important part of this process is getting a glue seal that spans the full thickness of the board. You will need to apply glue to the edge of the board, press the board against the cloth, and then pull the cloth back to see if you will have a good seal. If not, add some more glue, press the board against the cloth, pull the cloth up, and check it again.
When gluing the cloth, it is important to get none of the glue inside of the reservoir. To accomplish this, apply the glue to the edge of the boards, set them on top of the cloth and use a rocking motion on each board to squeeze the glue to the outside edge.
Glue one side first, then the open end, then the other side, and finally the hinge end. Make sure you leave enough overlap on the hinge end for a good seal.
I like to trim the open end and the edges before gluing the hinge end. Using a new single-edge razor blade, run it snugly along the edge of the board while pulling tightly on the loose end of the cut fabric. You want this cut to be as clean as possible.


Glue applied to the hinge end

Let the glue dry for a day or so and then reinstall using the six large screws that were removed earlier.
Recent Blog Posts


I have been servicing and tuning pianos in NOLA since 2012 after first becoming interested in piano technology in 2009. With a background in teaching bicycle mechanics, I bring a methodical mindset and a love of sharing knowledge and skills to the rich musical culture of New Orleans.