
Here's another post in the Milton Player Piano series. I attempted to adjust the hammer let off by turning these regulating screws, but, instead of turning, the tops of the screws just snapped off. I think this was caused by several factors. One, I think that the screws are simply made of a weak metal. Perhaps it was never hardened, or it is just a poor alloy. Either way, it breaks way too easily. Two, either the rust on the screws or a swelling of the wood has caused the screws to bind in their threaded holes. So, I've decided to remove all of these regulating screws and let off buttons and replace them with new ones.
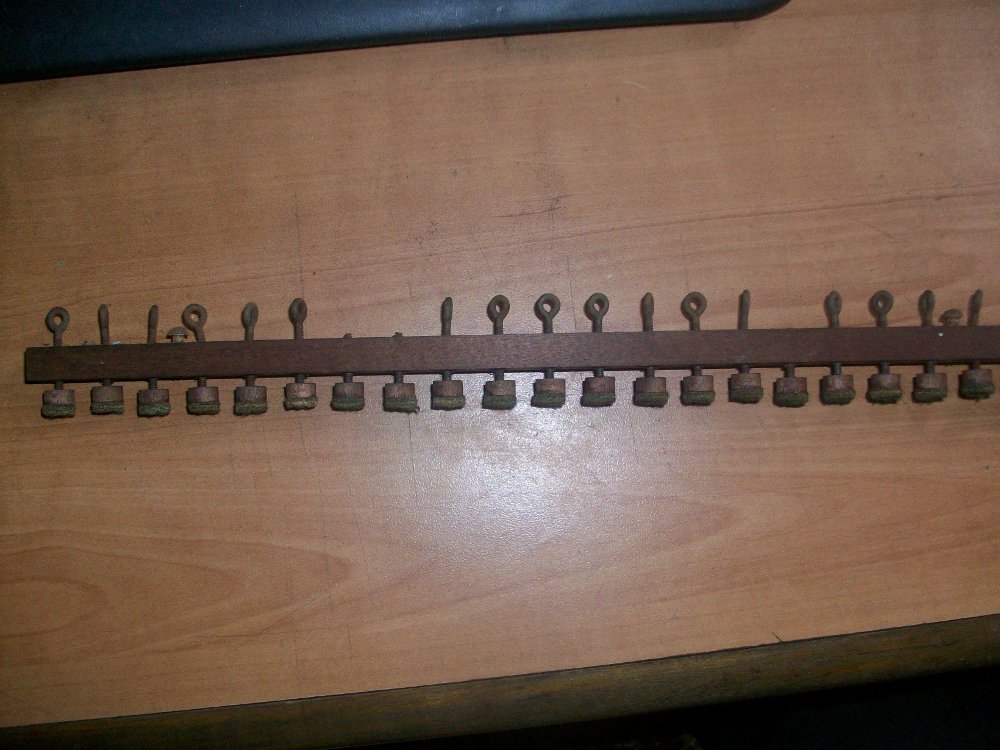
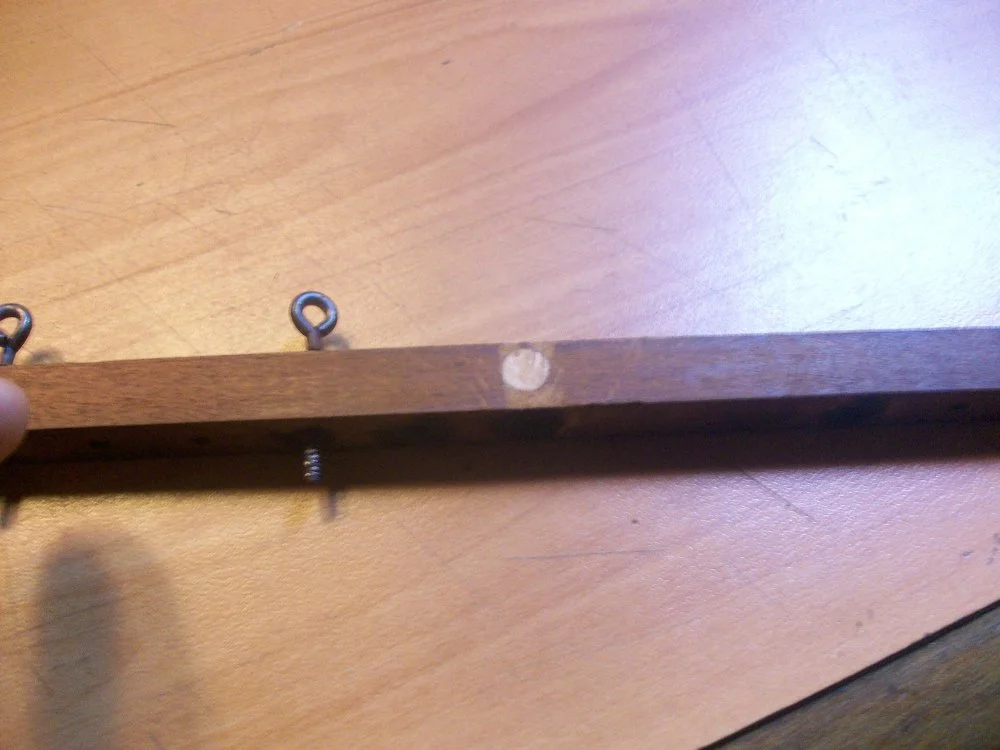
A few broken and bent regulating screws
After removing the let off buttons from the screws (I just break them off with a pliers since I'm going to replace them anyway), use a soldering iron to heat up the end of the screw. Keep the tip in contact with the screw for at least 30 seconds. This heating of the screw will loosen the bond that the screw and the wood have formed and hopefully allow us to twist the remaining piece of the screw out of the wood.

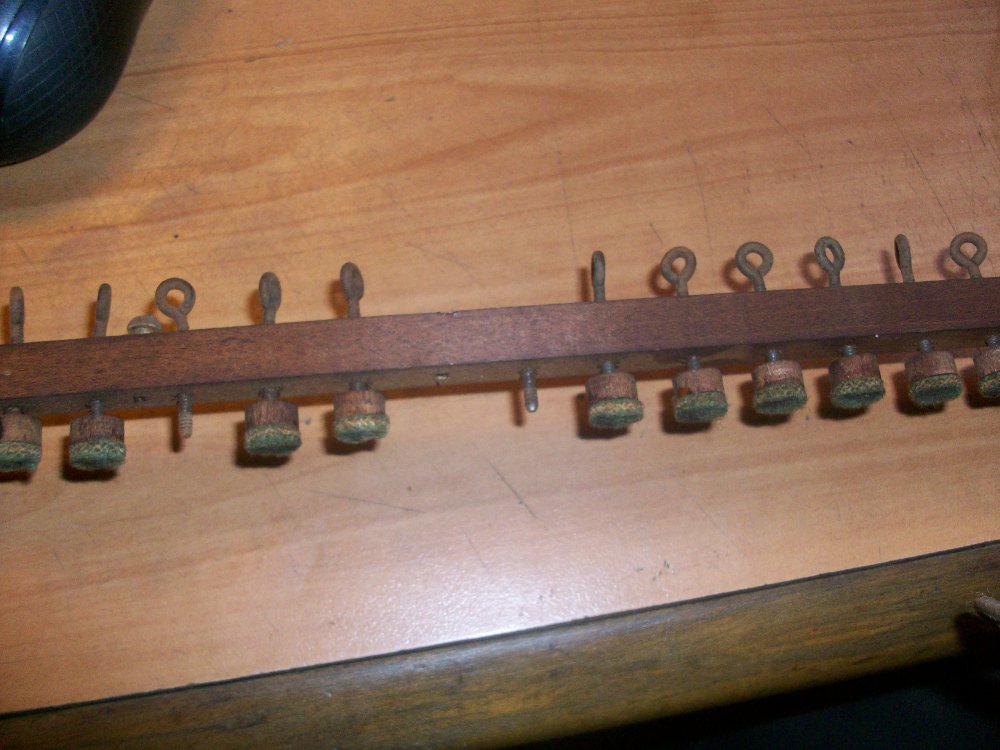
Breaking the wooden buttons off of the screws. These will be replaced with new buttons later.

Heating the screw with a soldering iron
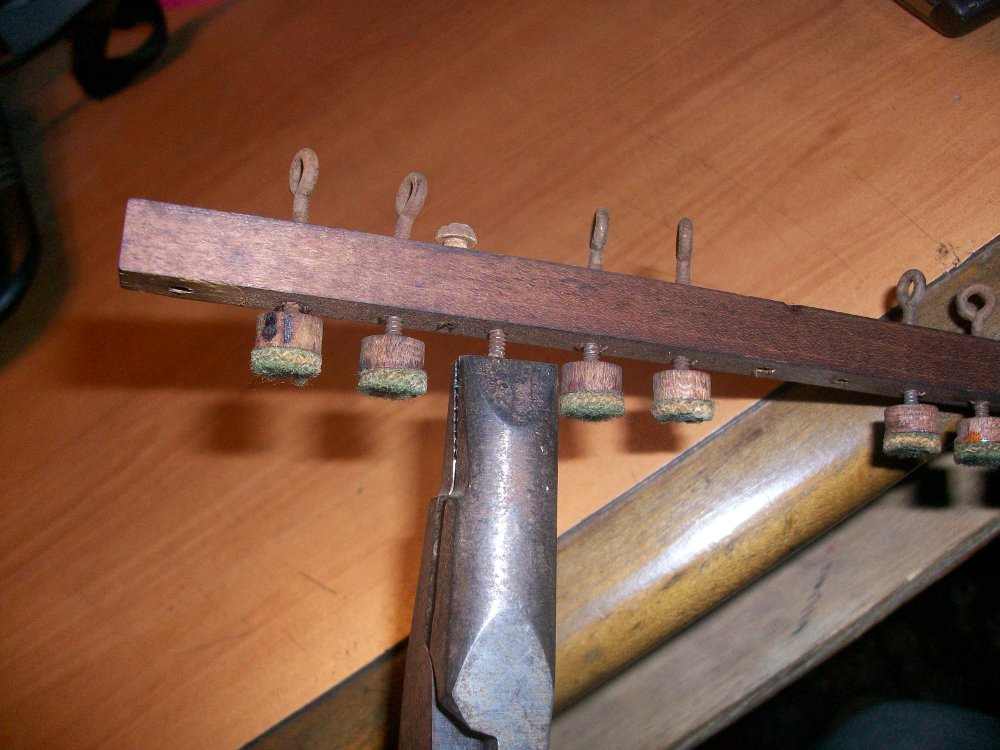
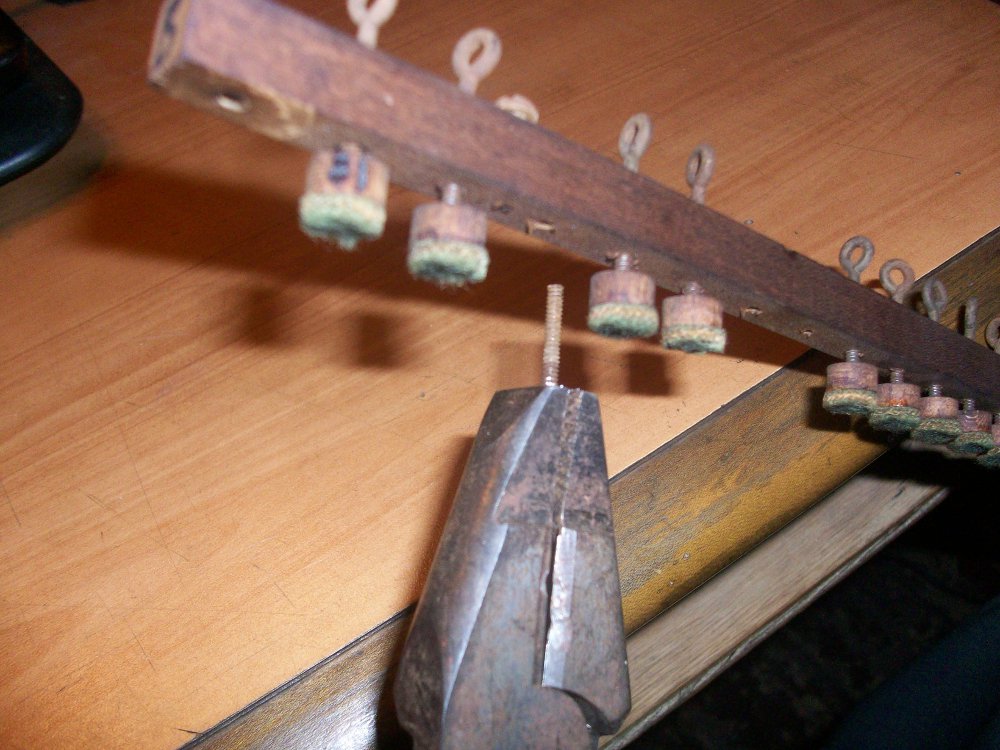
Grab the screw firmly with a set of linesman's pliers or a vice grip, and gently rotate it left and right to try to loosen it. You should be able to feel the screw "click" back and forth while you are turning it. If you try to just unscrew it straight away, you will likely break the screw. Once the screw has loosened significantly from the back and forth motion, unscrew it all the way to remove it from the wood.
If the soldering iron doesn't do the job, you may have to get the screw even hotter by very carefully using a propane torch or similar tool. Only use this on screws that have enough material sticking out of the wood to allow you to keep the flame from igniting the wood (it may scorch a bit, which is fine). If the screw is broken off on both sides of the wood rail, do not use a flame.
After the broken screws have been removed, go through and heat all of the remaining screws in the rail for at least 30 seconds with the soldering iron. Then, use a drill with a quick-change adapter on low speed to remove the screws. I like to leave every third screw so that when I am installing the new screws I can turn them in to the same depth as the old screws to minimize the amount of adjusting I'll have to do later. It is always good to leave an original as a reference when replacing these kinds of things.

Removing the screws with a cordless drill

Every third screw is left in the rail
The next picture shows some of the scorching that I was talking about from the propane torch, as well as one screw which ended up breaking off on both sides of the wooden rail. This screw is no longer removable with the previous method and calls for more drastic measures.

Screw broken off on both sides of the rail

Drilling two holes next to the screw
The idea with this repair is to drill a couple small holes adjacent to the broken screw, pry the screw into the new hole, pull it out, and then plug and redrill the original hole. All of the drilling for this process should be done on a drill press to ensure the holes are perfectly perpendicular to the rail.
After the holes are drilled, push the broken screw into the new space with a screwdriver. Once the screw is there, it can be removed with a tweezers or with a small punch.

Holes drilled next to the screw

The screw has been pushed into the hole

The broken screw has been removed
Now that the screw has been removed, the threaded hole must be repaired so that I can thread a new regulating screw in. I will be using a method described in Mario Igrec's "Pianos Inside Out". The method is to drill a hole perpendicular to the original hole and plug it with a hardwood dowel pin. The reason for drilling the hole perpendicular and not just straight though the original hole is that the grain of the dowel pins runs along their length, and the repair will be less likely to split if the dowel is put in perpendicularly. I used 1/4" dowel pins for this repair.

Drilling a 1/4" hole perpendicularly through the rail

The 1/4" hole and dowewl pin
Once the hole has been drilled, coat a 1/4" dowel pin with wood glue and tap it into the rail with a rubber mallet. If the pin is very tight, you may need to hold the rail over an open vise or something similar that will support on both sides of the pin, but not directly under it. This will allow you to safely tap the pin through until it extends out the other side of the rail.


Once the glue has dried, I use a fine-toothed pullsaw to cut the pin flush with the rail.

Cutting off the excess
The resulting repair
The final part of this repair is to predrill the pin where the original screw was. The drill bit should be as thick as the body of the screw so that the screw goes in easily and the threads still have enough material to grab onto.

Predrilling the screw hole

A screw threaded through the new hole
At this point, all of the screws have been loosened or removed and the rail is ready for the new regulating screws and buttons.
Recent Blog Posts


I have been servicing and tuning pianos in NOLA since 2012 after first becoming interested in piano technology in 2009. With a background in teaching bicycle mechanics, I bring a methodical mindset and a love of sharing knowledge and skills to the rich musical culture of New Orleans.