
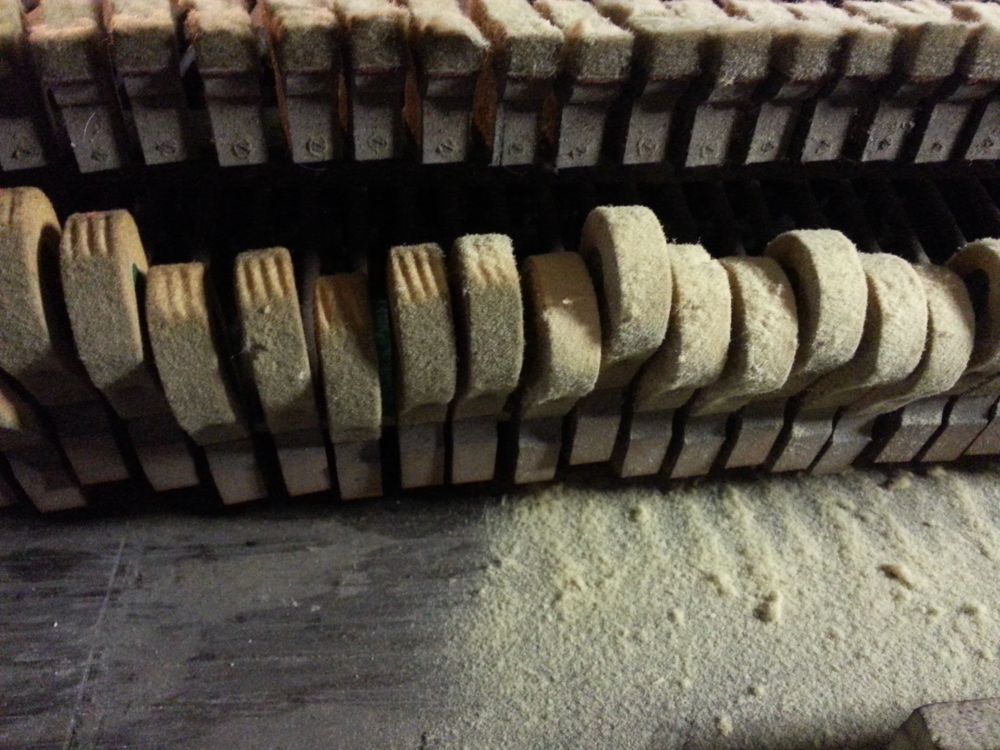
Hammers with grooves in the felt on the left. Freshly sanded hammers on the right.
Over time, the pounding of a piano's hammers against the strings will dig deeper and deeper grooves into the hammer felt. As the felt gets compacted and the area of the hammer that strikes the strings get flatter, larger, and harder, the felt provides less cushion during impact. This causes the tone of the piano will become sharper, more harsh, and more percussive. In addition, harder hammers are more likely to break strings. To restore the tone and correct felt density, the hammers need to be sanded until the grooves disappear.
Before beginning the sanding process, remove the action from the piano and gently lay it on a sturdy workbench.

Marking a guideline for the hammer's strike point.
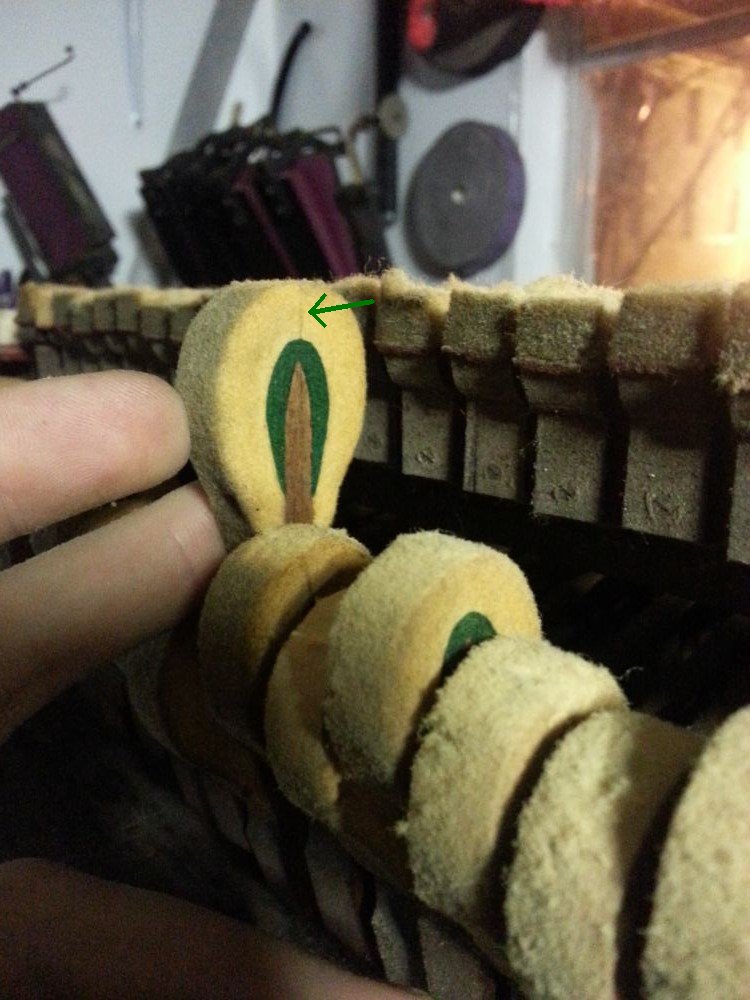
The marked guideline.
The hammers must be carefully sanded so that they retain their original shape. The point of the hammer that strikes the string (a.k.a. the “strike point”) needs to be at the very tip of the hammer. To make identifying the strike point easier, use a straightedge and a pencil to mark a line along the center of the wooden hammer core and out to the edge of the felt. This guideline will let you easily see the optimal strike point during your sanding.

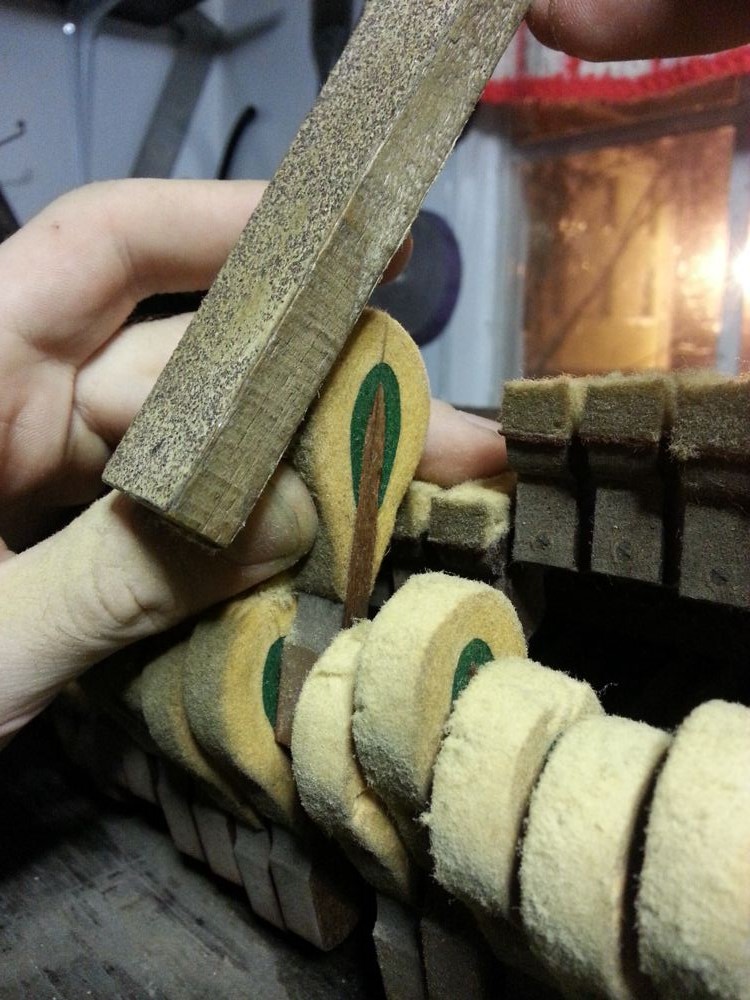
A hammer sanding block.
Make a sanding block by gluing a strip of coarse sandpaper to an inch wide piece of wood. Gently but firmly hold the hammer in one hand and use the sanding block to shave felt off of the underside of the hammer. Take your time with this. While sanding, follow the curve of the hammer by moving the sanding block in an arc over it. Always sand toward the strike point of the hammer.

Sanding the underside of the hammer.

The lopsided hammer after sanding its underside.
Once the grooves on the underside of the strike point have been sanded down, repeat the same process on the top side of the hammer. Keep sanding until the hammer is round again and the tip of the hammer is located on the guideline. While you are doing this, take the bit of extra time to make sure the hammer is round and looks good. Don't leave any flat spots.
Sanding the top side of the hammer.
Work your way through each of the hammers. Once you get to the high treble, the felt will be so thin that you shouldn't touch it with sandpaper. Just leave that section alone. Sanding wont change its tone much anyway.

The finished, well-rounded shape.
Recent Blog Posts


I have been servicing and tuning pianos in NOLA since 2012 after first becoming interested in piano technology in 2009. With a background in teaching bicycle mechanics, I bring a methodical mindset and a love of sharing knowledge and skills to the rich musical culture of New Orleans.