Upright

How to Deep Clean an Upright Piano

It is not at all unusual for me to open up a client's upright piano in preparation for tuning only to discover a thick layer of dust, a handful of pencils, old business cards, and assorted trinkets that have somehow fond their way into the piano cabinet.  The enormity of dust bunnies contained inside an old upright can horrify the unsuspecting.  This is an area of the home that can go decades without being exposed to daylight.  Although the inside of an upright piano is rarely seen, this kind of debris inside the piano can adversely affect your piano's function. Because of this, I recommend a yearly deep clean of any upright piano.

If your piano is particularly dusty, I highly recommend wearing a dust mask or respirator.  If you find any rodent droppings in your piano, please read my post about Hantavirus before continuing.

Photo Nov 28, 3 20 15 PM.jpg

No two upright piano models will disassemble in exactly the same way, but most tend to come apart in the following sequence:

Photo Nov 28, 3 20 38 PM.jpg

Lift the lid.  Some pianos will have a hinged half-lid like this one.  Some will have a hinged full lid that you can lean against the wall behind the piano.  Very occasionally, I will come across one that has the lid hinges at one end of the cabinet, instead of in the back.  Often times upright lids will have a small "catch" that will require you to give a firm pull upward on the lid in order to pop it loose.

Photo Nov 28, 3 21 44 PM.jpg

The front panel of the piano can now be removed.  Both the left and right sides of the cabinet will have either a protruding metal pin covered by a small wooden latch, or a protruding screw secured by a small metal latch.  Open the latch and tilt the front panel toward you.  Grab it by both ends and lift it out the piano.

Some studio uprights won't have any latches.  The front panel of these pianos will simply lift up and out of the cabinet.

Photo Nov 28, 3 22 23 PM.jpg

Using a vaccum, remove any accumulated dust from on top the the hammers and dampers.  You can also vacuum around the tuning pins.

The next step is where there will be the most variation between pianos.  A spinet piano may be sufficiently disassembled for deep cleaning at this point, while an older studio upright may still have several steps to go.  If you can vacuum the tops of and in between the keys, you have disassembled far enough.  If not, you will need to remove more cabinet parts.  

Some large upright have a decorative column on each end.  Remove the two large screws holding these columns to the cabinet, and set the columns aside.

The next part to remove is what I like to call the "sill".  This is the horizontal board just above the fallboard (the piece that covers the keys when the piano isn't in use).  This will also often be secured with a large screw on each end. Remove the screws and remove the sill.

Photo Nov 28, 3 23 16 PM.jpg

No matter what kind of upright you have, you should at this point be able to see the full lengths of the keys and be able to remove any debris that has accumulated on top of them.

Photo Nov 28, 3 25 02 PM.jpg

The next step is to remove the lower panel.  This is usually secured with one or two metal springs. The piano in the photo actually uses a wooden spring.

Photo Nov 28, 3 25 40 PM.jpg

Push upward on the spring(s) and pull the lower panel towards you.

Photo Nov 28, 3 25 56 PM.jpg
Photo Nov 28, 3 26 03 PM.jpg

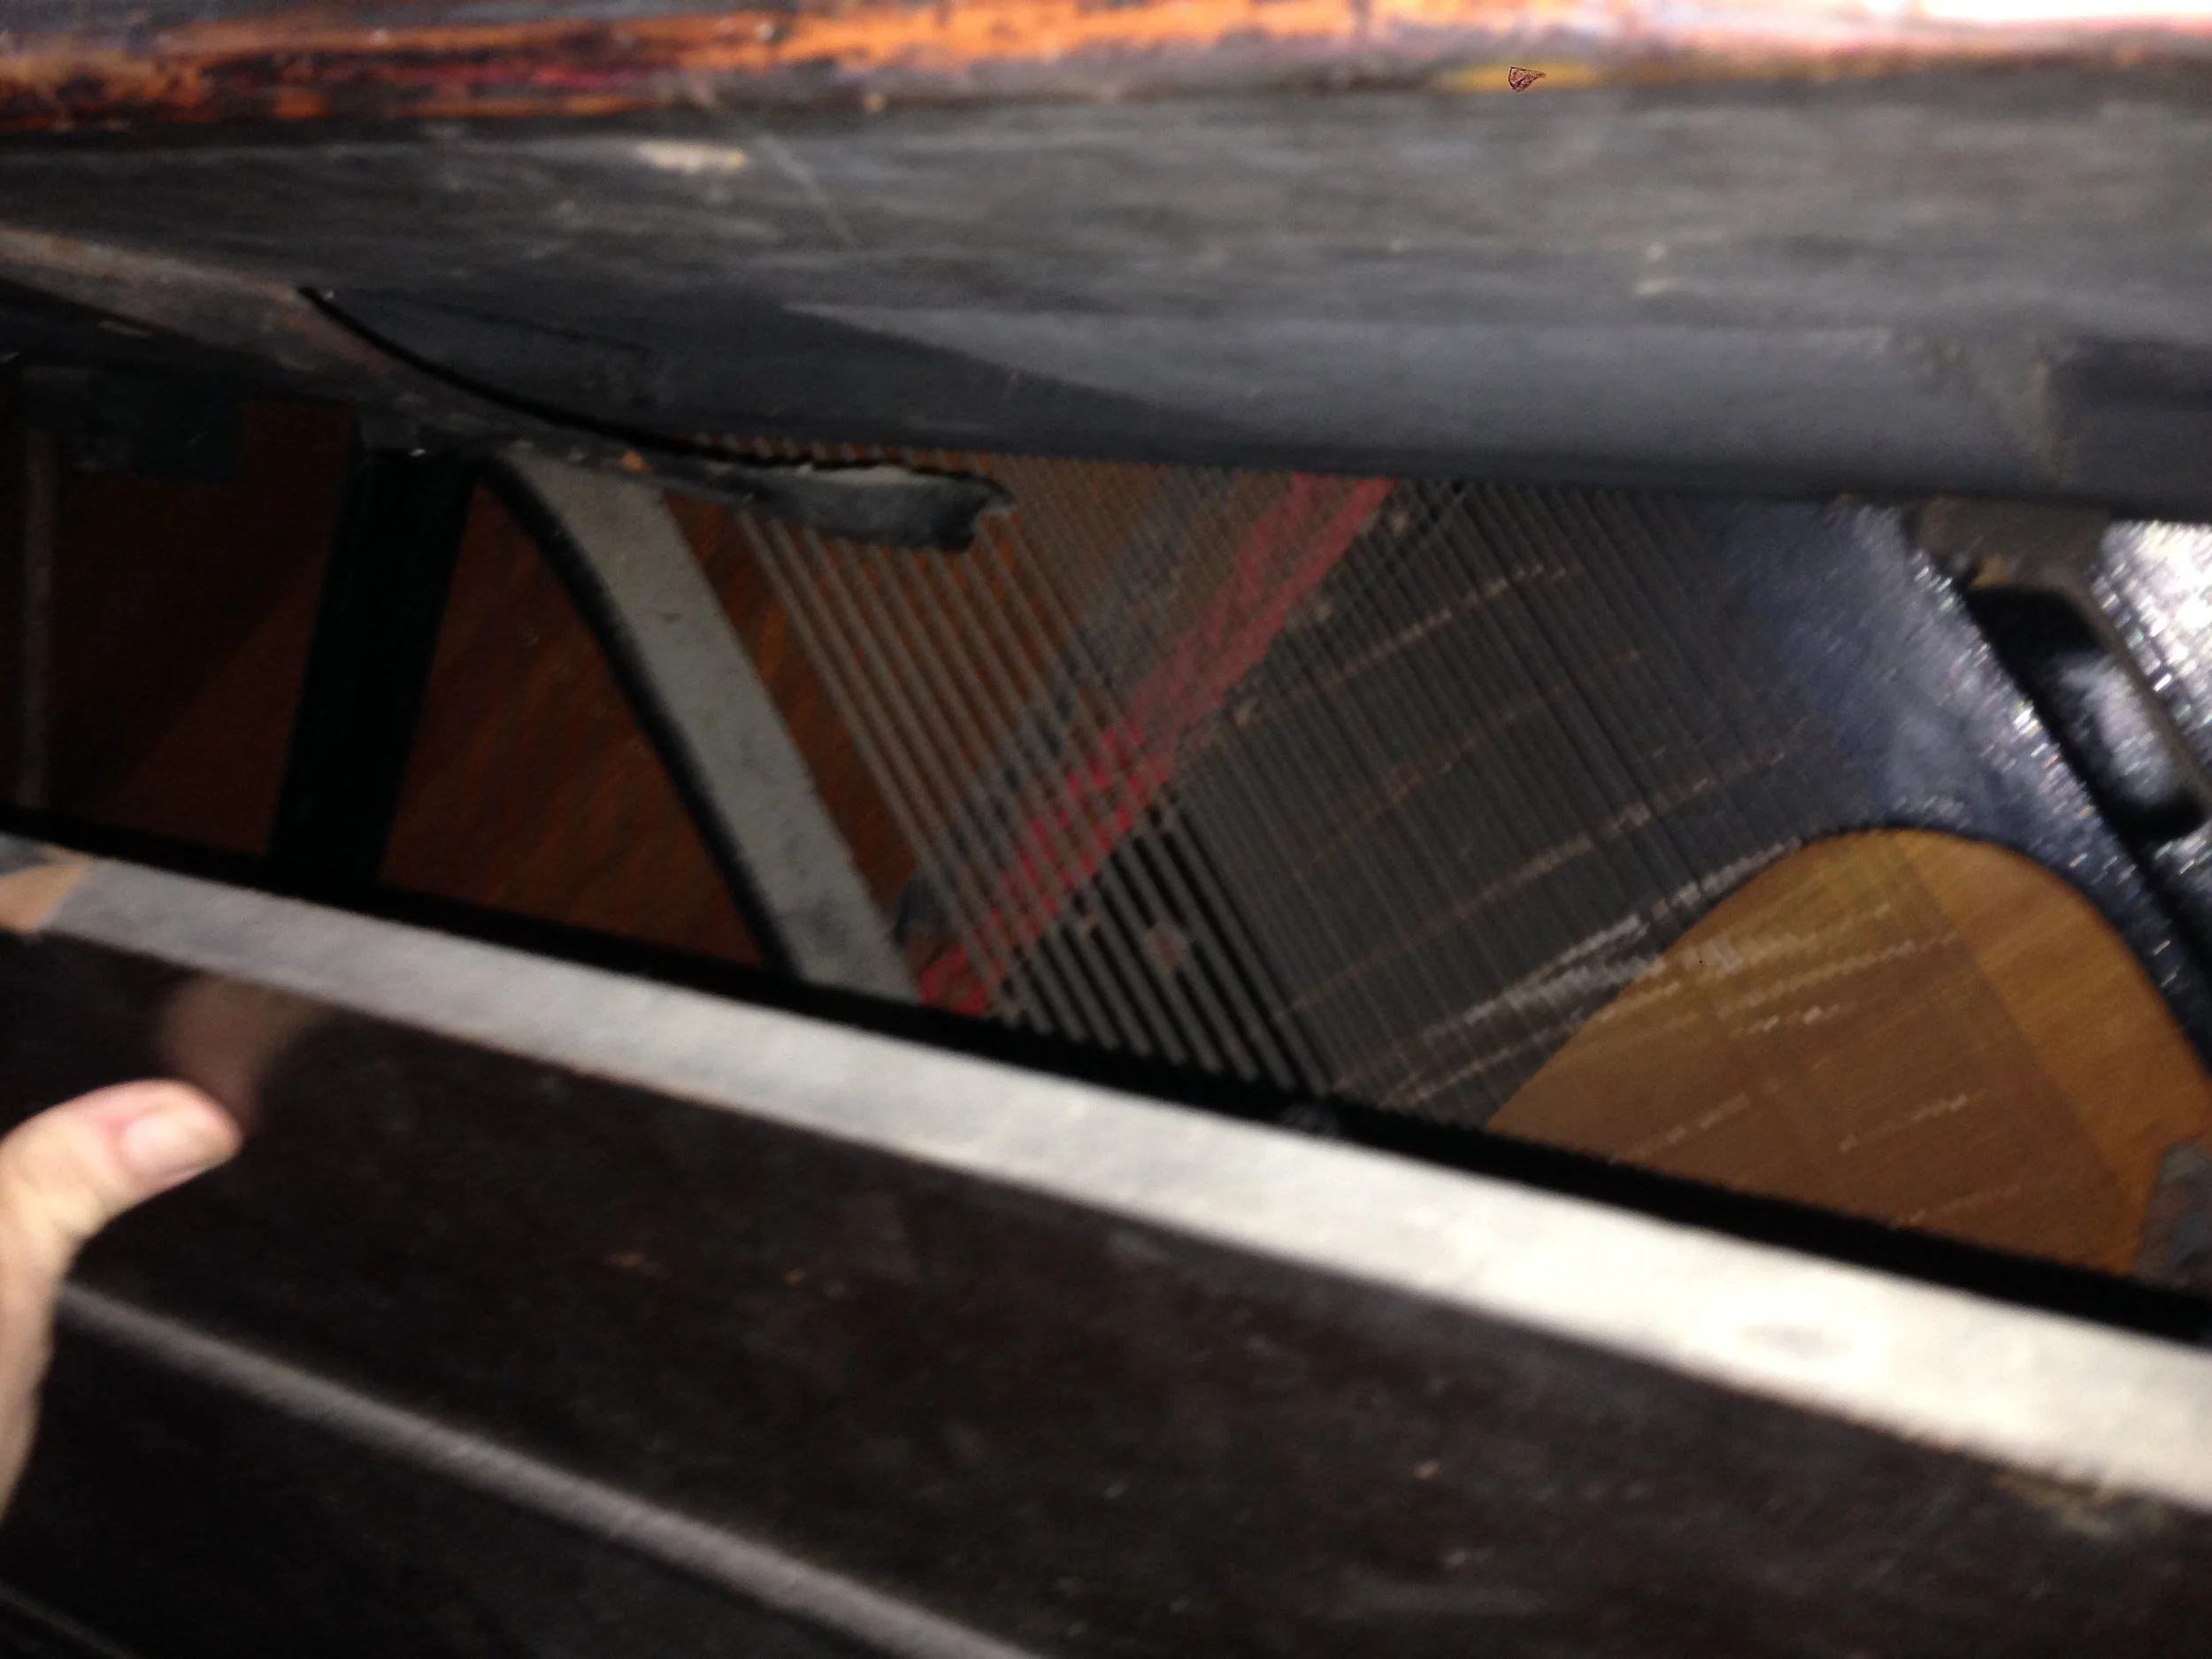
Once the lower panel is removed, run the vacuum along the strings, bridges, and hitch pins. 

Photo Nov 28, 3 27 14 PM.jpg

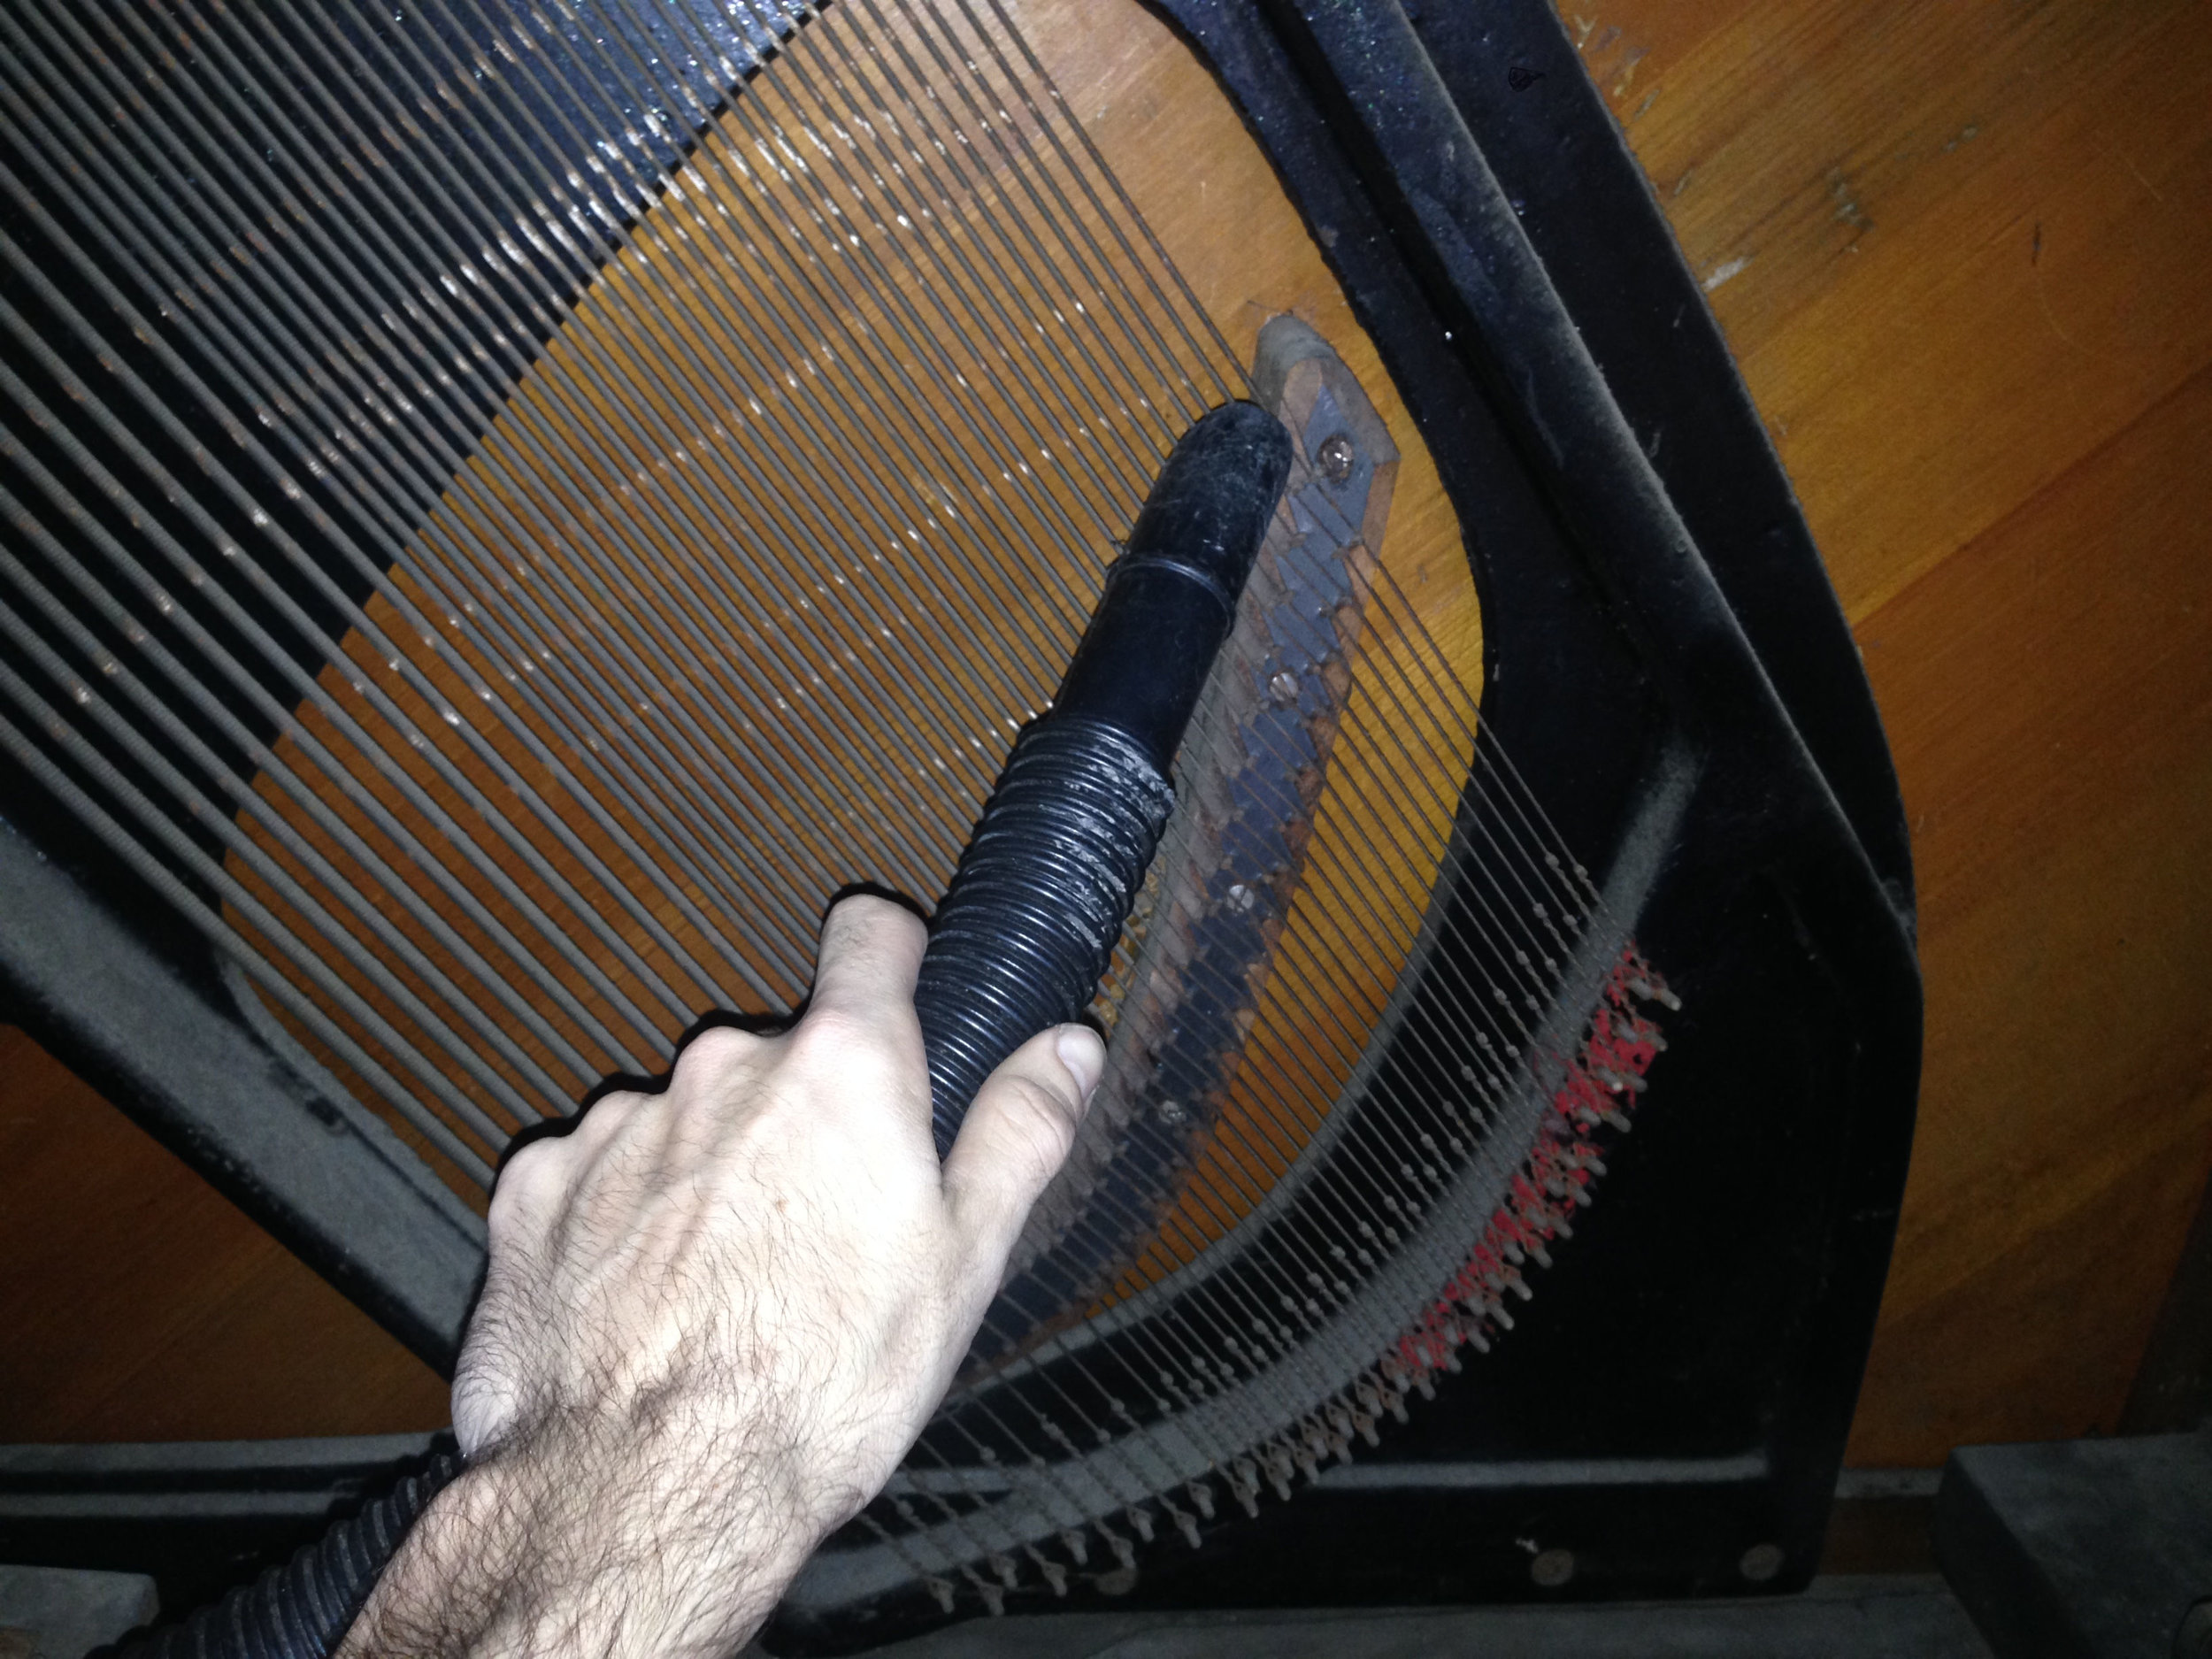
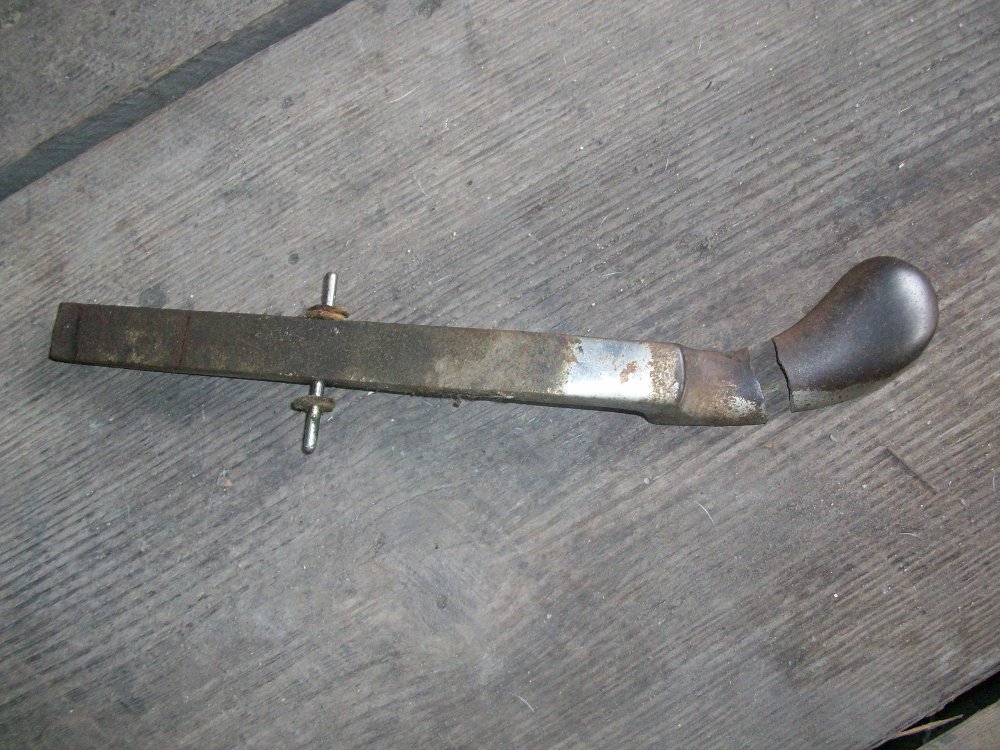
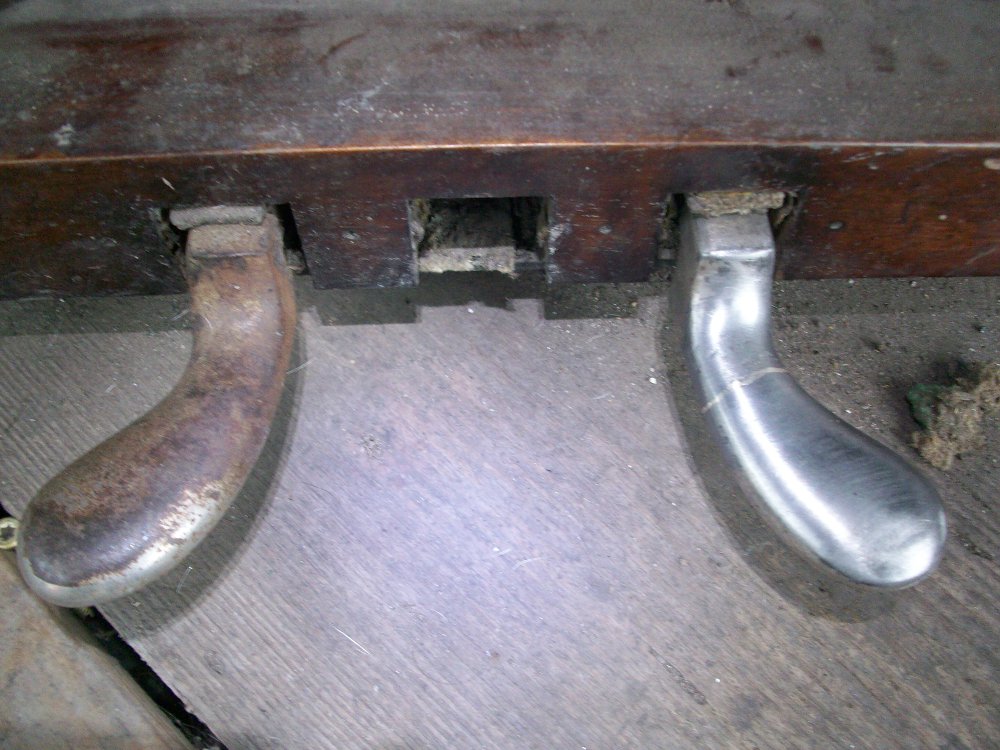
Remove any large debris from the bottom board of the piano and continue vacuuming around the pedal brackets and into the corners of the cabinet.

Photo Nov 28, 3 27 23 PM.jpg

That's it!  Re-assemble the cabinet and your piano can play smoothly for another year

Recent Blog Posts


See more of my blog posts here

Hello There! Don't Leave Just Yet!

I provide piano repair information on my blog and through email correspondence free of charge because I like to help people learn about pianos. However, it does take up a significant amount of my time. So, if you are so inclined, you can click the button below to help supply my caffeine habit and show your appreciation for my work. Thank you!

Buy me a matcha latteBuy me a matcha latte

Or Send Bitcoin! bc1q4tz3qzp6a6zeduqema3v6s0vnrhst4zwy4wtp9

Replacing Hammer Rail Felt

Old upright pianos tend to develop all sorts of strange clunks, clicks, and buzzes. One cause of these noises is worn hammer rail felt. Over time, this felt becomes compacted and no longer provides adequate cushion for the hammer shanks. The compacted felt gives a dull thud when the shanks return to rest. Fortunately, this felt is very easy and quick to replace.

The small "wells" that the hammer shanks have made in the felt are a sign that it should be replaced.

The small "wells" that the hammer shanks have made in the felt are a sign that it should be replaced.

Begin by removing the hammer rail from the piano action. It will have 3 or 4 metal prongs that are inserted into bushed holes in the action brackets. One prong will face the opposite direction of the others. Bend this prong back enough to clear the action bracket, and lift the hammer rail away from the action.

The prong and the bushed hole that it lives in.

The prong and the bushed hole that it lives in.

On some pianos, it is easier to just remove the action bracket that the odd-ball prong fits into, rather than bending the prong.

The leftmost prong.

The leftmost prong.

Once the hammer rail is removed, peel away the old rail cloth and measure its width. Buy a roll of new hammer rail felt of the same width.

Old felt peeled away and new felt at the ready.

Old felt peeled away and new felt at the ready.

Purchase a bottle of wallpaper remover and mix a small amount with water according to the instructions. Use an old toothbrush to wet the old glue with the remover. After a few minutes, the old glue should easily scrape off.

Apply PVC-E or hide glue to the lower half of the hammer rail and lay the new felt across it.


It is important to not glue the top edge of the felt. Leaving this edge loose allows a bit more cushion for the falling hammers

PVC-E glue applied. Note that the edge furthest from the prongs does not have glue applied to it.

PVC-E glue applied. Note that the edge furthest from the prongs does not have glue applied to it.

After the glue dries, trim the ends of the felt flush with the ends of the hammer rail.

Reinstall the rail onto the piano action and either bend the prong back into place or reinstall the action bracket that was removed.

The new hammer rail felt.

The new hammer rail felt.

Recent Blog Posts


See more of my blog posts here

Hello There! Don't Leave Just Yet!

I provide piano repair information on my blog and through email correspondence free of charge because I like to help people learn about pianos. However, it does take up a significant amount of my time. So, if you are so inclined, you can click the button below to help supply my caffeine habit and show your appreciation for my work. Thank you!

Buy me a matcha latteBuy me a matcha latte

Or Send Bitcoin! bc1q4tz3qzp6a6zeduqema3v6s0vnrhst4zwy4wtp9

Cleaning Out an Upright

If you own an old upright piano, every few years, you ought to open up the base of the piano and take a look. Often times you will find rodent nests, broken pieces of the piano action, decades worth of dust and old pencils, or anything else you can imagine. This process only takes a few minutes and can give great insight about any ailments that may be affecting your piano.

upright-piano-base.jpg

I was recently called out to diagnose an old spinet that had survived Hurricane Katrina. The water had risen a few inches above the floor of the house and the water line could still be clearly seen at the lower end of the cast iron plate inside the piano. The reason I was called in was because, in addition to the piano being out of tune, many of the keys were either sticking or just moving very roughly. The first thing I did when arriving at the owner's home was to remove the lower panel of the piano (looking for a clue as to the piano's history). I saw the water line on the plate, but I also saw what looked like small piles of cat food along the bottom board inside of the piano. To me, this immediately implied a past or present rodent infestation. At some point, these critters had made this piano their home, found an open bag of cat food, and had stashed some of it for later. This definitely gave me an inkling as to what was going on with the keyboard. There is usually large enough gaps in the keyframe under the keys for mice to squeeze through and move around underneath the keyboard. However, this inkling didn't fully prepare me for what was to come.

key-removed.jpg

After my quick check inside the lower cavity of the piano, I decided to pull a few keys out of the piano to see if there was anything underneath that could be jamming them, as well as looking at the condition of the bushings inside the keys that usually allow it to move smoothly up and down. After removing the top panel and fallboard, I lifted a few keys off the keyframe. What I found was that during the storm the mice that had been storing their food in the bottom of the piano needed to look for higher ground and, finding the cavity underneath the keys, had completely packed it with partially chewed cat food. The entire length of the keyframe had served as their emergency food storage. The food was so tightly packed and stuck together that it had to be chiseled out with a spoon and screwdriver.

The piano's owner and I spent a little over an hour removing all of the keys (and numbering them to ensure they were replaced in the proper order), scraping, scooping, brushing, and vacuuming all of the cat food out of the keybed cavities, and replacing the keys. Once the keys were back in, I was able to play all the way up and down the keyboard with only two keys showing any signs of sluggishness. These were quickly remedied by slightly easing (compressing) the balance rail bushings inside the offending keys.

piano-cat-food.jpg

This piano provides a great lesson about being vigilant about maintaning your piano. Open up the lid and the bottom panel every once in a while and take a look inside. If you see broken wooden parts, missing screws, or piles of small debris formed by rodents, you should take action quickly to prevent any small problems from becoming a serious issue that will prevent your piano from having to undergo expensive repairs. If you find that there are rodents moving in and out of your piano, be careful when cleaning up the mess they leave behind. Rodent feces can contain harmful viruses, so you should wear a dust mask and gloves. If you think they have caused damage to your piano, call your local piano technician to perform repairs and advise you on how to prevent similar damage in the future.

Recent Blog Posts


See more of my blog posts here

Hello There! Don't Leave Just Yet!

I provide piano repair information on my blog and through email correspondence free of charge because I like to help people learn about pianos. However, it does take up a significant amount of my time. So, if you are so inclined, you can click the button below to help supply my caffeine habit and show your appreciation for my work. Thank you!

Buy me a matcha latteBuy me a matcha latte

Or Send Bitcoin! bc1q4tz3qzp6a6zeduqema3v6s0vnrhst4zwy4wtp9

Hammer Spring Replacement ("Sticky Key")

A neighbor was getting rid of this wonderful little Kohler Campbell console piano a few weeks ago.  Overall, it was in really good shape and just too good of a deal to pass up.  We picked it up, brought it home, and I proceeded to tinker with it for a little while to find any problems.

The only information that the former owner was able to give me was that there were some "sticky keys".  This means that a key will produce a sound the first time it is struck, but will not sound with any following strikes.  This is probably the single most common issue that people come across in their pianos, not only because people lump several different symptoms under the label "sticky key", but also because there are probably over a dozen different issues that can cause a sticky key.  

It turned out that the only major problem with this piano was that nearly all of the hammer return springs had corroded and broken.  These springs only exist in upright pianos (their role is fulfilled by gravity in grand pianos).  Their function is to assist the hammer in falling back to its rest position after striking the string.  If they are broken or disengaged, the hammers will not consistently return after striking.  This will cause missed strikes during which a key will be pressed, but no sound will be produced.  

Hammer return spring circled

Hammer return spring circled

Above is the piano action as it should look, with all hammer return springs intact.  This photo was taken after I had finished repairing the springs.   Below to the right, you can see how the spring rail looked originally with all of the broken springs still on it.  Below to the left, you can see the piano action with the spring rail and hammer rest rail removed.

Piano action with hammer return spring rail and hammer rest rail removed

Piano action with hammer return spring rail and hammer rest rail removed

Hammer spring rail

Hammer spring rail

For this repair, I needed to remove the spring rail from the rest of the piano action, but in order to access the screws that hold it on, I first needed to remove the hammer rest rail.  This rail is held in place by four steel pins with 90 degree bends in them.  Three of the bends point one direction and one points the other direction.  Once the oddball pin is removed from the action, the remaining three pins will all slide out in the same direction and the hammer rest rail can be removed.

Apparently in some pianos the oddball pin is spring-loaded or has some other method of easy removal.  This piano, however, has no such device, and so the action bracket that the pin is inserted into must be pulled away from the pin. There are two screws on the lower end of the action bracket that, if removed, allow the bracket to be pivoted enough for the hammer rest rail pin to be removed.

Hammer rest rail showing the four pins that hold it in place

Hammer rest rail showing the four pins that hold it in place

Opposite facing pins

Opposite facing pins

After removing the hammer rest rail, the four screws that hold the spring rail in place can be removed, and the rail can be slid sideways out of the action.

First, I need to remove all of the old springs from the rail.  There is a hole through the rail that the tail of each spring is fed through.  The tail is then bent sharply downward by a machine (which leaves the two parallel indentations) into a slot which holds the end of the spring tightly.  I don't own one of these machines, so when I install new springs, I will be making a modification to this rail so that I can install them tight enough.

kohler campbell spring rail3

First, I remove the strip of felt that is covering the ends of the spring tails.  The glue holding the felt down can be loosened by applying some diluted wallpaper remover to the felt and allowing it to sit for a half hour or so.  After removing the felt,  pry the tails of the springs out of their slots by using a sewing needle and a small screwdriver.  Then, grasp the coil of a spring with a small needlenose pliers and use the pliers as a lever to pull the spring out of the rail.

kohler campbell spring rail4
An intact spring, one with a broken end, and one with a broken tail

An intact spring, one with a broken end, and one with a broken tail

Hammer spring carnage

Hammer spring carnage

New spinet springs

New spinet springs

There are several different lengths of these springs, so make sure you buy the correct length for your piano.  My piano is a console, so I bought the "spinet" length springs.  The measurement you need is from the coil to the end of the curvy part.

The modification that I mentioned earlier involves drilling an extra hole for each spring through the spring rail.  Some piano manufacturers make spring rails that already have two holes per spring like this.  The advantage is that the second hole will allow me to pull the tails really tightly into the wood with a pair of pliers, and eliminates the need for the specialized "parallel indents" machine.

To make the holes, I clamped a drill bit just slightly thicker than my spring tails into a pin vise.  I then inserted the pin vise into my drill press.  The reason for the pin vise is that the chuck on my drill press can't clamp onto something as small as this drill bit.  The slots in the rail give me a nice little guide for the drill bit.  I'm aiming to go through the rail right at the top of where the strip of felt was glued down.

kohler campbell drill press2

After I've drilled all 88 holes, I can start installing my new springs.  I insert the tail through the rail, and use a wire-bending pliers to create a 180 degree bend in the tail.  The tail can then be pushed through the hole I just made until it pokes out of the same side of the rail as the body of the spring.   I then grab the tail with a set of linesman pliers and, using a lever motion, pull any slack out of the spring until the coil is nice and snug up against its felt.

kohler campbell spring install
kohler campbell spring install2
kohler campbell spring install5
kohler campbell spring install4

The springs will tend to need a bit of manual aligning and straightening after they are all installed.  After they are all aligned, go through and snip the tails as close to the rail as possible.

kohler campbell spring install3
kohler campbell spring rail
kohler campbell spring rail2
The finished installation

The finished installation

When all of the springs are on the rail, remember to glue your strip of felt back onto the rail (which I forgot in the picture above), and carefully slide the rail back into the action without catching the springs on any other action parts.  Reinstall the screws that hold it in and reinstall the hammer rest rail.

The springs will probably need to be bent toward or away from the hammers a bit to make the action feel normal again.  I try to make them so that they are just barely putting any pressure on the hammers when at rest.  If they are applying too much pressure, the hammers will return very quickly, but the action will feel very heavy and cumbersome.  Too little pressure and hammer return will be inconsistent and the springs may "click" against the hammers when the note is played.

Recent Blog Posts


See more of my blog posts here

Hello There! Don't Leave Just Yet!

I provide piano repair information on my blog and through email correspondence free of charge because I like to help people learn about pianos. However, it does take up a significant amount of my time. So, if you are so inclined, you can click the button below to help supply my caffeine habit and show your appreciation for my work. Thank you!

Buy me a matcha latteBuy me a matcha latte

Or Send Bitcoin! bc1q4tz3qzp6a6zeduqema3v6s0vnrhst4zwy4wtp9

Kimball Damper Pedal Repair

The damper pedal on my Kimball upright snapped in half the other day.  This is not a particularly common problem to have, and the repair involved some metalworking (which is a field that I suspect most piano technicians don't have much experience in), so it seemed a great candidate for my first blog post.

web1pedal.JPG

The repair process involves removing the broken pedal from the piano, cleaning both pieces, brazing them back together, sanding the repair smooth, and reinstalling.  Normally to remove a pedal on this piano, the entire piano must be tipped onto its back to remove the screws that hold the toe board on.  The toe board is the horizontal piece of wood that has square holes for the pedals to extend through.  In this case, the front half of the pedal was broken off and so the back half could be slid back through the toe board and removed from inside of the cabinet.

pedal_hinge.jpg

There are four screws that had to be loosened before the pedal could be removed.  The pedal operates by pivoting on a steel pin that is held on either side by a block of wood.  Also, note the steel wire that acts as a spring to return the pedal to its resting position when downward pressure is released.  Once the four screws are loose, the wood blocks can be pulled away from the pedal, and the pedal can be pulled out toward the top of the picture.

pedal_pin

Here you can see the pin that keeps the pedal from being pulled out of the front of the piano while the toe board is still in place. The pin can now be popped out with a hammer and punch.  Removing it will allow me to later reinstall the pedal through the front of the toe board, and then tap the pin into place through the wood blocks and back through the pedal itself.  While I have the pedal removed, I will also replace the felt bushings on the pin that reduce friction and provide quieter operation.

web4emery.JPG

A clean joint is imperative for creating a strong bond while brazing.  I use multiple grits of emery cloth for cleaning up these joints.  Here you can see the clean joint that is ready to be fluxed and brazed.  

I've recently acquired a new brazing system.  I still have my old setup with standard oxygen and acetylene tanks and Smith torch and regulators which I will use for heavier duty brazing and cutting.  The new setup is much lighter duty and consists of a BBQ propane tank, a medical oxygen concentrator, and a lightweight Smith torch.  The main advantage to this system is convenience.  I only have to go 5 blocks to the nearest Walgreens to refill the propane, rather than 12 miles to refill my acetylene and oxygen.

My old brazing setup.

My old brazing setup.

My new brazing setup for light-duty work.

My new brazing setup for light-duty work.

With my joining surfaces cleaned up, I brushed on my "Stainless Light" Silver Brazing Flux from Cycle Design USA and proceeded to fire up my oxy-propane torch.  I brazed the pedal back together with 56% silver (also from Cycle Design USA) which worked fairly well.  

I did end up with a small spot that didn't fill in.  I think the pedal was just a little too thick for this torch to be really effective.  The oxygen concentrator can only put out about 8-9 psi, and I'm still figuring out the right pressure ratios.  It seems the propane needs to be at much higher psi than acetylene does for brazing.  On the bright side, the joint survived my testing, which consisted of holding the pedal on the square end and banging the round end against the table.

Flux applied to pedal.

Flux applied to pedal.

Pedal after brazing and before cleanup.

Pedal after brazing and before cleanup.

With the brazing done, I filed down the excess filler and sanded it smooth with emery cloth.  I then reinserted the pedal through the toe board and tapped the steel pin back into place with the new felt bushings.  I could have applied some kind of clearcoat to the pedal to keep it from rusting, but with the amount of friction this pedal will see against peoples' feet, I think I will just give it a rubbing of mineral oil every once in a while.

Pedal post-cleanup.

Pedal post-cleanup.

pedalreinstalled.jpg

Recent Blog Posts


See more of my blog posts here

Hello There! Don't Leave Just Yet!

I provide piano repair information on my blog and through email correspondence free of charge because I like to help people learn about pianos. However, it does take up a significant amount of my time. So, if you are so inclined, you can click the button below to help supply my caffeine habit and show your appreciation for my work. Thank you!

Buy me a matcha latteBuy me a matcha latte

Or Send Bitcoin! bc1q4tz3qzp6a6zeduqema3v6s0vnrhst4zwy4wtp9