Replacing Player Piano Pouches

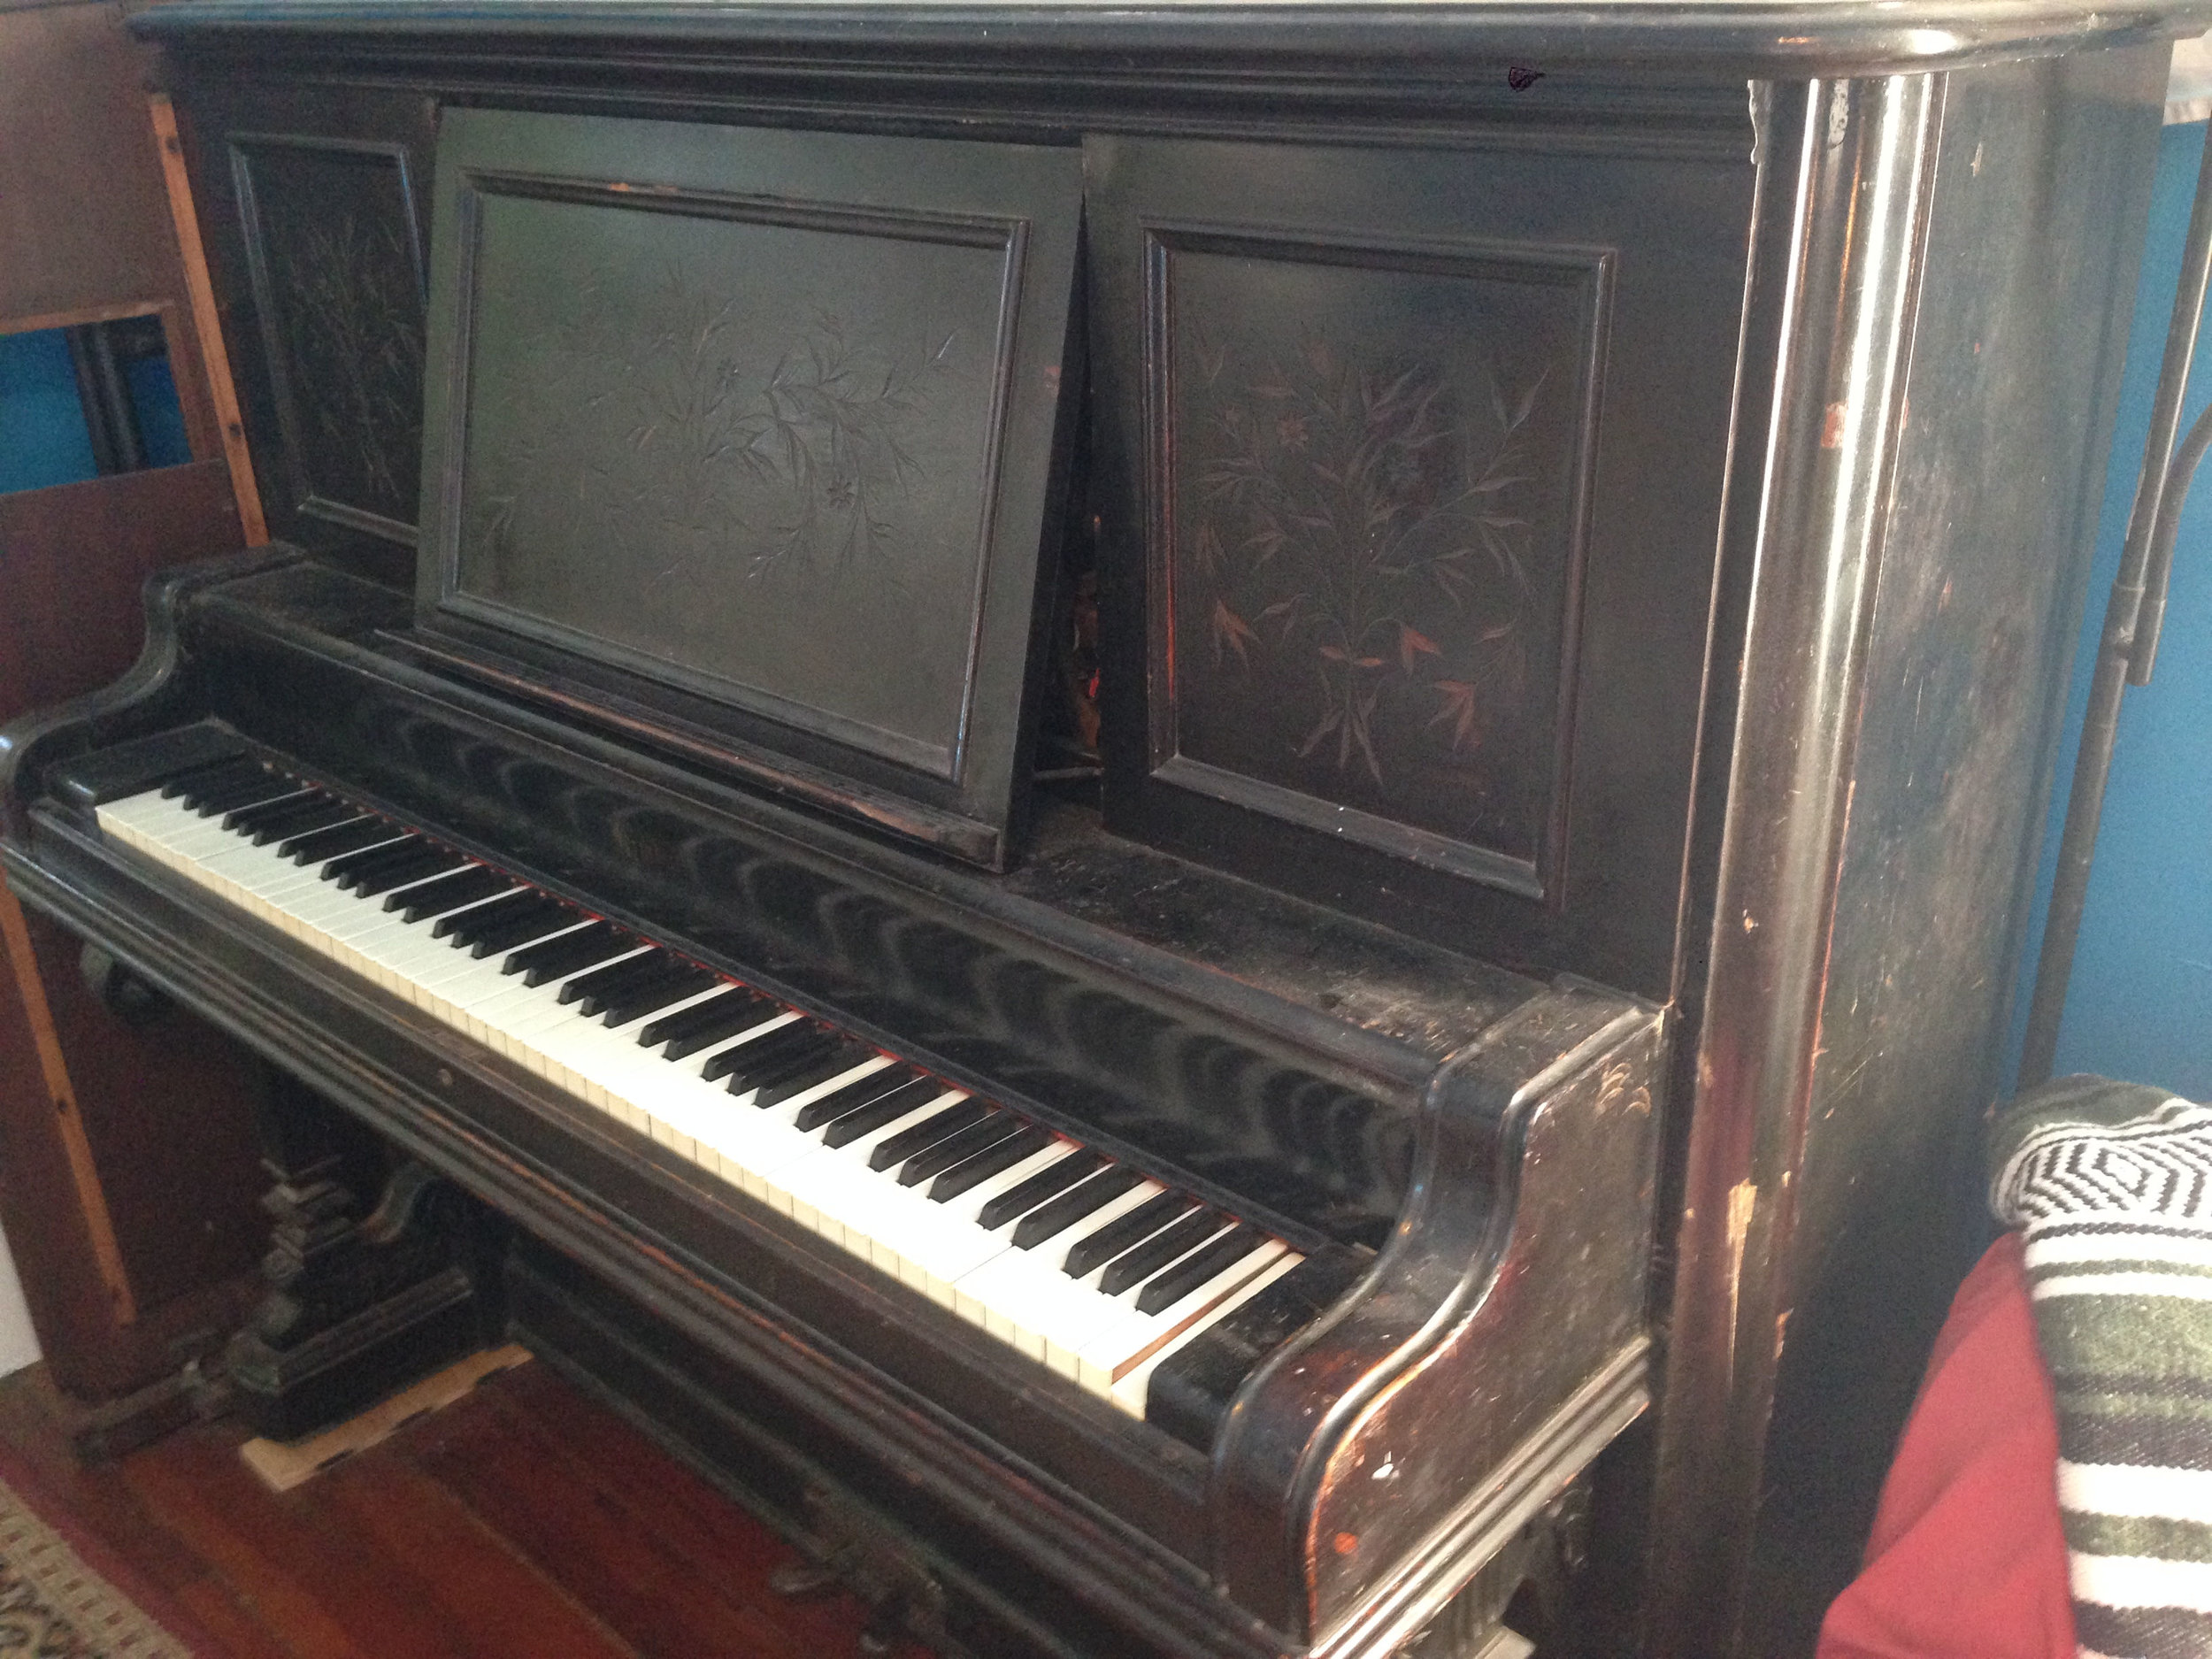
This post is a continuation of the Milton Player Piano Series.

A dissembled player piano action showing from the top to the bottom: pneumatics, primary valves, and the leather pouches that activate them. Note the hole in the pouch at the bottom center of the photo.

A dissembled player piano action showing from the top to the bottom: pneumatics, primary valves, and the leather pouches that activate them. Note the hole in the pouch at the bottom center of the photo.

A damaged leather pouch.

A damaged leather pouch.

In my last player piano post, I described the procedure of cleaning the valves that direct the flow of air and vacuum inside the player action. This time, I am replacing several of the small leather pouches that control the valves. The leather on these pouches is pretty well protected inside the valve chest, but it is very thin and vulnerable to any debris that gets sucked into the action.

My player piano had one missing pouch and two damaged ones. I purchase my replacement pouch leather from Schaff Piano Supply. I believe that the smallest amount that you can purchase is 7 sq. feet which is enough to replace all of the pouches in the action.

In their resting state, the pouches are “deflated.” When a music roll is played, air is allowed underneath the pouch which causes is to “inflate” and push on the wooden buttons that I mentioned in my post “Cleaning Player Piano Valves”. For the pouches to inflate properly, they must be airtight and have the correct amount of “dish” or concavity.

The first thing to do is to carefully remove the old pouch with a razor blade. If you are only replacing a few pouches, be careful not to damage any their neighbors. If more than a couple are damaged or are no longer airtight, it is a good idea to remove and replace all of the pouches.

The "pouch well" can be seen after removing the leather.

The "pouch well" can be seen after removing the leather.

Find a round object that is the same size as the old pouches. This will be your template to trace out the new pouches. I used the inside diameter of a roll of electrical tape. Trace the template onto your pouch leather and cut it out with a scissors.

Using a brush, apply a small amount of liquid hide glue to the edge of the pouch well. Wrap the glossy side of the leather around a coin and drop it into the well. It important that the matte side of the leather is against the wood, as the glossy side will not adhere as well. Use your finger to smooth the pouch leather outward and against the wood. If you are replacing all of the pouches, it can be a good idea to purchase a vacuum-operated pouch tool. This tool ensures that each pouch is given the perfect and exact same amount of dish.

A small amount of hide glue applied to the outside of the pouch well.

A small amount of hide glue applied to the outside of the pouch well.

The new pouch leather dropped into the well.

The new pouch leather dropped into the well.

Allow the hide glue to dry for 24 hours before testing the player action.

The pouch after smoothing the edges.

The pouch after smoothing the edges.

The replaced pouch.

The replaced pouch.

Recent Blog Posts


See more of my blog posts here

Hello There! Don't Leave Just Yet!

I provide piano repair information on my blog and through email correspondence free of charge because I like to help people learn about pianos. However, it does take up a significant amount of my time. So, if you are so inclined, you can click the button below to help supply my caffeine habit and show your appreciation for my work. Thank you!

Buy me a matcha latteBuy me a matcha latte

Or Send Bitcoin! bc1q4tz3qzp6a6zeduqema3v6s0vnrhst4zwy4wtp9

Buying a Used Piano

If you are looking to purchase a used piano, your options can be a bit overwhelming. Between the hundreds of pianos on Craigslist, at piano dealers, thrift shops, estate sales, and furniture liquidators, it can be hard to know which style you want and which piano is worth your money. In addition, there are countless different piano manufacturers that have existed over the past 100 years, some of which can be very hard to find any helpful information about. Be diligent about doing your research before purchasing an instrument. With over 5,000 distinct parts in an upright piano action, there are a lot of things that can go wrong. You want to make sure that you know of any serious problems before you open up your wallet and bring a 600+ pound piece of furniture into your home. I recommend familiarizing yourself with some basic piano anatomy. If you find something that doesn't look right in a piano, you want to be able to communicate about it in a way that another person will know what you are talking about.

Paying a piano technician to accompany you while you look at a used piano can be a great way to get a better idea of a piano's value and condition. Keep in mind that there are technicians who spend most of their time working with high quality pianos that are worth tens of thousands of dollars and that they may push you to purchase a high quality piano and consequently spend more money than you are comfortable with. Be realistic. If this is a piano that is only going to be used for your own enjoyment in your own home, you can probably get along with a lower quality piano just fine, even if it has some imperfections.   

Start by opening the lid and looking inside of the front panel of the piano. The front panel is often held in by two clips, screws, or pins; one on each end near the top edge. Be sure to carry a flathead and a Philips-head screwdriver with you in case the panel is held by screws. Once any fasteners have been removed, the front panel can be lifted away from the piano in order to get a better view of the action.

The first thing to do when checking out a piano is to play every key on the keyboard, starting from the bottom and moving along all the way to the top. Play each key several times in quick succession and at varying volume. Have the lid of the piano open while you do this and keep an eye on each hammer as it strikes the strings. Take note of any keys that move sluggishly or get stuck at any point in their movement. Listen for any knocking or clicking noises that occur when a key is pressed or when it is released. Look for hammers that are slow to return to their starting position, hammers that don't return at all, or single keys that cause multiple hammers to move at once. Most of the time, these symptoms don't indicate any particularly serious problems, but they can stack up quickly and result in an expensive repair bill. Listen to the tone that each key produces, if every note sounds OK by itself, that is a good sign, even if the piano as a whole is out of tune. The real trouble is when any key played alone produces a particularly dissonant tone. This can signal that there are issues with the pinblock. Sometimes this requires drastic measures to repair and can cost more than the piano is worth.   

Look for pitted or detached hammer felt. Holes in the felt indicate a rodent or insect problem that may or may not still exist in the piano. Detached felts need to be re-glued to the wooden hammer core. Check for broken bridle straps. This is a common problem and can often be repaired without the help of a piano technician.   

Pitted hammer felt caused by rodents

Pitted hammer felt caused by rodents

Each of the 88 notes should share most of the same parts. Look for any note that seems to be missing a part that most of the other notes have. Keep in mind that the top 20 notes or so will not have dampers or any of the parts associated with dampers. Look for any stripped screw heads and for rusty, broken, or missing strings. Wound bass strings are much more expensive to replace than treble strings. Test out each of the pedals. Do they feel solid when depressed all the way or do they feel squishy? Squishy pedals can be a signal of damage to the bottom board of the piano. Watch the action as you press the damper pedal and notice if the action responds evenly all the way across the piano, or if the action responds at one end first and moves like a wave across to the other end. This can be a signal that the damper lift rod and its hinges have been bent or damaged.

The top 20 or so notes in the piano do not require the damper mechanism

The top 20 or so notes in the piano do not require the damper mechanism

Take an eye-level look at the front of the keys. Keys that are evenly spaced and level are a sign of a piano that was well taken care of. This piano was not.

Take an eye-level look at the front of the keys. Keys that are evenly spaced and level are a sign of a piano that was well taken care of. This piano was not.

Remove the bottom panel by pushing upward on the one or two springs that are fastened to the underside of the keyboard and tilting the top of the panel toward you. Check inside of the piano for felt, leather, springs, or screws that have fallen out of the action. Also look for any piles of debris or feces that indicate the presence of rodents. Shine a light on the soundboard and bridges behind the strings to look for any cracks in the wood. Small cracks are usually not a problem, but large ones can cause unpleasant buzzing or rattling noises as well as loss of volume and they can be expensive to fix. Also look at the bridge and hitch pins that the strings curve around. Look for pins that have become dislodged from their original place in the bridge. You will see a hole where the pin originally entered the bridge that has become widened over time. Small cracks or holes in the bridges can be repaired on site with epoxy, but larger problems will require the piano to be sent to a repair shop so that new bridges can be created and installed. Check over the cast iron plate for any damage or cracks. The plate needs to resist thousands of pounds of tension created by the strings, and any weak points in it can cause big problems.

Another important thing to look for, especially in the Gulf Coast region, is flood damage. The last thing you want is a piano that has spent time sitting in water. The wood swells, glue joints break, and strings, pedals, and the cast iron plate will rust. Avoid these pianos, unless you know that they are salvageable and are worth the cost of restoring them.

Finally, pull the piano out from the wall and inspect the back. Look for any damage that may have occurred to the cabinet when the piano was moved and take another look at the soundboard as well as the ribs that span across it. Make a note of any sections of the soundboard that have separated from the ribs. These separations can usually be repaired by using toggle bolts, but it will be an extra expense that involves drilling holes through the ribs and soundboard.

Recent Blog Posts


See more of my blog posts here

Hello There! Don't Leave Just Yet!

I provide piano repair information on my blog and through email correspondence free of charge because I like to help people learn about pianos. However, it does take up a significant amount of my time. So, if you are so inclined, you can click the button below to help supply my caffeine habit and show your appreciation for my work. Thank you!

Buy me a matcha latteBuy me a matcha latte

Or Send Bitcoin! bc1q4tz3qzp6a6zeduqema3v6s0vnrhst4zwy4wtp9

Cleaning Player Piano Valves

This post is a continuation of the Milton Player Piano Series.

I've been working my way through all of the valves by removing, cleaning, and resealing them.  These are the valves that translate the small openings in player piano sheet music into the striking of the appropriate strings.  Behind each valve is a small pneumatic that, when the valve is closed, the pneumatic has air in it and does not actuate any other parts.  When the valve is open, the pneumatic is exposed to suction which causes it to close and launch the hammer toward strings.

The valves are meant to be airtight, but since the valves are exposed to small particles in the air that are pulled through the player action, it is possible for the sealing surfaces to catch some dust that will cause them to no longer be airtight.  The valves only move about 1/32 of an inch between the open position and the closed position, so even the smallest interference can cause the valve to malfunction.   I have no idea when the last time this player piano was serviced, but there was plenty of air leakage in the action, so I decided to go through and clean the valves. 

 This piano actually contains a double-valve action.  Each note uses two different valves.  The second set of valves can be seen in the photo below.

In this post, I am focusing on the lower set of valves.

The first step is to remove the wooden button that is threaded onto the end of the valve stem.  I use a set of Kelly Forceps to grasp the valve stem while I unthread the button by hand.

Remove the four screws holding the faceplate and set them aside in a way that you will remember which screw belongs in which hole.

The next step is to loosen the glue that is holding the valve to the board.  I do this by heating up the faceplate with a soldering iron.  Hold the iron against each side of the faceplate for 20 seconds to heat it up enough to soften the adhesive.

In order to remove the valve withough damaging the wood behind it, I use a Park Tools Pin Spanner.  The pins fit nicely into the screwholes in the faceplate and allow me to rotate the faceplate in order to break it free from the hold of the glue.

After the glue looses its hold, carefully pull out the valve and separate the faceplate, stem, and leather disc.

Note the guide in the center of the recess.  The back end of the valve stem fits into this guide to ensure it moves smoothly.

Using an old toothbrush, gently scrub the leather disc on the valve stem, as well as the loose leather disc.  Try to remove any traces of dust or dirt.

Additionally, clean any old glue off the back of the faceplate.  A clean surface here is important for a good seal against the wood.  I use a single edge razor blade to scrape it clean.

To reseal the valve to the board, use burnt shellac.  This is simply a thickened form of shellac that you can produce by buying clear shellac from the hardware store and burning off some of the alcohol in it.  Burnt shellac is an amazing adhesive.  It sticks to almost anything and it does a great job when something needs to be airtight.  The only downside is that it can take a week or longer to fully cure, so don't use it for any last minute repairs.

Brush a layer of burnt shellac around the edge of the valve socket.

Reinsert the valve.  Make sure the valve goes in straight, and the end of the valve stem fits into the guide inside the socket.

Reinstall the screws.  Be careful not to overtighten these screws and strip out the threads in the wood.

Finally, reinstall the wooden button.

Now repeat 87 more times!

Recent Blog Posts


See more of my blog posts here

Hello There! Don't Leave Just Yet!

I provide piano repair information on my blog and through email correspondence free of charge because I like to help people learn about pianos. However, it does take up a significant amount of my time. So, if you are so inclined, you can click the button below to help supply my caffeine habit and show your appreciation for my work. Thank you!

Buy me a matcha latteBuy me a matcha latte

Or Send Bitcoin! bc1q4tz3qzp6a6zeduqema3v6s0vnrhst4zwy4wtp9

A440 vs A432

Over the centuries, the tones that comprise western music have fluctuated wildly. For a long time, there was a lack of any international standard for musicians to tune their instruments to. This meant that every orchestra would tune to a different pitch than every other. An orchestra playing a Mozart piece in Vienna would sound significantly different than an orchestra playing the same piece in New York. Since the 18th century, the keystone of western music has been the note A above middle C, also known as A4. This was the reference note that every instrument in an orchestra would tune their instruments to. The interesting part is that this single note could vary wildly (from 380 hertz to 500 hertz) depending on where in the world the orchestra was. Mozart, Bach, and Beethoven likely composed with an A4 pitch between 420 and 430. Some Italian and French orchestras commonly tuned to a pitch of 450 or higher. If you are unfamiliar with the sounds produced by these frequencies, you can plug them into onlinetonegenerator.com to hear the differences.

In 1953, the International Organization for Standardization set out to create a standard pitch for western music. This standard would allow for musicians worldwide to play the same music at the same pitch. The standard pitch set by the ISO was 440 hertz for the key A4. Though not universally accepted, this standard is by far the most common pitch in use today.

There are many people around the world who oppose the assignment of 440 hz as the standard concert pitch. One alternate tuning that has gained a significant following is 432 hz. A Google search of this frequency will provide hundreds of thousands of links to various websites touting the perceived superiority of 432 hz. Many people have an almost religious addiction to this idea, using words such as “mathematically consistent with the patterns of the universe” and claiming that 432 “will support humanity on its way towards spiritual freedom”, as well as spreading ideas of a Nazi conspiracy to use a 440 hz standard to make humans more aggressive and violent.

A typical image from a pro-432 hz website. This apparently shows the shapes formed when water crystallizes while certain music is played or words are spoken.

A typical image from a pro-432 hz website. This apparently shows the shapes formed when water crystallizes while certain music is played or words are spoken.

One of the most vocal proponents of 432 hz is Brian Collins, who runs the website omega432.com. In order to witness the power of 432 hz, Collins recommends purchasing several frequencies of tuning forks (including a 432), striking them, inserting them into separate glasses of water, and then tasting the water in each glass. This will obviously somehow exhibit the superiority of 432 hz.

Omega432.com also contains plenty of nonsensical babble such as

Saturn completes one precessional Great Year of 25,920 years every 864 of its “years,” a half cycle every 432 of its “years,” a quarter cycle every 216 of its “years,” and an eighth of a cycle every 108 of its “years.” This equals (108 x 30) 3240 years, or 45 degrees of precessional arc. We can continue counting in Saturn years down to 9, one 96th of the precessional year, or 3.75 degrees of arc and 270 earth years, which brings us to the alignment period of the galactic meridian and the zenith/nadir axis.

What all of this number manipulation fails to mention is that the measurement of hertz is a ratio of cycles per second, and that a second is “a measurement of time that correlates with the duration of 9,192,631,770 periods of the radiation corresponding to the transition between the two hyperfine levels of the ground state of the cesium 133 atom.” Now if that isn't the shiniest, most spiritual thing you've ever heard, I don't know what is.

Another supporter of 432 hz tuning was Rudolph Steiner, the Austrian philosopher responsible for the teachings behind Waldorf Education. Steiner had many strange ideas about music, not the least of which was that the piano was the worst possible instrument for a child to learn. Additionally, he stated

[...] musical instruments are derived from the spiritual world; the piano, however, in which the tones are abstractly lined up next to each other, is created in the physical world by man. [...] A piano is like the Philistine who no longer contains within him the higher human being. The piano is the Philistine instrument. It is fortunate that there is such an instrument, or else the Philistine would have no music at all. [...] Naturally, the piano is a beneficial instrument [...] but it is the one instrument that actually, in a musical sense, must be overcome. Man must get away from the impressions of the piano if he wishes to experience the actual musical element.

Plenty of “experiments” proving the value of 432 hz can be found online. One particularly popular one shows sound frequencies being used to produce patterns in sand on a large steel plate. What they fail to point out is that the “scientist” sabotages the 440 hz measurement by loosening the wingnut in the center of the plate to produce a less pleasing result. 

Experimento de cimática Casero. Home Cymatics experiment with tonoscope. Cimatica esperimento fatto in casa. La ciencia de la cimática demuestra de forma visual el modo en que el sonido configura la materia. La scienza della cimatica dimostra in forma visiva il modo in cui il suono configura la materia.

There are also plenty of instances to be found of 432ers taking the words of French and Italian vocalists out of context and using them for their own purposes. Many of theses famous vocalists have said that higher pitches add additional strain to their vocal chords and contribute to the early demise of their careers. However, what 432ers fail to mention is that these vocalists are usually talking about orchestras that tuned to 450 hz, 460, or even higher. These vocalists were generally not clamoring against 440. The 8 hz difference between 440 and 432 is hardly enough to ruin anyones vocal chords. The difference between these two frequencies can be heard at onlinetonegenerator.com.

I have also read claims that the extra tension required in tuning string instruments to 440 results in “additional strain of tension” and can cause warping and breakage. This claim is equally inane, as modern instruments are built with the purpose of handling the tension of a 440 tuning. In instruments produced before 440 was an accepted standard, this may be a legitimate concern. Of course, these antique instruments should be tuned to whatever pitch they were intended for.

All of these points aside, I have no problem with the fans of 432 hz tuning who simply claim that they enjoy listening to music that uses that pitch instead of 440. That reason is fine, just please cut out the faux science already.

For further reading, I recommend this article from Vice.

Recent Blog Posts


See more of my blog posts here

Hello There! Don't Leave Just Yet!

I provide piano repair information on my blog and through email correspondence free of charge because I like to help people learn about pianos. However, it does take up a significant amount of my time. So, if you are so inclined, you can click the button below to help supply my caffeine habit and show your appreciation for my work. Thank you!

Buy me a matcha latteBuy me a matcha latte

Or Send Bitcoin! bc1q4tz3qzp6a6zeduqema3v6s0vnrhst4zwy4wtp9

Tuning in the Modern Age

A common tuning fork

A common tuning fork

Historically, pianos have always been "tuned by ear."  This means that a single reference pitch is tuned to an outside source, then the entire rest of the piano is tuned from that pitch using specific predetermined intervals with known desired outcomes.  In common terms, a piano tuner knows that if an A note has already been tuned to an outside reference, the next higher E (an interval known as a "fifth") needs to be tuned so that only a slow rolling beat can be heard when the A and E are played together.  When this rolling beat has been achieved, the tuner can move on to the next interval, whether it be another fifth, or any other interval with a known desired outcome.

Tuning technology has become more and more sophisticated in the past 300 years.  The first great leap forward was the creation of the first tuning fork in 1711.  Prior to the tuning fork, pitch pipes were used by singers to produce a reference pitch before starting to sing in a specific key.  Although they were adequate for vocal purposes, these pitch pipes had many undesirable characteristics for use in piano tuning.  The brass reeds in them were subject to varying temperatures, humidity levels, and air pressure which caused significant inconsistencies in the tones produced by the single pipe.  The tuning fork solved all of these problems by providing tuners a means to produce a consistently accurate pitch that was practically unaffected by temperature or humidity.  In fact, these tuning forks were so precise that they later became key components in quartz clocks and watches.

Korg OT-120 ETD

Korg OT-120 ETD

Today, in the modern age of piano-technology,  it has become commonplace to encounter successful piano tuners who don't carry a tuning fork with them.  The reason for this is the development and refinement of Electronic Tuning Devices (ETDs). ETDs have been around for a long time (about 80 years!). Historically, they have been very bulky and inconvenient to use in field work, not to mention expensive.  These days, simple electronic tuners are extremely common in the form of small battery powered units used mainly by guitarists, violinists, and players of other string instruments.  When it comes to pianos, however, these units are completely inadequate.  Many guitar tuners only provide a reference for the 6 pitches that comprise the "open strings" of the instrument. Even more sophisticated orchestral tuners are all but useless for range of pitches encompassed by an 88-note piano.   This is due to the fact that these tuners do not account for the inharmonicity present in the strings of a piano.  If you are not familiar with this phenomenon, take a peek at my previous blog post.

The first benchmark in electronic tuning was the development of the "strobe tuner" which was made famous by Peterson Strobe Tuners in 1967.  These tuners provided remarkable accuracy and allowed for extremely minute adjustments of pitch.

An early Peterson Strobe Tuner

An early Peterson Strobe Tuner

Sanderson Accu-Tuner I

Sanderson Accu-Tuner I

Not far behind in production were ETDs made using quartz oscillators, made famous by companies like Korg.  These tuners are very useful for tuning string instruments and come in many different styles with different types of displays.

The first truly sophisticated ETD was the Accu-Tuner produced by Inventronics.  It was produced in the 1980's and was fairly bulky by today's standards, but it was the first device to measure levels of inharmonicity and to be able to compensate by offsetting the desired pitches by appropriate amounts. Following the Accu-Tuner were several other advanced tuning systems such as the Cyber-Tuner and the Verituner.

The main page of TuneLab showing the Phase Bar and frequency graph

The main page of TuneLab showing the Phase Bar and frequency graph

Today, these bulky machines have been widely replaced by software products like TuneLab.  This program can be installed on any computer or mobile device and will use a device's built in microphone to provide visual feedback during tuning.  A "Phase Bar" as well as a frequency graph are displayed to give the tuner multiple ways to view the same information.  Tunelab can also be used to record "test notes" along the length of the keyboard, calculate an instrument's inharmonicity, and produce "tuning curves" that the tuner can manually customize to produce any desired result.  Also available is an "Overpull Mode" that calculates the amount that each string must be raised over the target pitch during a pitch raise in order to be left with an approximately in-tune piano after the pitch raise is finished.  Limits are set into the mode to prevent any strings from being raised sharp enough to break.  Using the frequency graph, a successful pitch raise can be performed without having to mute a single string!  At first, I was quite skeptical about the program's ability to use a smartphone's microphone to produce satisfactory results, but I can say that it is quite remarkable how consistently accurate it is.

TuneLab's Overpull Mode settings

TuneLab's Overpull Mode settings

TuneLab can be downloaded here and can be used in trial mode for free.

Recent Blog Posts


See more of my blog posts here

Hello There! Don't Leave Just Yet!

I provide piano repair information on my blog and through email correspondence free of charge because I like to help people learn about pianos. However, it does take up a significant amount of my time. So, if you are so inclined, you can click the button below to help supply my caffeine habit and show your appreciation for my work. Thank you!

Buy me a matcha latteBuy me a matcha latte

Or Send Bitcoin! bc1q4tz3qzp6a6zeduqema3v6s0vnrhst4zwy4wtp9